Next we will see our Destinations app in action! Remember that we have configured it to draw events from a prototype web company. That is what we did when we set it up to work with Eventgen. Now, let's look at some of our data:
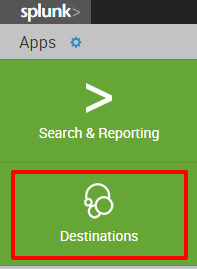
- After a successful restart, log back in to Splunk and proceed to your new Destinations app:
- In the Search field, type this search query and select Enter:
SPL> index=main
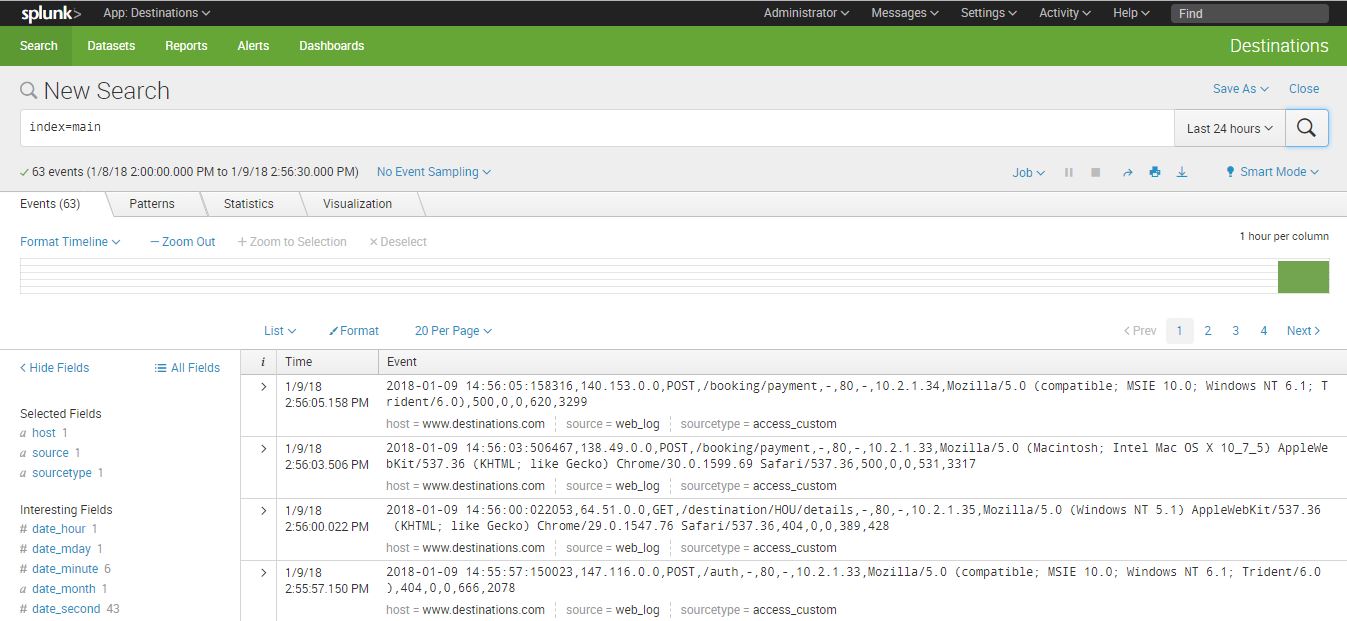
Examine the event data that your new app is enabling to come into Splunk. You will see a lot of references to browsers, systems, and so forth, the kinds of information that make a web-based e-commerce company run.
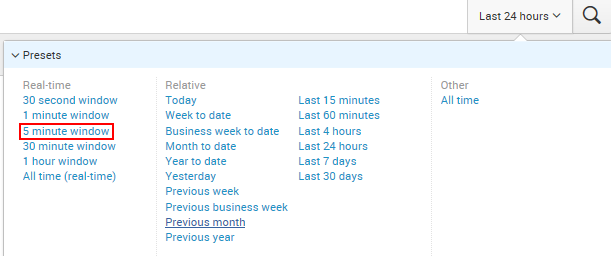
Try changing the time range to Real-time (5 minute window) to see the data flow in before your eyes:
Congratulations! You now have real-time web log data that we can use in subsequent chapters.
Tip from the Fez: Running a Splunk report under a real-time window places heavier strain on Splunk because it is rerunning the search over and over to generate the live nature of the real-time window. Unless absolutely needed, choose to have reports run for a set time period on user demand or a previously assigned schedule.