Azure MFA is enabled in Azure AD at the user level. To enable MFA for a user account in Azure AD, take the following steps:
- Navigate to the Azure portal by opening https://portal.azure.com/.
- Go to All services, then type Azure Active Directory and open the Azure AD resource.
- In the Azure AD blade, under Manage, select Users as follows:
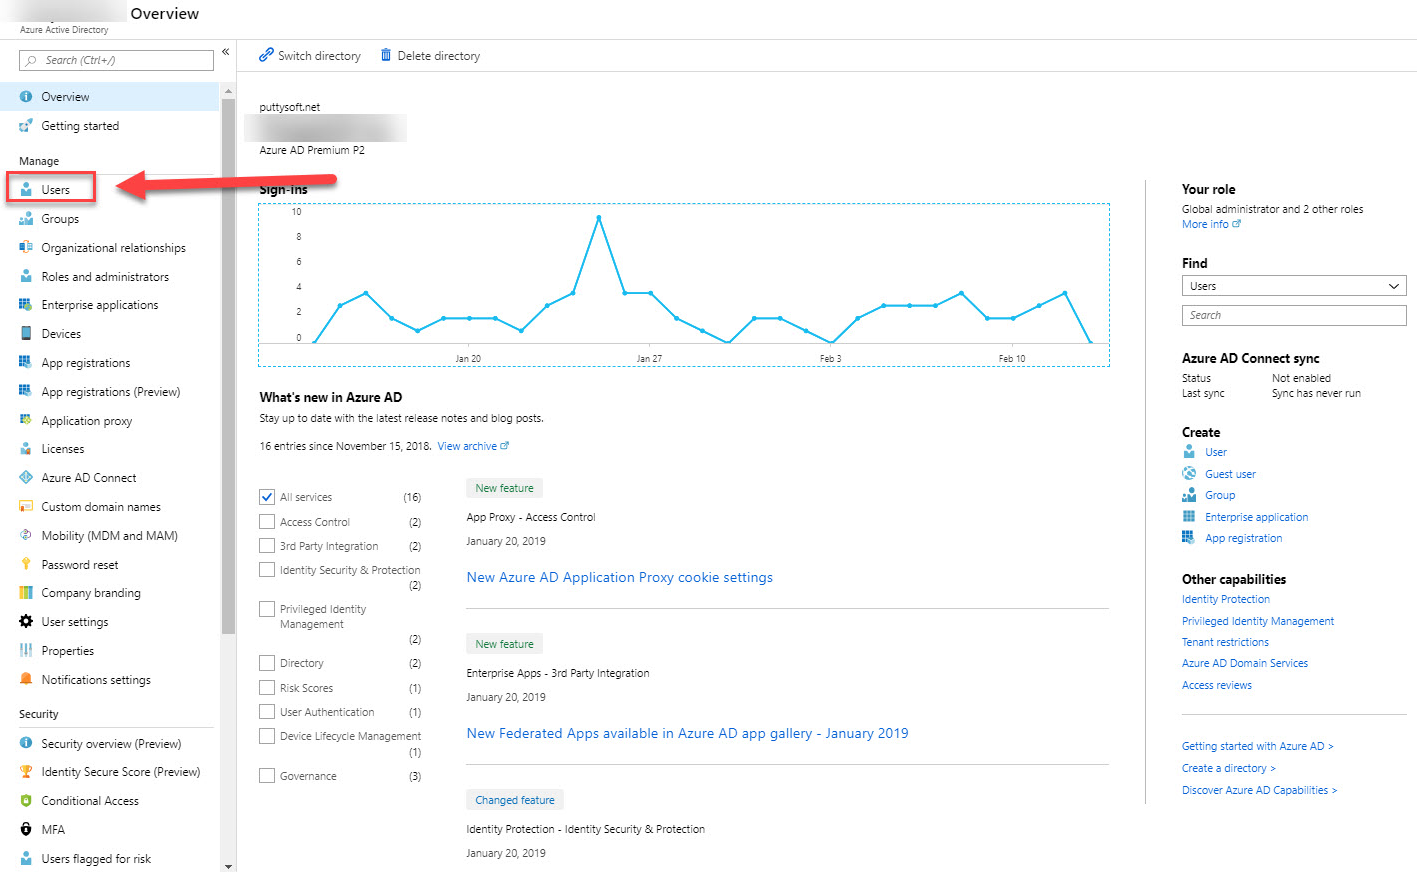
Azure AD user settings
- In the All users blade, select Multi-Factor Authentication in the top menu as follows:
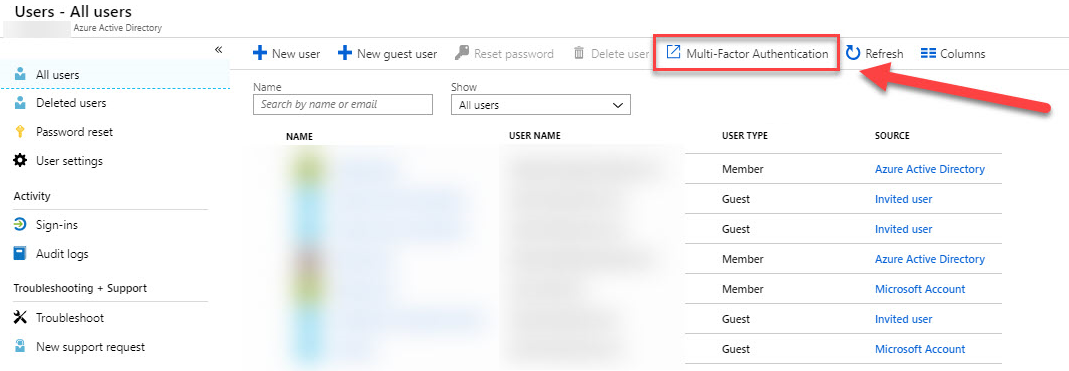
Selecting Multi-Factor Authentication
- You then will be redirected to the multi-factor authentication portal. In there, select a user and click Enable at the right side of the screen as follows:
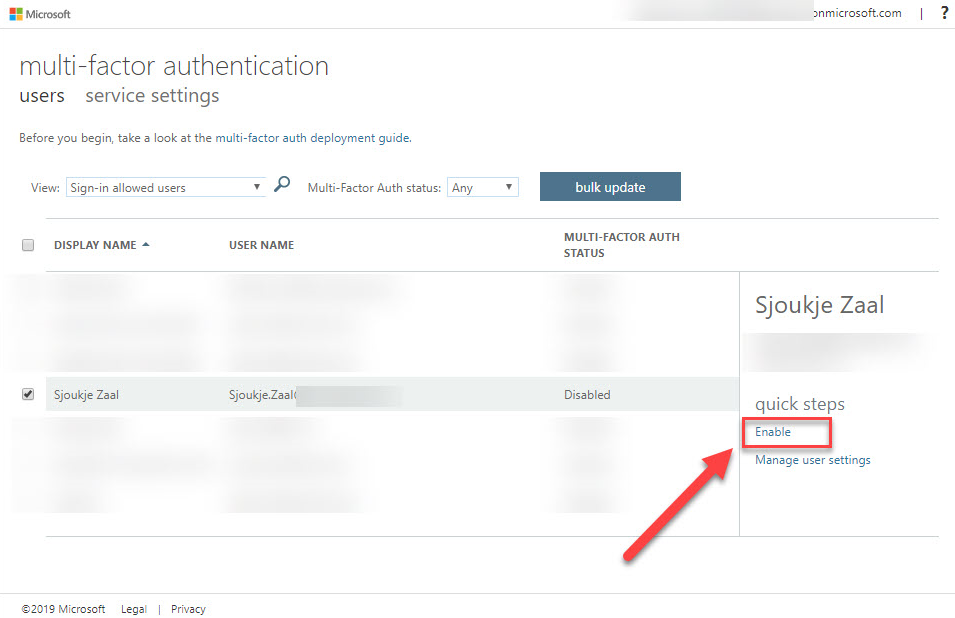
Enabling MFA for a user
- After clicking the link, you will receive the following warning:
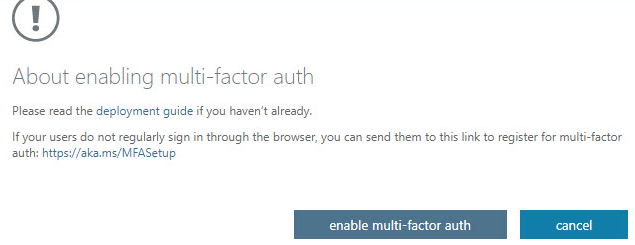
Warning window
- Click enable multi-factor auth to activate MFA for this user.
Now that we have enabled MFA for...