In this section, we'll take a look at installing Wireshark on Windows and installing Wireshark on macOS and Linux.
Installation and setup
Installing Wireshark on Windows
You will need to perform the following steps:
- Go to the https://www.wireshark.org/ web page:

- When you get there, scroll down on the home page and click on Download.
- The latest version of Wireshark will be visible. Select the installer for the version of Windows that you are currently running.
Most people on a modern computer, on a modern version of Windows, will be running 64-bit.
If you happen to be running an older version of Windows on 32-bit or older hardware, make sure you select the 32-bit version. If you're not sure which one to use, do the following:
Open your Control Panel, go to System and Security, and click on the System link. In the System section, you'll see that it says System type: 64-bit Operating System. If you have a 32-bit, it'll show that here as well.
- Back on the download Wireshark page, download the version that you need, and run that file; now, click on Next to begin the setup.
- Read the License Agreement, click on I Agree, and select the features of Wireshark that you wish to include. Most people include all of the defaults. You'll see here that we have the main Wireshark application; we have the classic interface version of Wireshark; and we have TShark, which is a command-line version of running Wireshark; as well as some plugins, the User's Guide, and some additional tools:
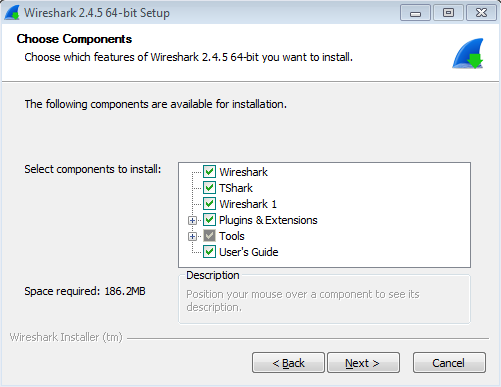
- We'll go ahead and accept the defaults, and then click on Next. And, in this window, we can go ahead and customize what shortcuts show up and whether file extensions are associated to Wireshark. We're going to turn off the Wireshark Legacy Quick Launch Icon and Wireshark Legacy Start Menu Item:
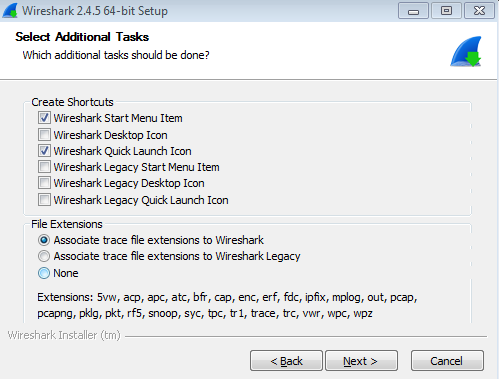
- Go ahead and click on Next, and select a location for Wireshark to install. We'll select the defaults here as well.
- And on the next page here, it says: Install WinPcap? If you don't have WinPcap installed, leave that checked and it will install it as part of the install process:
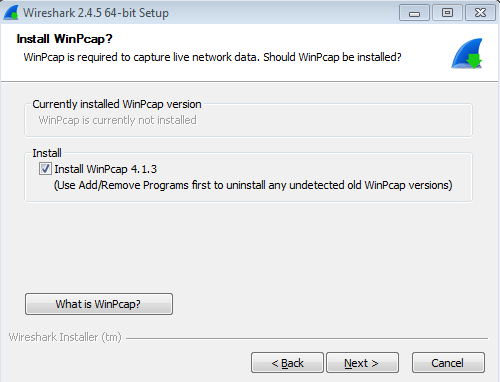
WinPcap is the driver that allows Wireshark to interface with your network card. WinPcap is required for it to be able to view all the packets.
- Click on Next.
You can also install USBPcap, which allows you to view the traffic on a USB connection. Most people won't need this, so we'll leave that unchecked.
- Go ahead and click on Install and Wireshark will now install.
- Partway through the install, the WinPcap installer will then run, and we'll go ahead and click on Next.
- Read the License Agreement and click on I Agree. You can then decide whether or not you want the WinPcap driver to run at boot time. Most people allow it to do so. We'll leave that as default, and click on Install.
- That will finish very quickly; then click on Finish.
- The Wireshark install will then continue. When the text window says completed, go ahead and click Next; and then you can select whether or not you want to run Wireshark at that moment, and click on Finish.
Once the Wireshark GUI loads up, you are done:
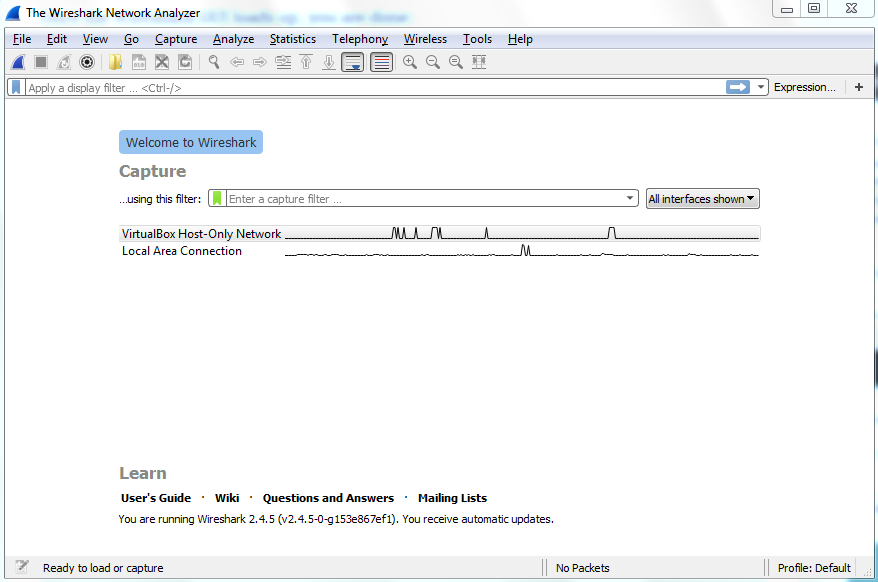
In the next section, we'll go over how to install Wireshark on macOS and Linux.
Installing Wireshark on macOS
To install Wireshark on macOS, perform the following steps:
- Start by going to the https://www.wireshark.org/ web page.
- When you're on the web page, scroll down on the main page, and click on Download. The latest version of Wireshark will be displayed.
- Go down to macOS 10.6 and later Intel 64-bit .dmg, and click on it to download:
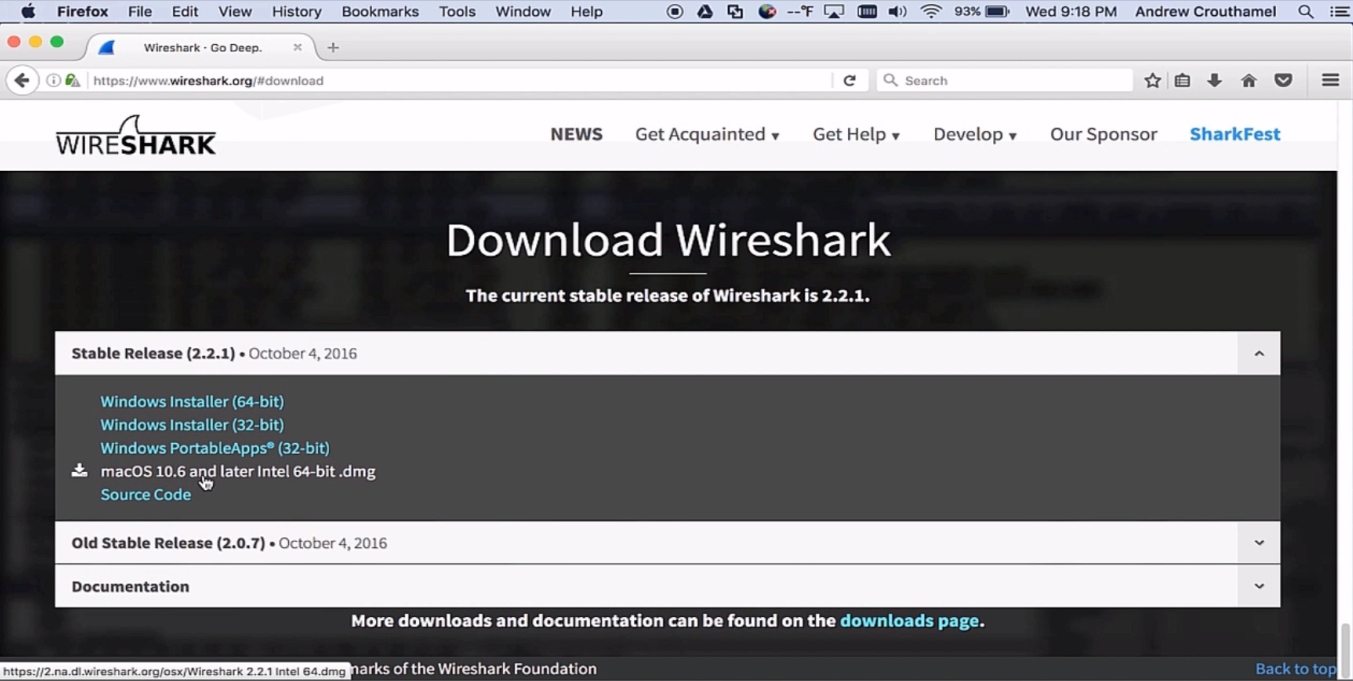
- At this point, we can choose to save the file to our Downloads folder and then open it, or simply open it directly off the web page with the DiskImageMounter (default).
- Go ahead and click on OK. It downloads the file and opens it up.
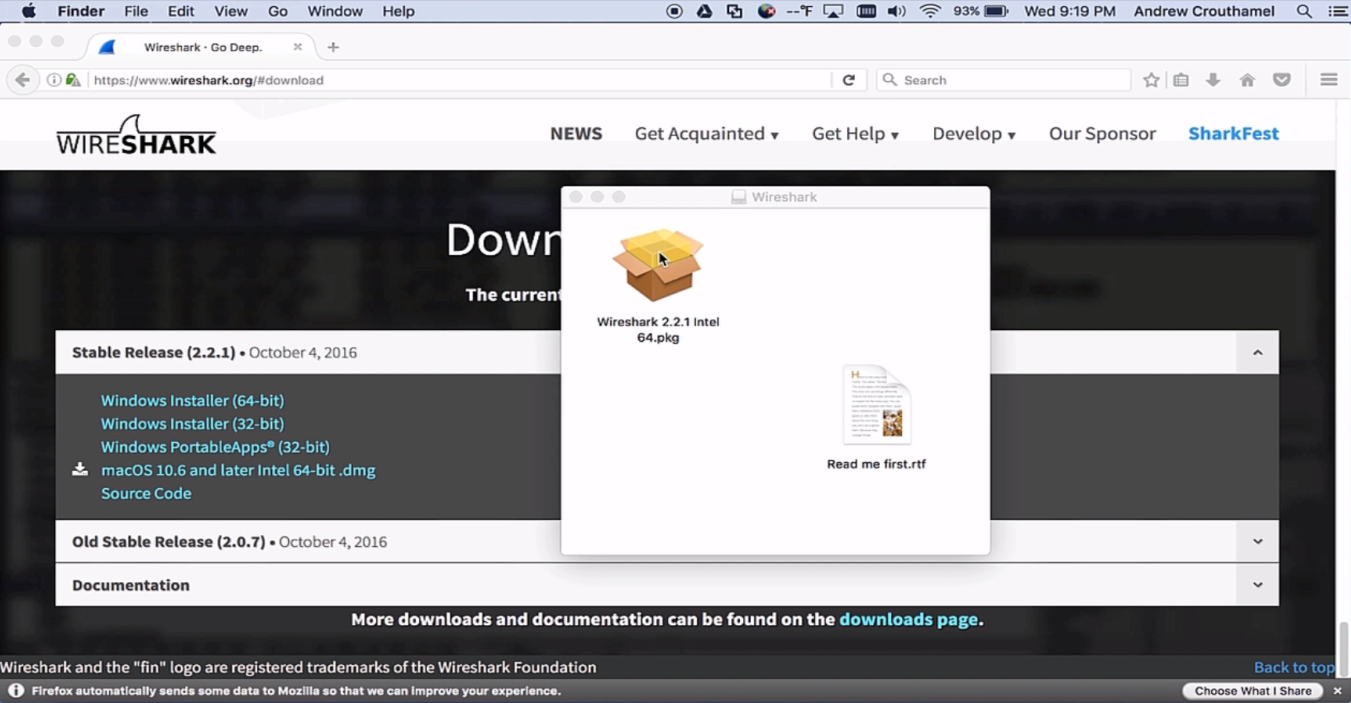
- We can then double-click on the PKG file, and click on Continue:
- Read the License Agreement and click on Continue again, and then on Agree to indicate that you agree to the license agreement.
If you wish to change the install location, you can do so now.
- Click on Install.
- Enter your administrator credentials and click on Install Software.
- Once the installation is successful, click on Close.
- If you go to your applications list in the lower right, and scroll down, you should see Wireshark at the bottom of the list. You can select Wireshark, and you can see that it's now loaded:
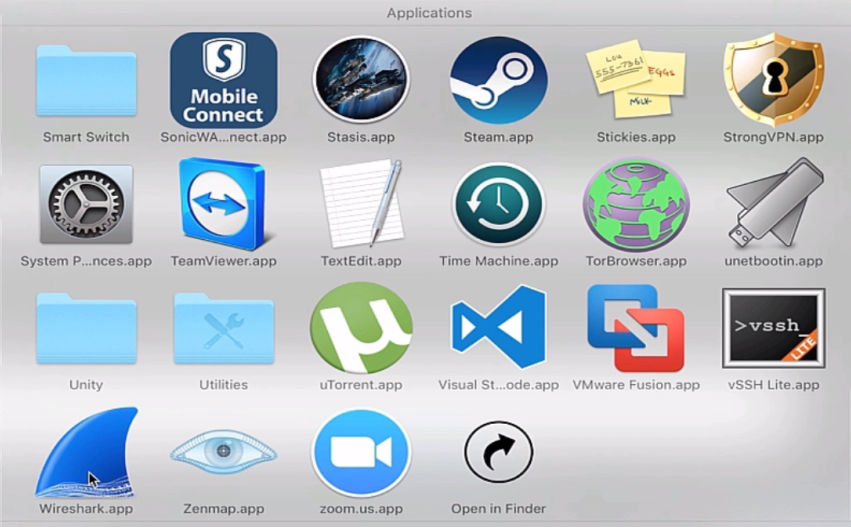
Once Wireshark is up and running, that's it—you're done.
Installing Wireshark on Linux
Installing Wireshark on Linux will differ, based on the distribution that you're using. Here, I'm using one of the most common distributions available: Ubuntu. In order to install Wireshark, perform the following steps:
- We'll go to the Ubuntu software application; go ahead and click on that and we'll search for synaptic:
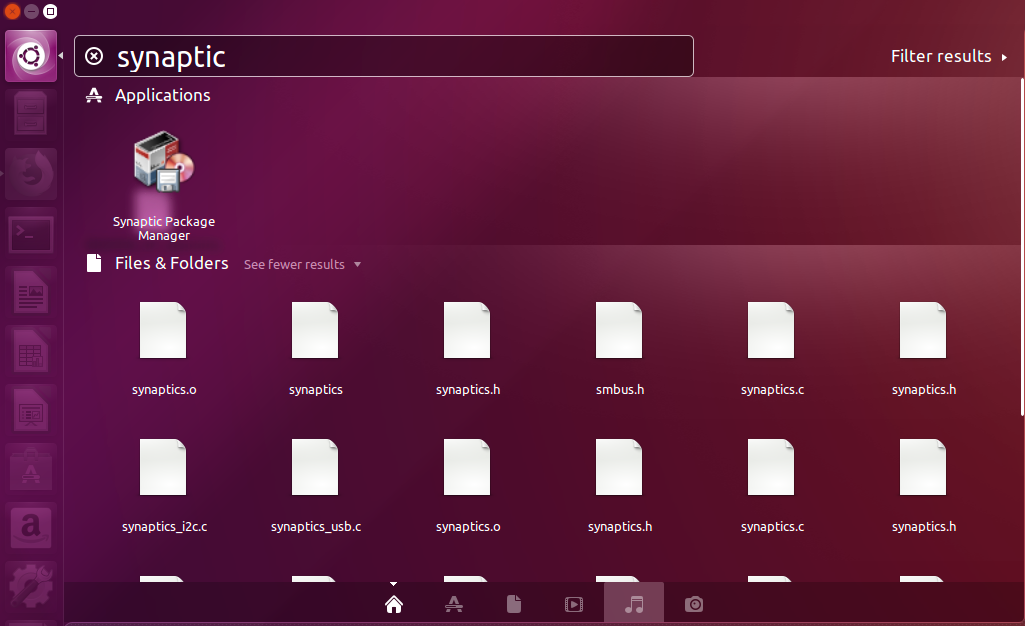
Synaptic is a package manager similar to the Ubuntu software application, but it gives you more control.
- Simply click on Install; enter your administrator password (your root password) and the software will be installed:
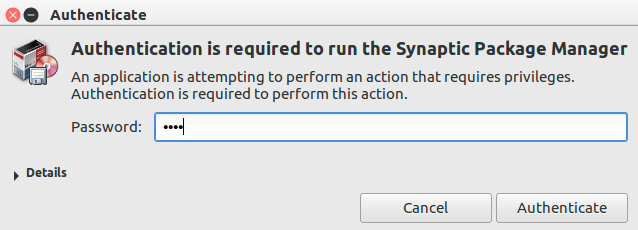
- Go ahead and click on Synaptic Package Manager to open that up. Enter in our credentials again, and now we have our Synaptic application loaded:
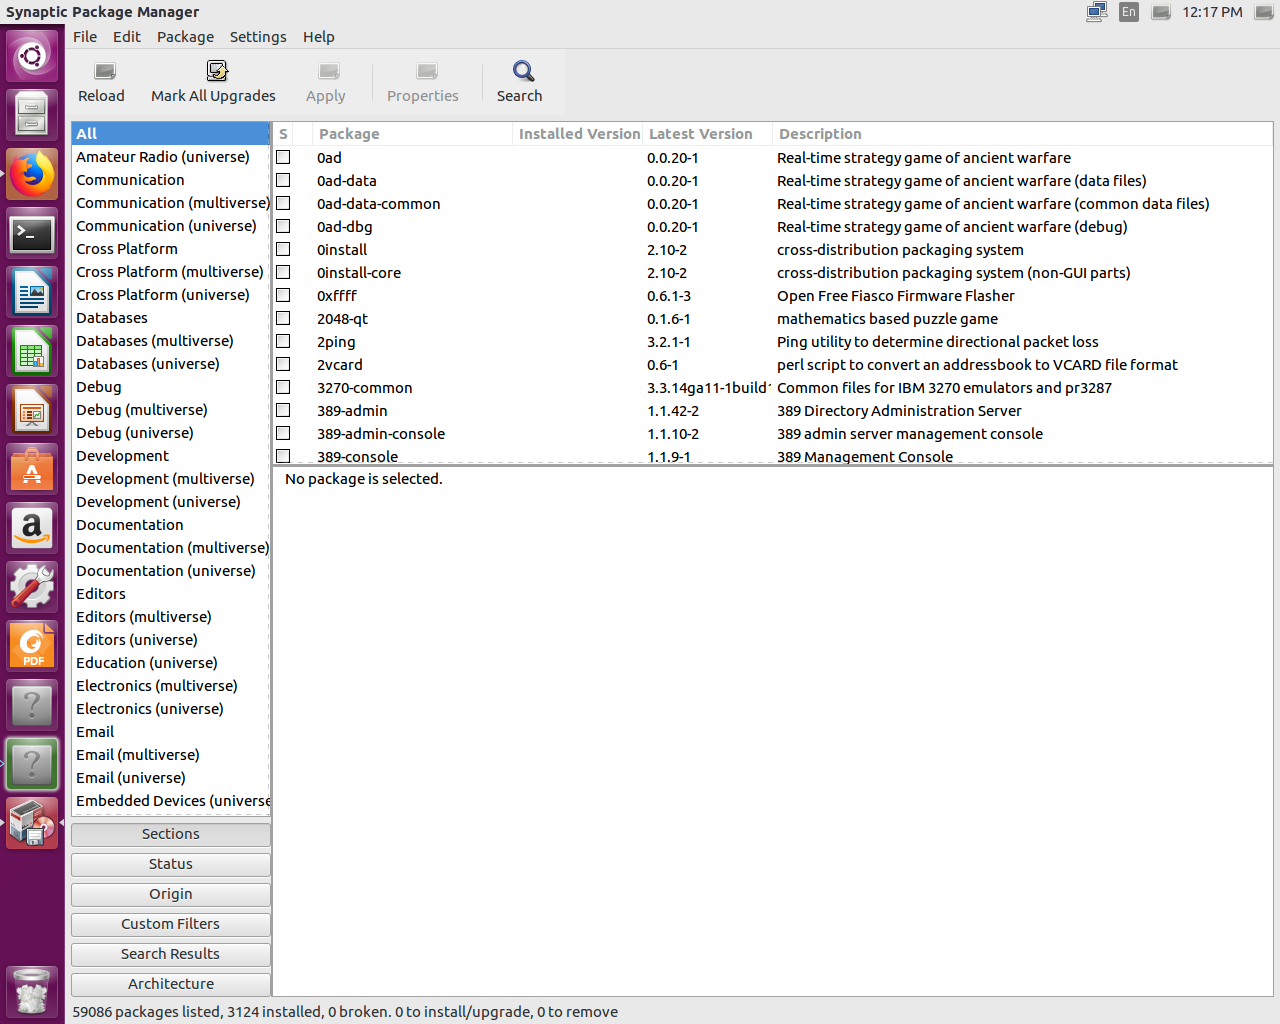
- This is again very similar to the Ubuntu software application, but it's less pretty.
- Click on the Search button, and we will search for Wireshark. Enter wireshark and click on Search, and you'll see everything that has Wireshark in its name or description now shows up in the package list:
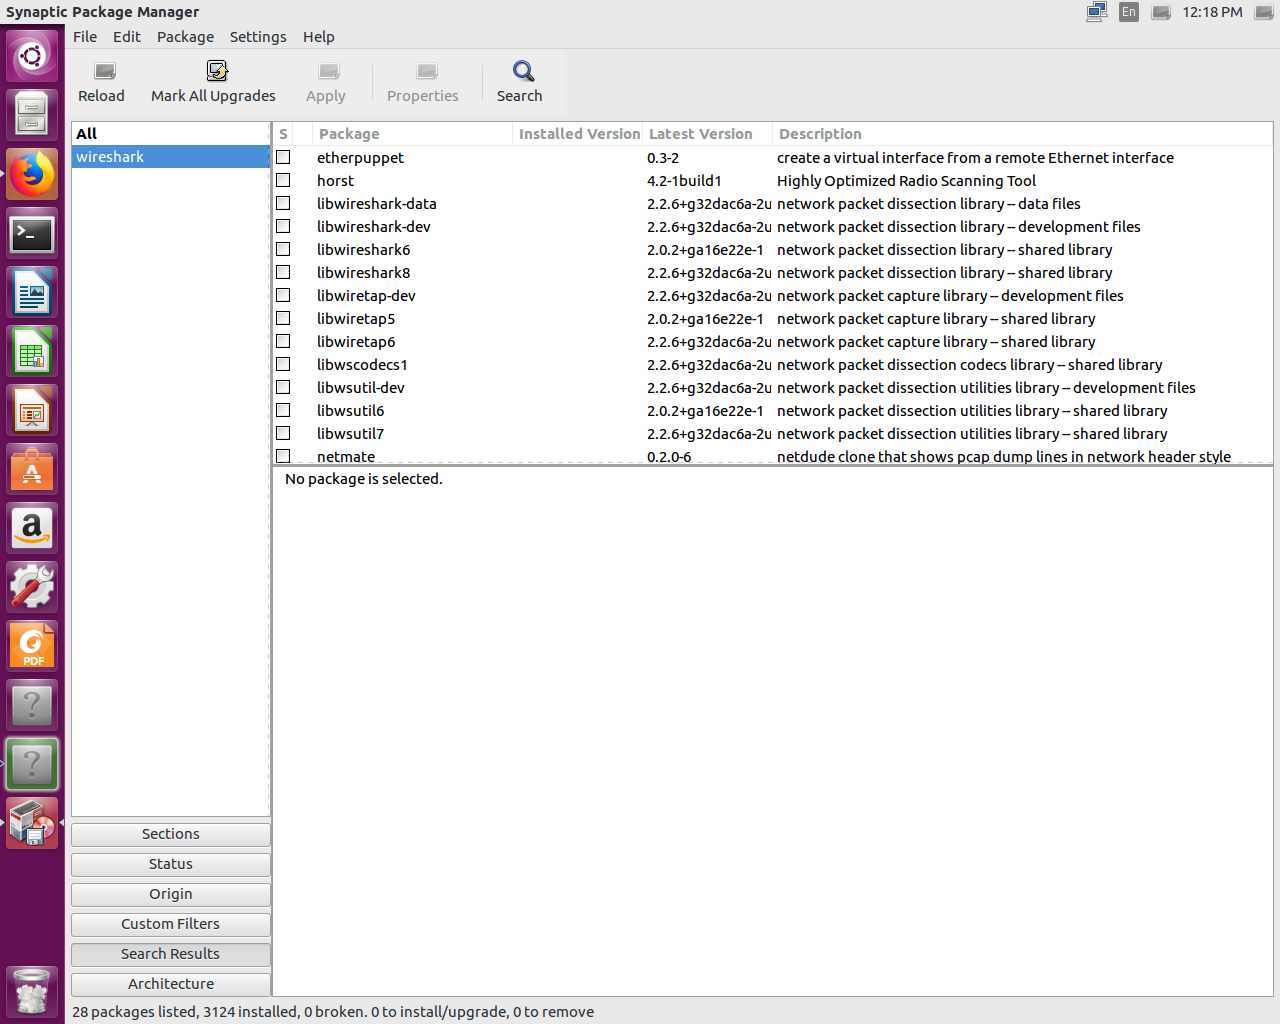
- We'll scroll down and select the main wireshark package, just the one that says Wireshark, as shown in the following screenshot:
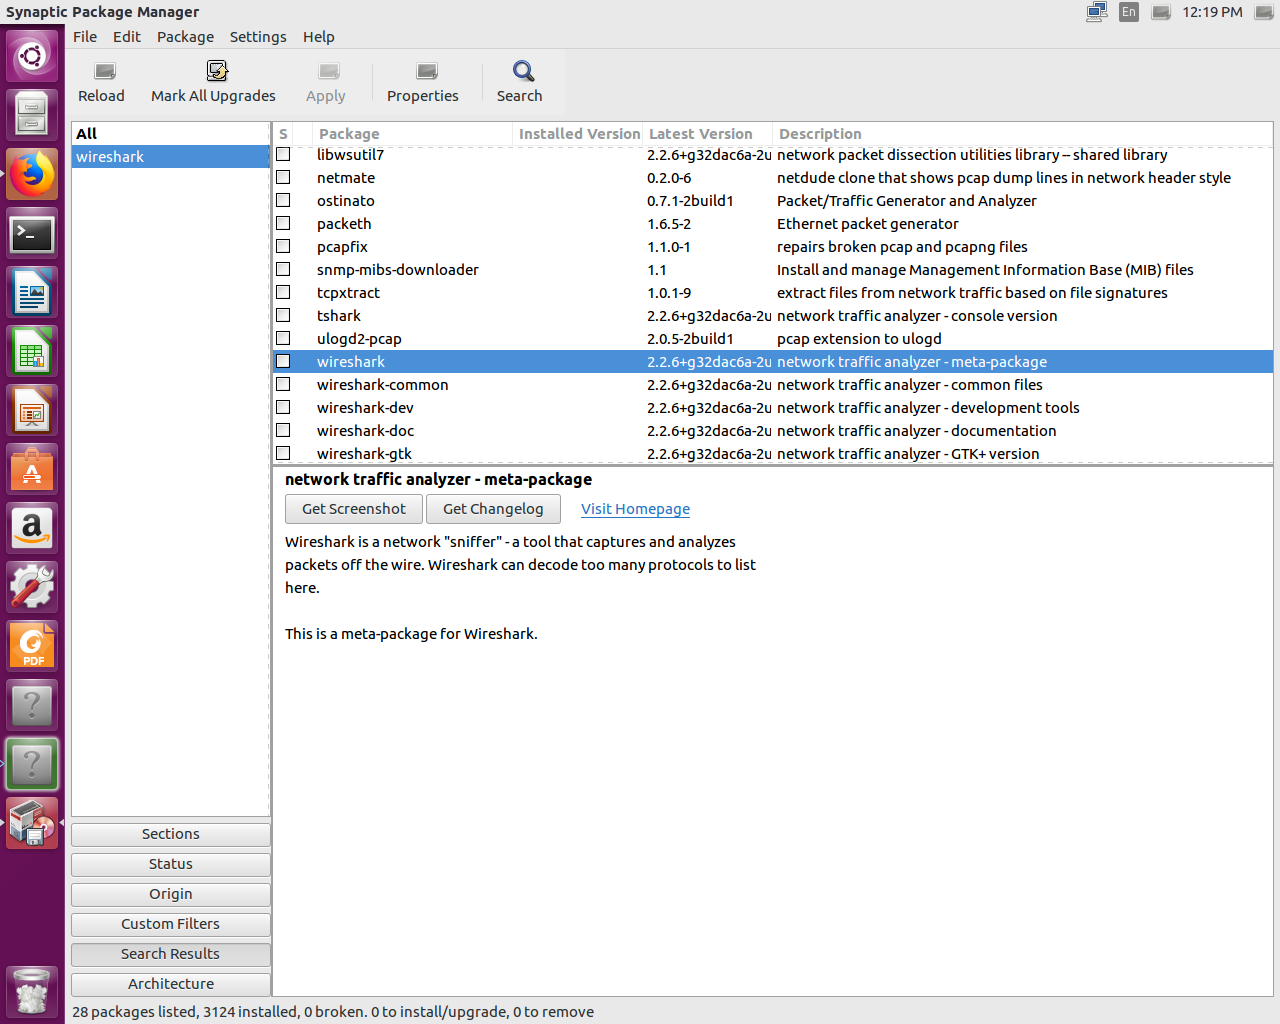
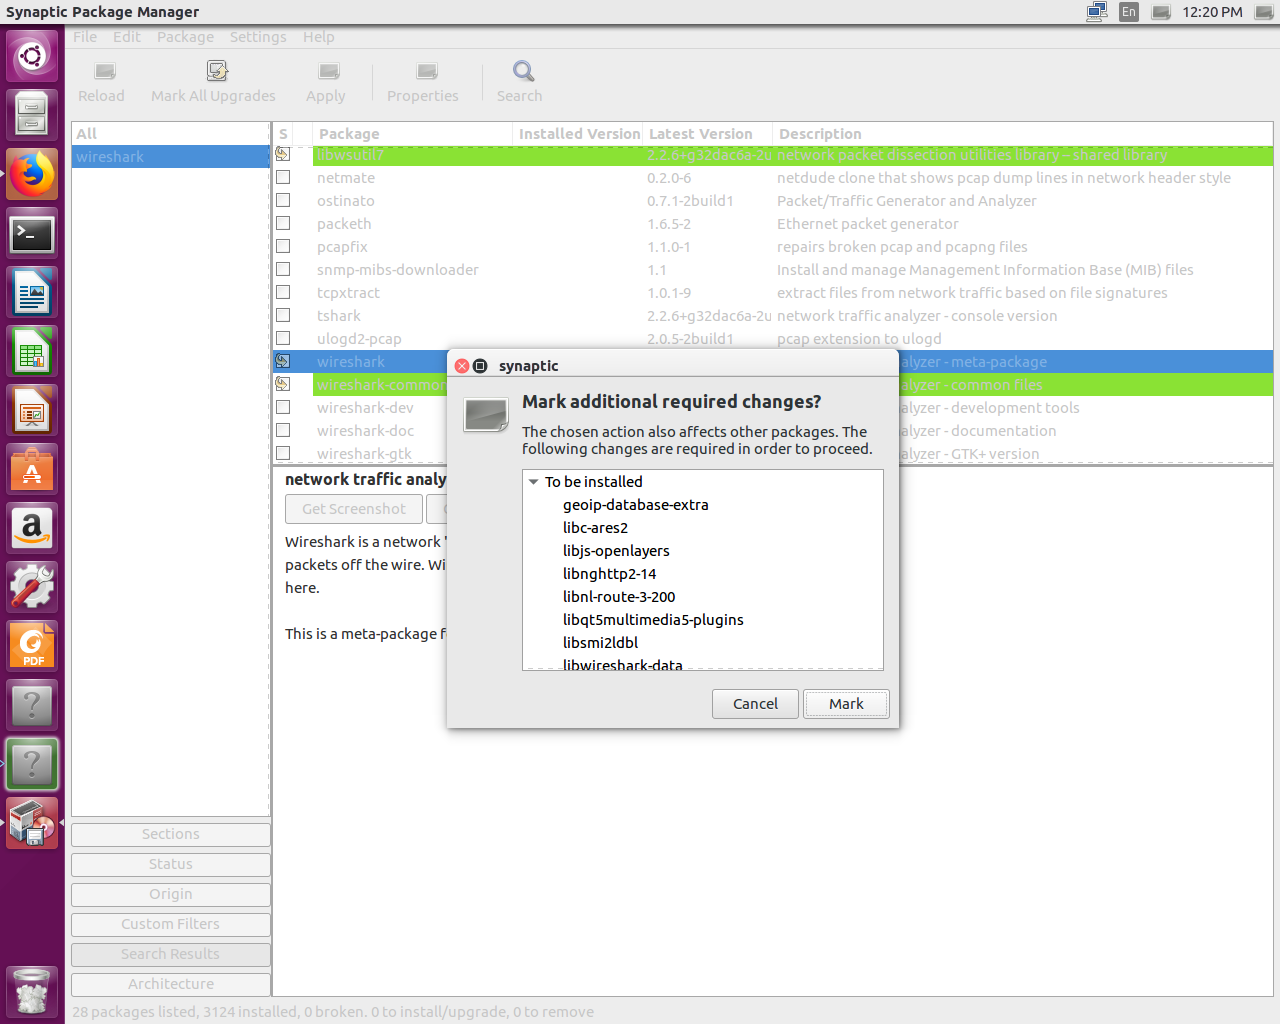
- So we'll select that; click on that, and select Mark for Installation. It will then ask you if it's okay to install other packages that are required. We can say sure, that's fine; Mark them for installation as well. So now all of our dependencies will be installed, as well:
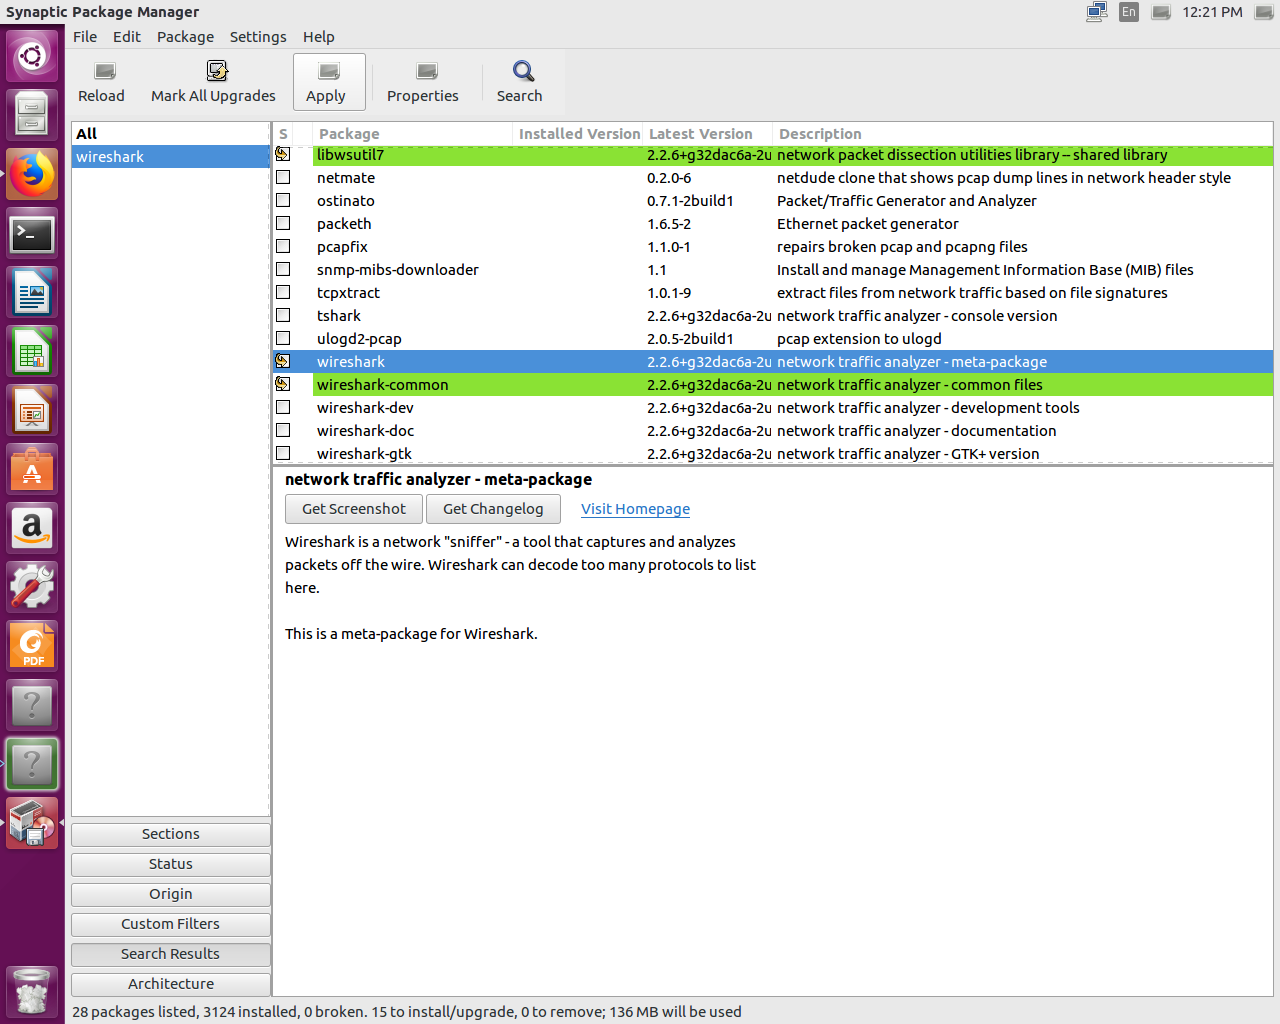
- We can then go up and click on Apply, and it'll tell us that we'll be installing the following packages. Click on Apply again, and Synaptic will go ahead and download and install all the programs that we've selected:
At this point, you'll receive a window popup asking you if non-superusers should be able to capture packets. I would recommend selecting Yes. That will allow you to separate your root user from your standard users, but still allow you, as a standard user, to capture packets.
- Once everything is complete, you'll receive a Changes applied window. It'll say: Successfully applied all changes. You can now close the window.
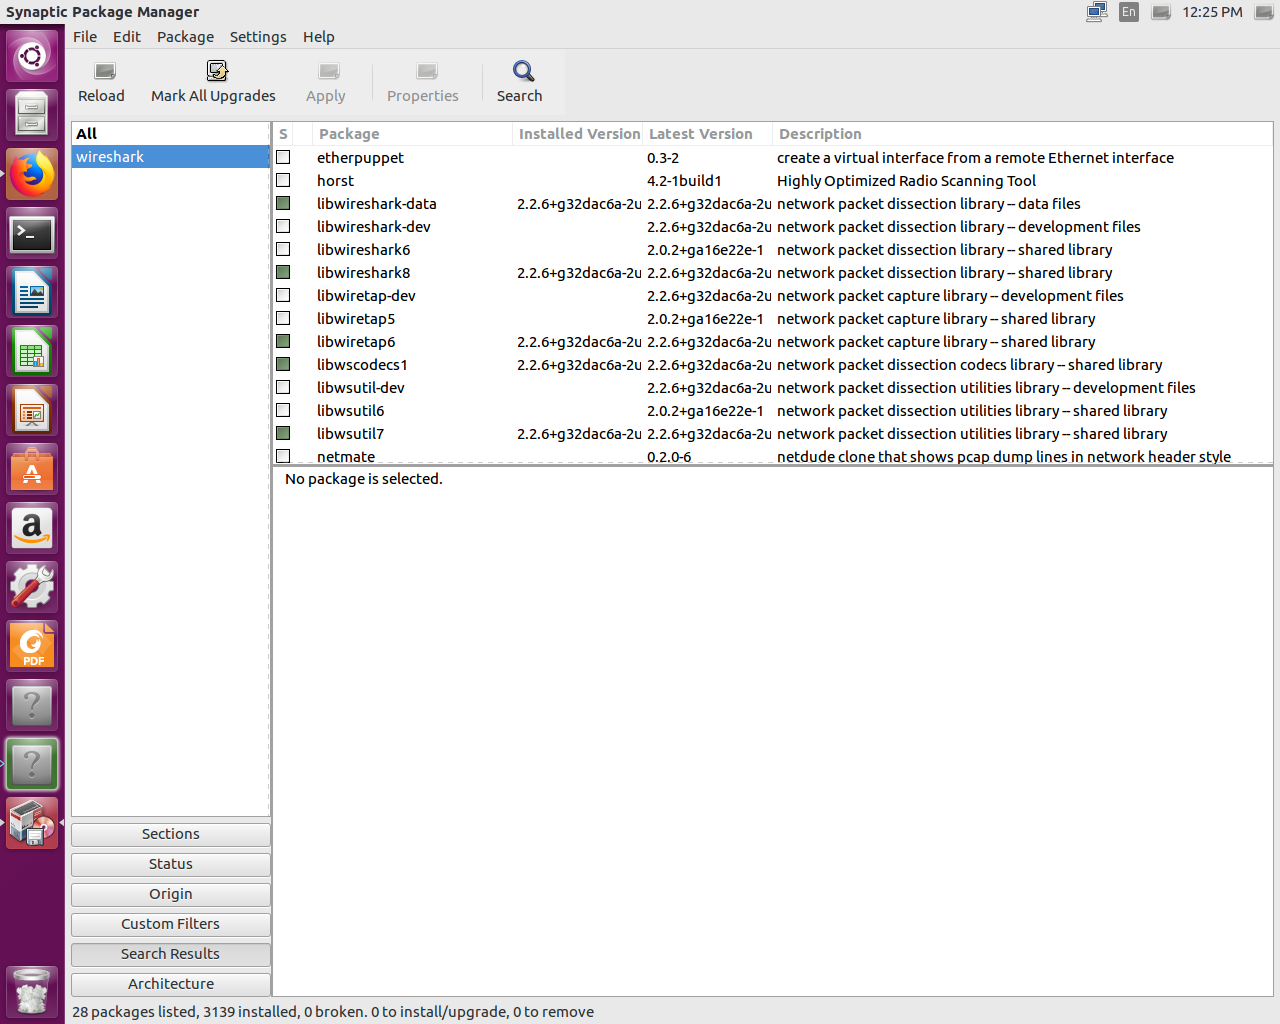
- Simply click on Close, and you'll see everything here marked in green is now installed, including Wireshark:
- So, at this point, we can close this program as well as the Ubuntu software. Next, click on the Search button in the upper left corner of the interface, and we'll type in wireshark. It automatically shows that Wireshark is here. We can simply click on that and it will load Wireshark.
- At this point, once Wireshark loads, you're done.


