Now, as we have gone through all the properties of the components of site map in detail, let us see how we can perform some common operations using Site Map Designer.
Common operations using Site Map Designer
Editing an existing component in the site map
To edit an existing area, group, and subarea in the site map, we need to select that component in the designer and go to the properties tab of that component. Let us take a simple example to understand this. Suppose we want to rename the existing Training area to Help, we need to select the Training area on the site map, go to its Properties tab, and update its Title property.
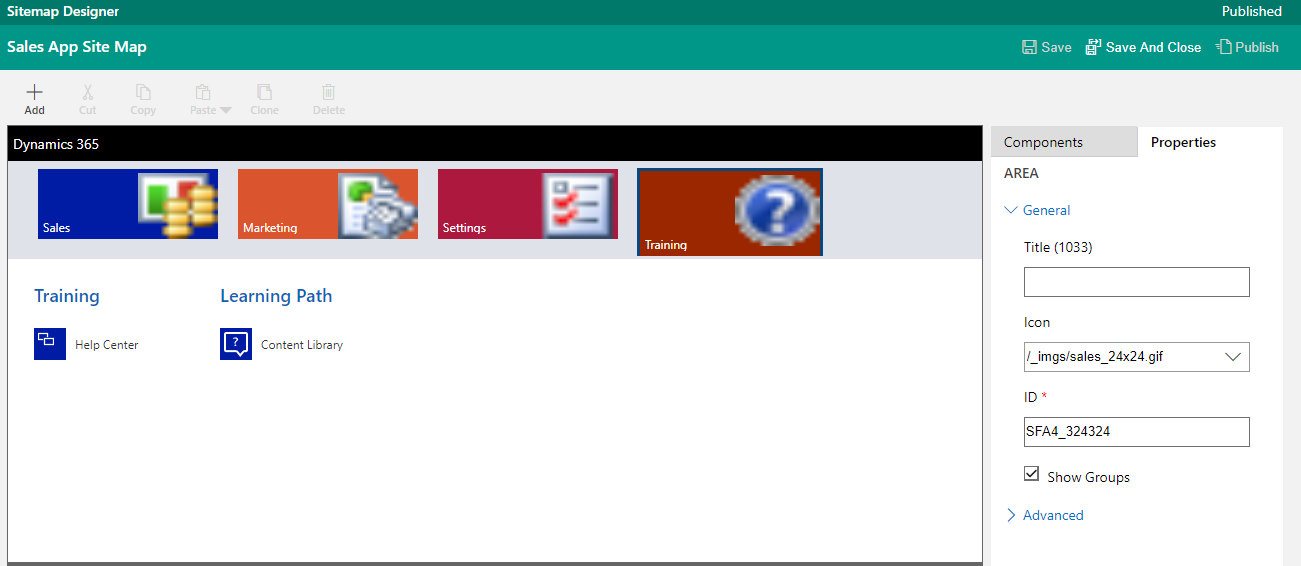
Let us specify Help as the value for the Title property. This updates the area's title from Training to Help, as shown as follows:
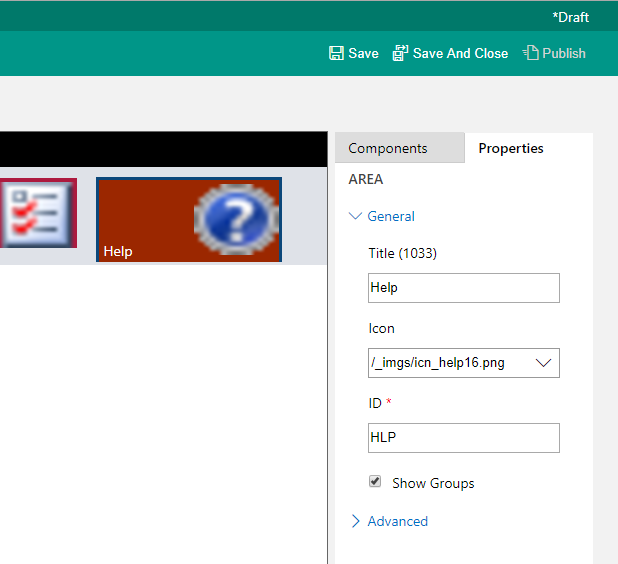
We can also update the title property of the site map components through inline editing. For this, hover over the component to reveal the pencil. We can click on the pencil icon to edit the Title. Similarly, we can edit or update the corresponding properties of the group and subarea components, and as we mentioned earlier, any changes made in the designer will reflect back in the XML for the site map.
Adding a component to the site map
To add an area, group, or subarea to the site map, we need to click on the Add button on the Action Bar in the Sitemap Designer. Let's add an area here to understand this. Click on the Add button and select Area:
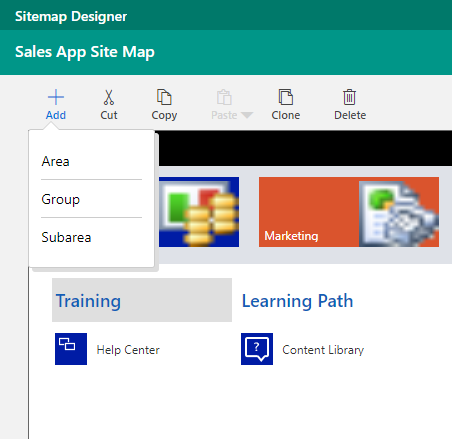
Or, drag-and-drop the Area from the Components tab.
Once added, we need to select the component (Area here), and then edit its properties in the Properties tab. For example, the Properties tab for the new Area component added is shown in the following image:
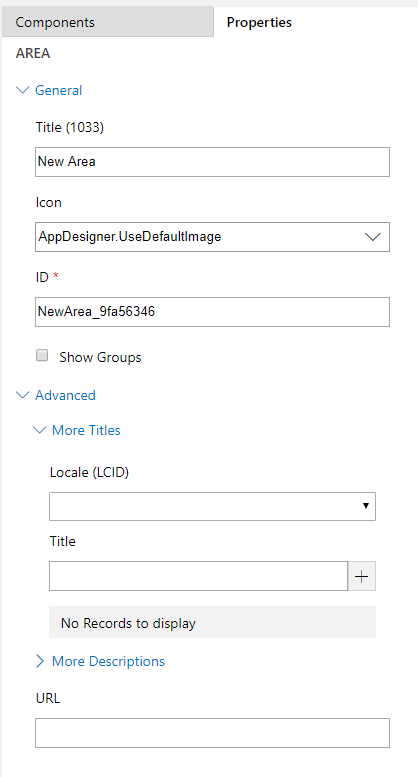
This will add a new Area named New Area in the site map.
Similarly, we can add or drag and drop new groups and subarea components in the Navigation and specify their properties.
Cutting, copying, and pasting a component to the site map
Through Site Map Designer, we can also cut, copy, and paste site map components. Let's select our New Area and click on the Cut button on the Action Bar to cut the component. The component will be grayed out.
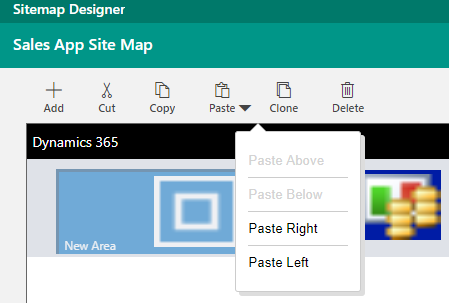
Similarly, we can select the component and click on the Copy button to copy the component. The Paste button gives us the option of pasting the component to the right or left in case of Area and Group components, shown as follows:
Cloning a component to the site map
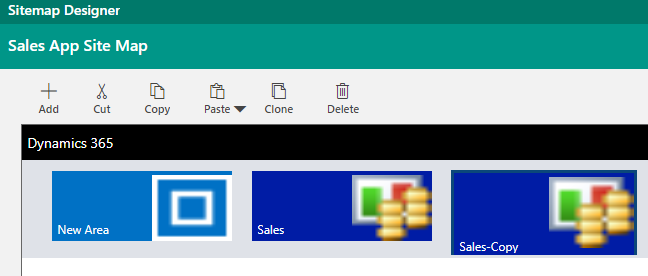
To clone or make a copy of an existing Area, Group, and Subarea to the site map, we can select the component and click the Clone button on the Action Bar in the Sitemap Designer. The clone will add the respective component to the next component being cloned with the -Copy suffix added to its Title. For example, cloning the Sales Area, as shown in the following image, will add a new area named Sales-Copy next to the Sales Area that is cloned:
Deleting a component from the site map
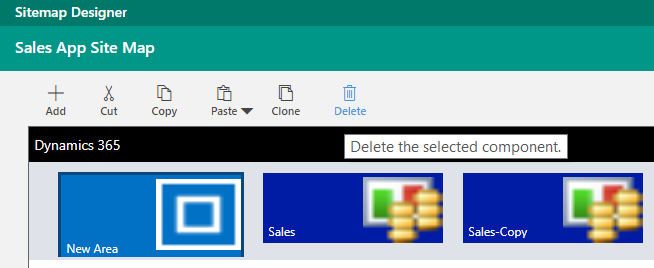
To delete an Area, Group, or Subarea from the site map, select the component and either click Delete from the Action bar or press the Delete key:
Deleting an Area will also delete the Group and Subarea in it. Similarly, deleting the Group will delete the Subarea in it.
Organizing a component within the site map
Using Drag and Drop, we can move the components around the site map before we rearrange it:
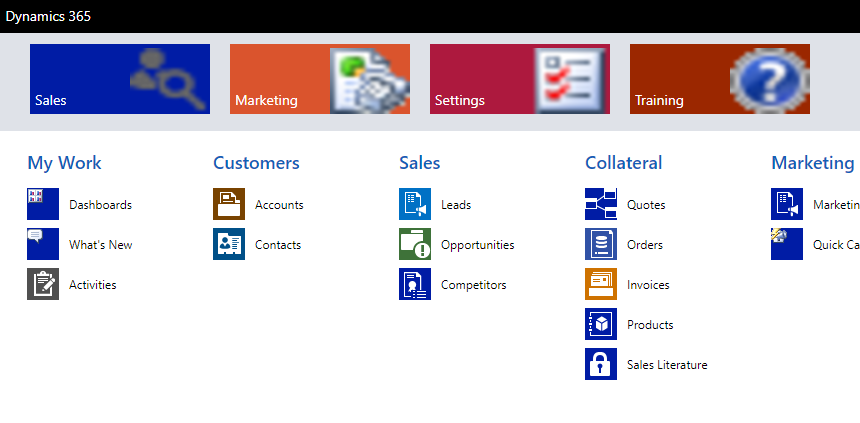
For example, we can move the Sales Area to be the last Area in the site map, My Work to be the second group within the Sales Area, Dashboard as the last Subarea inside the MyWork Group, and so on, shown as follows:
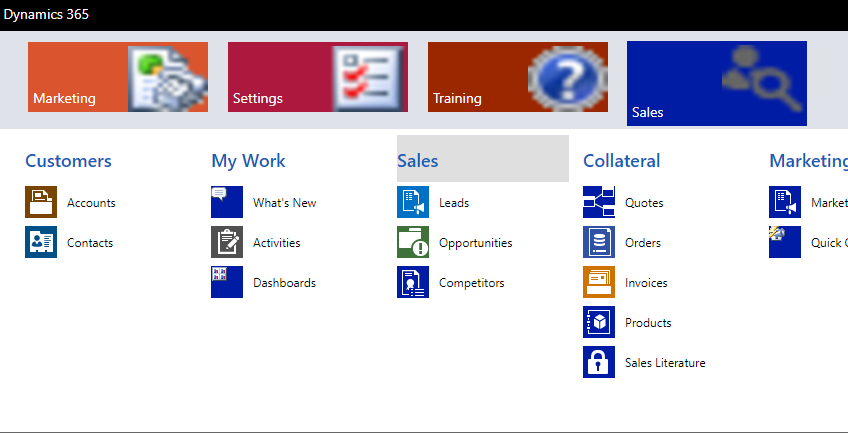
We can also move a Subarea to a different Group. For example, the Dashboards Subarea can be moved to any of the other Groups such as Customer, Sales, Collateral, and so on, and a Group to be part of a different Area. That is, we can move the My Work Group to be part of the Settings, Training, and Sales area.
Saving, validating, and publishing changes in the site map
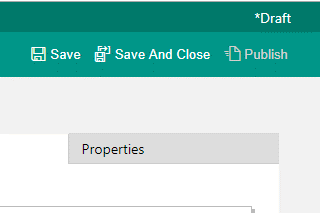
To reflect any of the preceding changes for the users, such as add, clone, delete, and so on, we need to click Save and then Publish it in the Site Map Designer canvas. Here, *Draft indicates that there are unsaved changes:
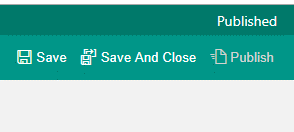
On saving the changes and clicking on Publish, it changes to Published to indicate that changes have been applied and are available for the users to see:
Clicking on the Save button will also validate and show up if there are any errors in the site map. For example, if we have not provided values for any of the required fields or specified unallowed characters for any of the properties. In the following screenshot, we have not provided a value for the entity property in the Subarea and clicked on Save, which is a mandatory field:
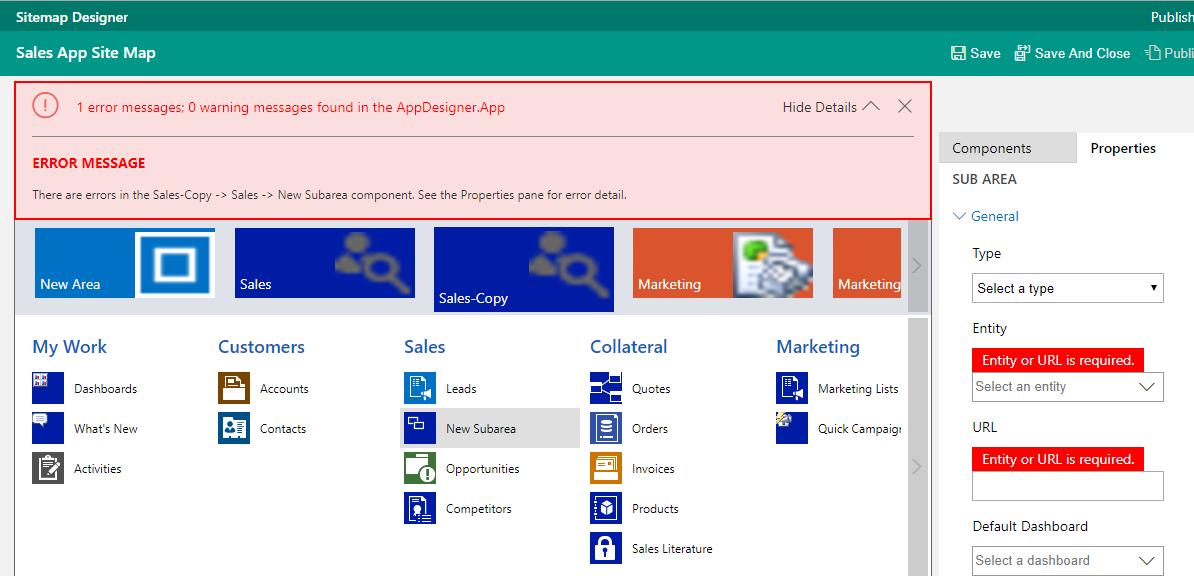
This shows the ERROR MESSAGE notification in the designer with all the details. We will only be able to save and then publish the changes after fixing the error.
Adding a Subarea component in the site map
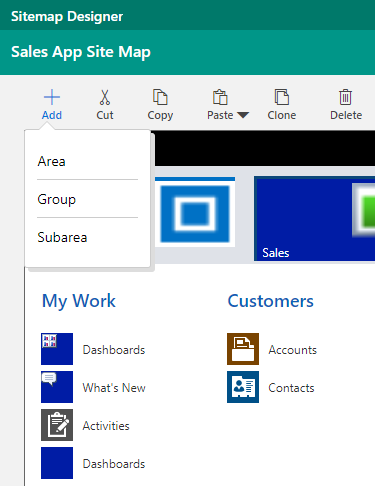
Let's take a simple scenario here to understand how we can add a new Subarea component. We realize that our Sales app users would be frequently accessing the Open Leads View inside CRM, so it would be helpful for them if we could add a Subarea for Open Leads View in the My Work Group in the Sales Area for them. To implement it, we will need to add a new Subarea inside the My Work Group of type URL. To do so, we need to click on Add in the Action bar in Sitemap Designer and add a new Subarea and drag and place it below the Activities SubArea in the My Work Group:
Here, the URL pattern for the view needs to be the following:
=/_root/homepage.aspx?etc=<entity code >&viewid=%7b<GUID value of view id>%7d"
For the etc and viewid query parameters, we need to go to the Open Leads view in CRM and click on the EMAIL A LINK| Of Current View ribbon button to get the link:

The link will have the value of etc and viewid. We will then copy the value of the etc and viewid query string parameters from the link. We can then set the properties for our new SUB AREA, shown as follows:
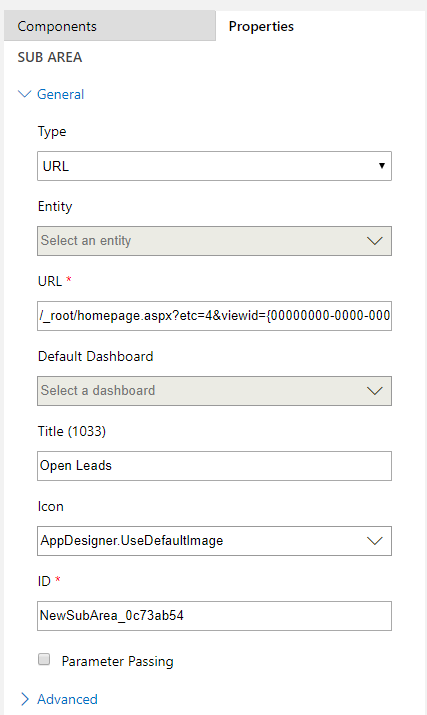
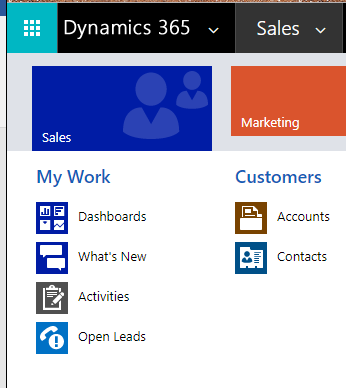
We will save and then publish it. After publishing, inside the Sales app the user will be able to see the new Subarea named Open Leads:
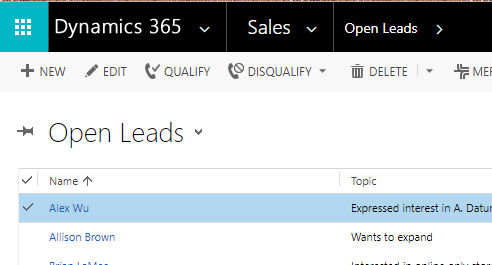
Clicking on the Open Leads Subarea will open the Open Leads view, shown as follows:
Hiding a Subarea component in the site map
As we saw earlier, the Subarea component has a privilege property. It defines whether to show or hide the Subarea based on privileges the user has through the security roles assigned. Let us try to understand this with an example as well. Suppose we want to show the Open Leads Subarea we just added to only those users who have a Create privilege on the Lead entity. To define this, let us go back to the Properties tab of the Open Leads Subarea in Site Map Designer. There, we need to go to Privileges inside the Advanced section. Inside the Entity drop-down, we can select the Lead entity and click on the + (plus) button to add the record. We will leave all the checkboxes unchecked, except Create:
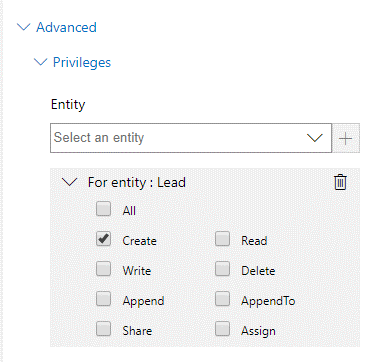
Save and publish the changes. Now, let us log in with the user that has only the Salesperson security role assigned. Here, we have updated the security role and have set None for Create Privilege on Lead Entity; that is, the first option that we see in the following screenshot:
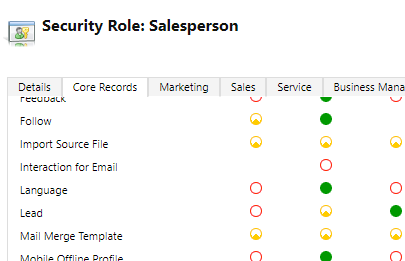
The users who do not have the Create privilege on the Lead record, will not be able to see the Open Leads Subarea in their site map.
Passing parameters to a URL from the site map
As we saw earlier, the Subarea component has a Parameter Passing checkbox property. It specifies whether to pass information about the organization and language context to the URL. The property is only available for Subareas of type web resource or URL. Suppose we have the following URL defined in our URL property of Subarea:
http://mydomain/mypage.aspx.
Checking the Parameter Passing checkbox will pass the following parameters to it:
http://mydomain/mypage.aspx/?orglcid=1033&orgname=org29d341dd&userlcid=1033.
- orglcid: language code identifier of the base language of the organization
- orgname : unique name of the organization
- userlcid: language code identifier used by the current user
This information could be used to create solutions that support multiple languages.


