


Running the project via the iOS simulator
Much like how we were able to use an Android emulator on the PC to play a simulated version of our game project, it is also possible to do the same exact thing on iOS by using the iOS simulator:
- Back in the Unity Editor, go to the Player settings. From there, go to the Other Settings section and change the Target SDK property from Device SDK to Simulator SDK:
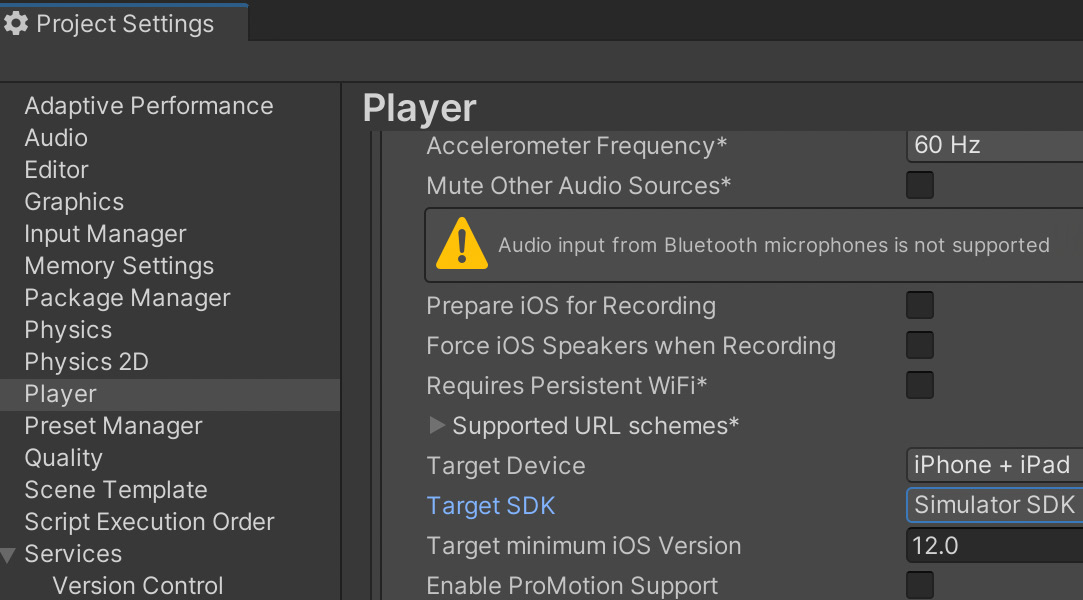
Figure 2.47 – Setting Target SDK to Simulator SDK
- Rebuild the project. This time I created a new folder to specify that this build was meant for the iOS simulator:
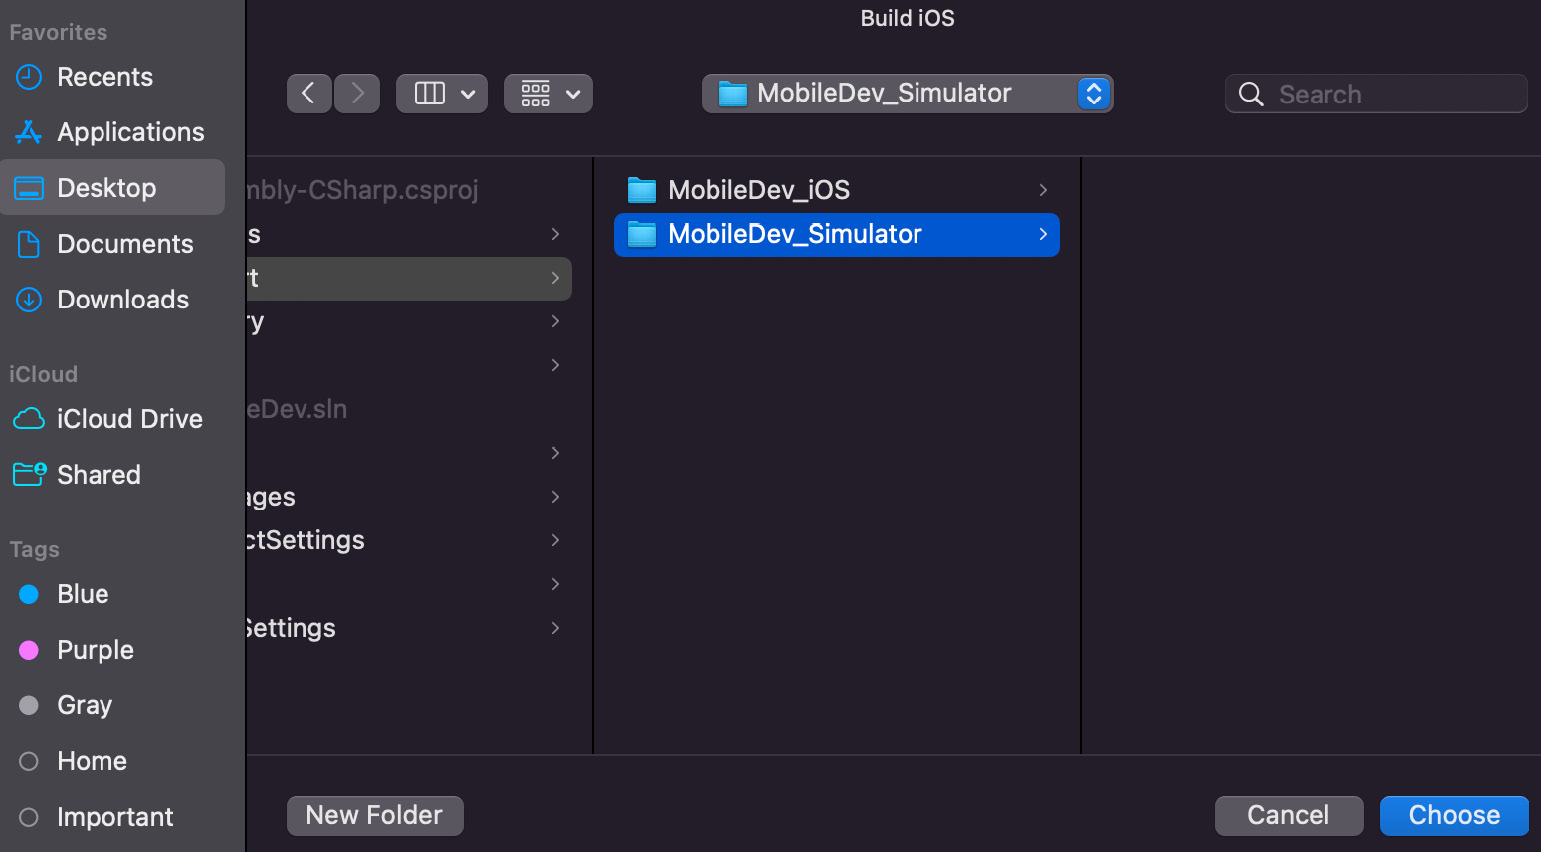
Figure 2.48 – Select a build folder
- Open the new project, and from there, in the top section, you’ll now see a simulator device selected instead of the Any iOS device option given in the previous build. You can also click on the option to open a drop-down list where you can select a particular device you’d like to...


