


Generating Normal maps in GIMP
We will now learn to quickly convert Albedo maps into Normal maps in GIMP. This will allow us to turn any image texture into a Normal map in a few clicks.
In the following steps, we will export a texture as a Normal map:
- Open the Albedo map in GIMP.

Figure 5.39 – Opening an Albedo map in GIMP
- Open the Filters menu from the top of the window, find the Generic section, and click on Normal Map.
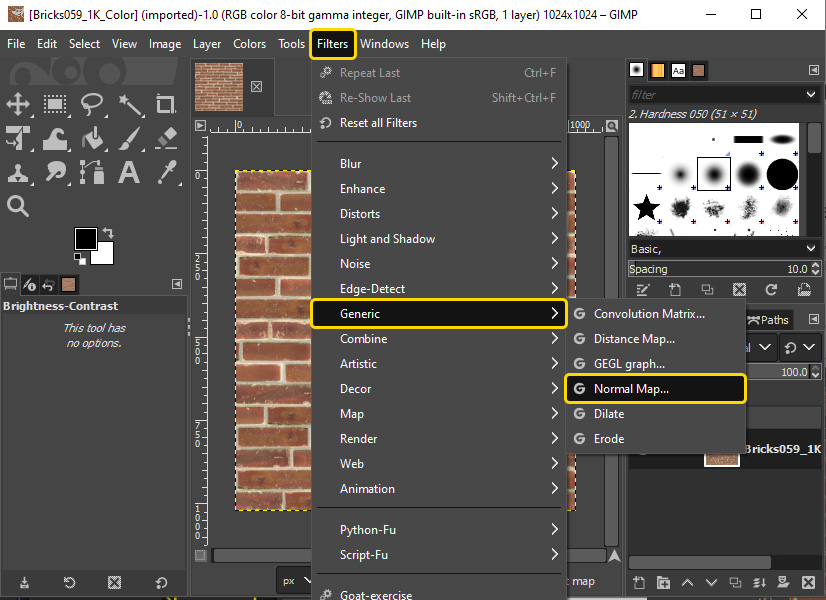
Figure 5.40 – Applying a Normal Map filter
GIMP will instantly turn the image into a Normal map and offer some tools to adjust the image, as shown in Figure 5.41. You can tweak the settings, but applying the default settings usually works well.
- Click the OK button.
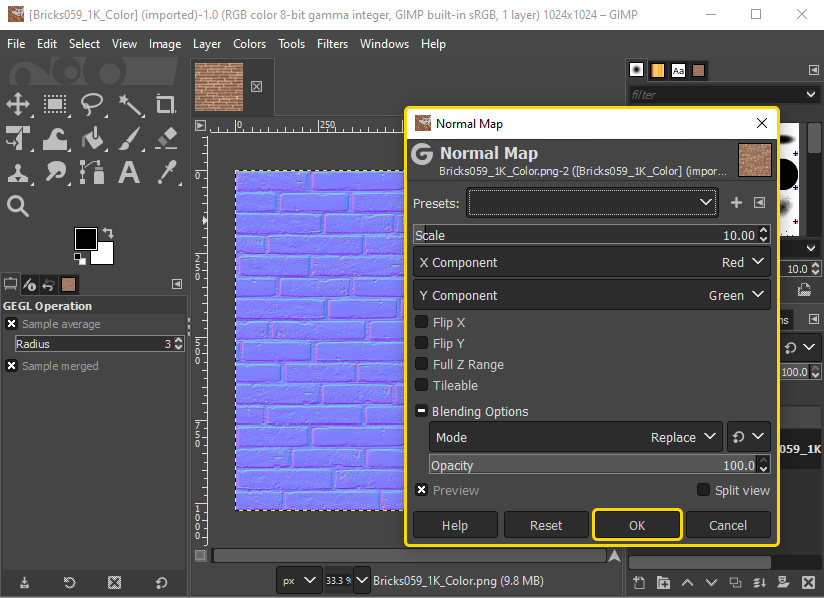
Figure 5.41 – Confirming the conversion
- Once again, export the image, and name the file
Normal_Map.png.
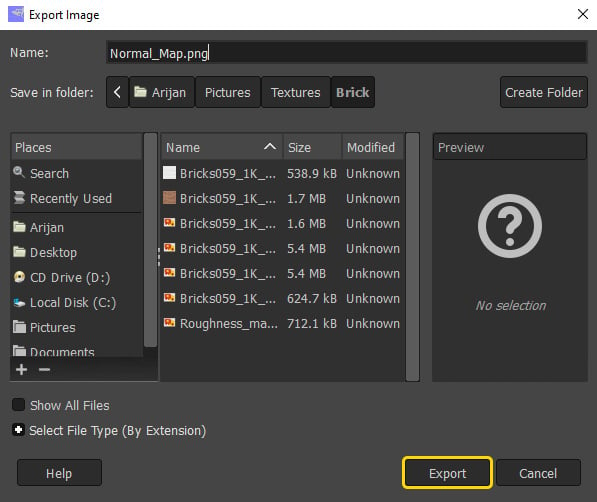
Figure 5.42 –...


