


Creating a player character
We’ll start by creating a rudimentary player character for our game:
- Open the
main.tscnfile I provided in the project base. - Select the
rootnode, calledMain, and press the Add Child Node button:
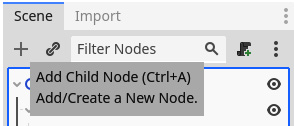
Figure 6.1 – The button to add a new child node to the selected node in the tree
- Then, find and add a Node2D node. You can use the search bar at the top to make searching for the node easier. This is a node that has a position in 2D space:
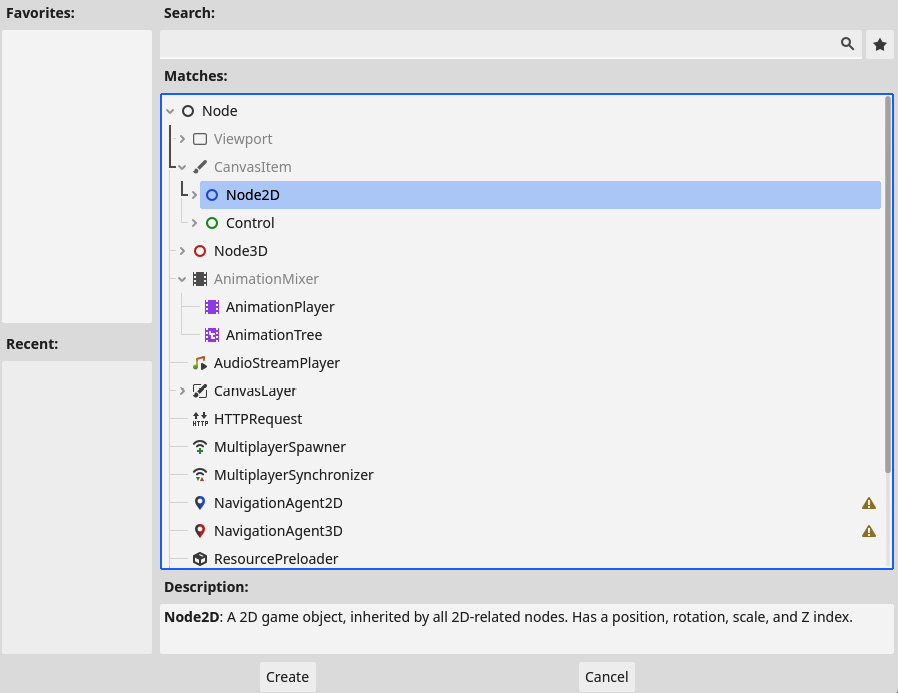
Figure 6.2 – Finding and selecting the Node2D node
- Next, rename this Node2D as
Playerby right clicking the node and choosing Rename, just like we did in Chapter 2.
Player will be the base node for our player character. From here, we will add all the other nodes that comprise the Player node. The first of these nodes will be a sprite.
Adding a sprite
The first thing we can do to flesh out our player character...


