The first thing we need to do is create an empty skeleton page that we can use as the base for all our examples, as follows:
<!DOCTYPE html>
<html>

<head>
    <title>Example 01.01 - Basic skeleton</title>
    <meta charset="UTF-8" />
    <script type="text/javascript" charset="UTF-8" src="../../libs/three/three.js"></script>
    <script type="text/javascript" charset="UTF-8" src="../../libs/three/controls/TrackballControls.js"></script>
    <script type="text/javascript" src="./js/01-01.js"></script>
    <link rel="stylesheet" href="../../css/default.css">
</head>

<body>
    <!-- Div which will hold the Output -->
    <div id="webgl-output"></div>

    <!-- Javascript code that runs our Three.js examples -->
    <script type="text/javascript">
        (function () {
            // contains the code for the example
            init();
        })();
    </script>
</body>

</html>
As you can see from this listing, the skeleton is a very simple HTML page, with only a couple of elements. In the <head> element, we load the external JavaScript libraries that we'll use for the examples. For all the examples, we'll at least need to load the Three.js library, three.js. And we also load a controller, TrackballControls.js, which allows you to use your mouse to rotate and pan around the scenes. The last JavaScript file we load in the <head> section is the file that contains the example code. For this first example, it is called 01-01.js. Finally, in the <head> element, we load a CSS file, which contains some simple styles (for example, the styles in the default.css file remove any scrollbars when we create a full-page Three.js scene). In the <body> element of this page, you can see a single <div> element. When we write our Three.js code, we'll point to the output of the Three.js renderer to that element. At the bottom of this page, you can see a bit of JavaScript. In this function, which is called when the page is loaded, we call init(). The init() function is defined in the 01-01.js file and will set up the Three.js scene. For this example, the init() function in the 01-01.js file is very simple and just prints out the Version of Three.js we're using:
function init() {
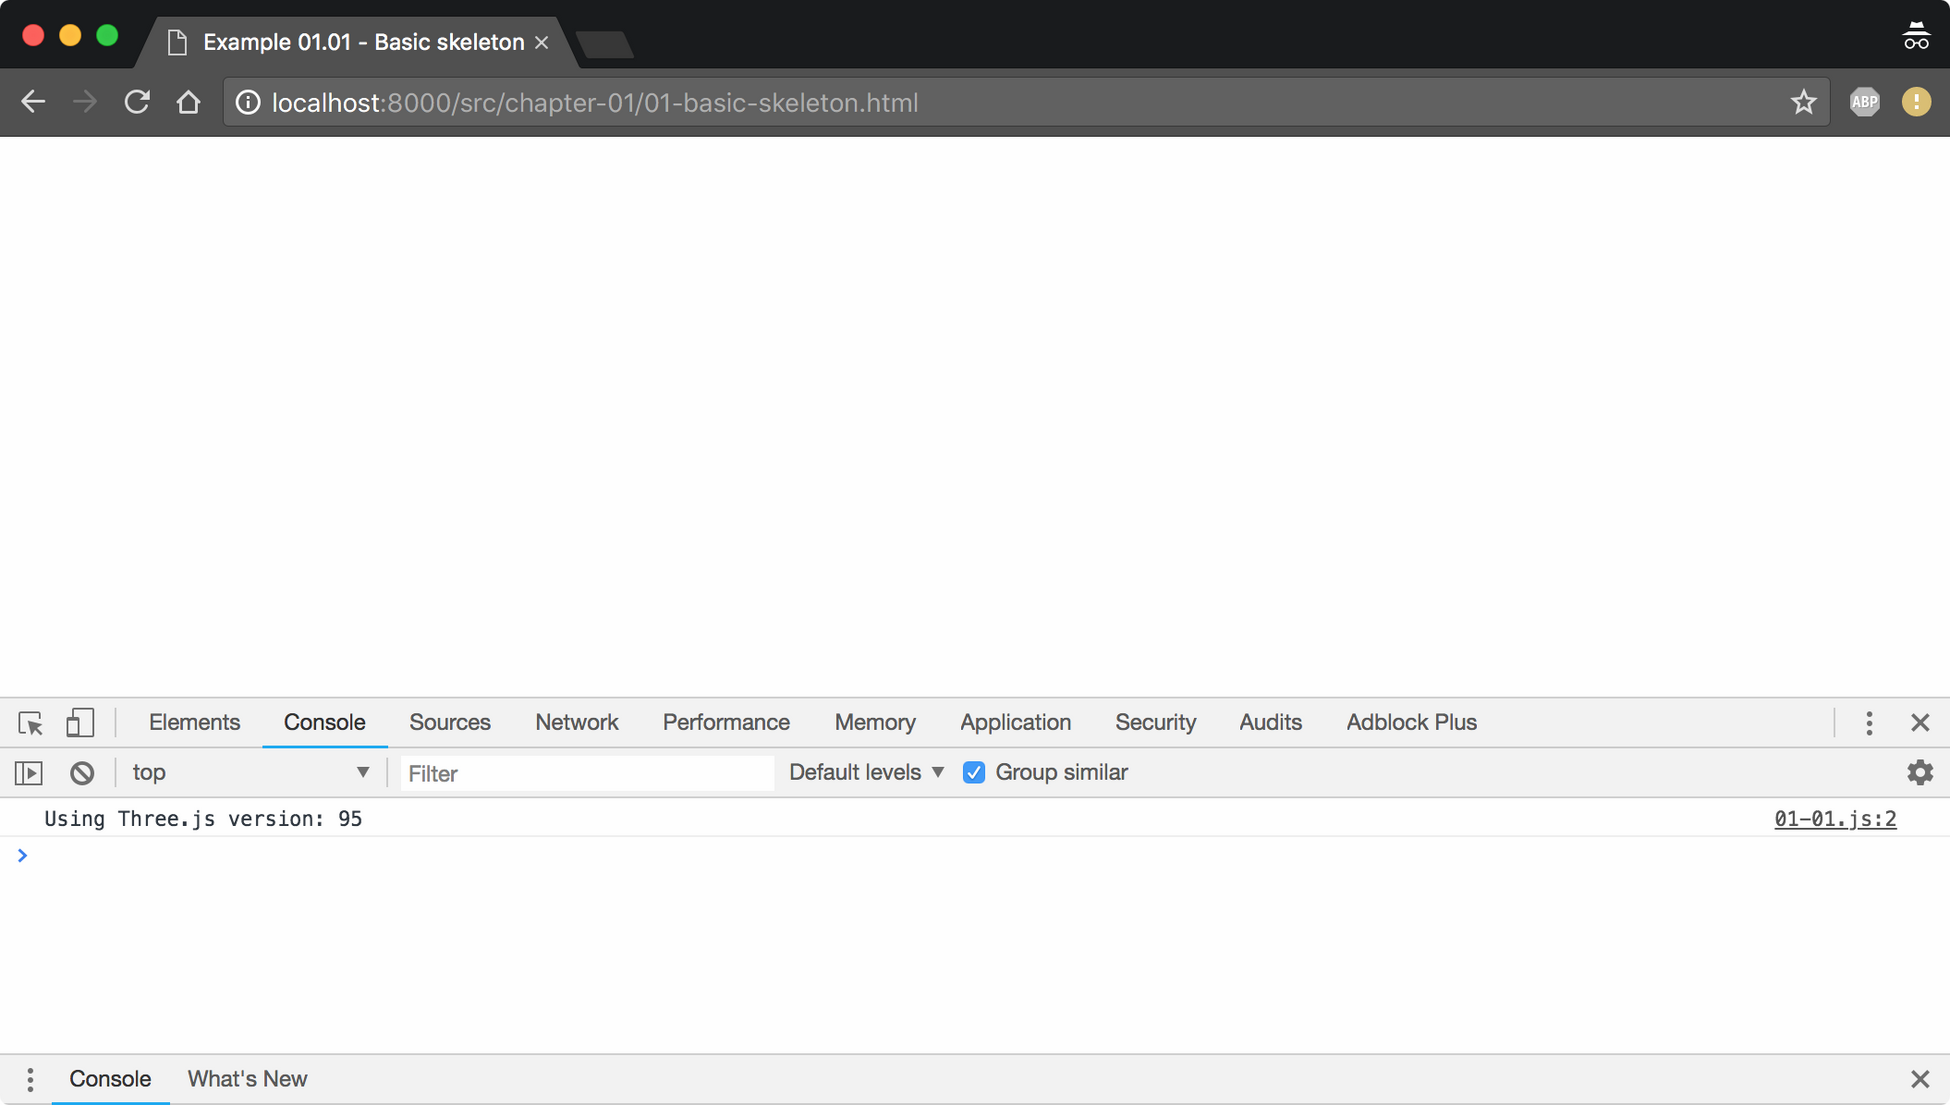
    console.log("Using Three.js version: " + THREE.REVISION);
}
If we open this file in our browser and look at the console output, you should see something like this:

In the <head> element we included the sources for Three.js. Three.js comes in two Versions:
- three.min.js: This is the library you'd normally use when deploying Three.js sites on the internet. This is a mini version of Three.js, created using UglifyJS, which is a quarter of the size of the normal Three.js library. All the examples and code used in this book are based on Three.js r95, which was released in July 2018.
- three.js: This is the normal Three.js library. We use this library in our examples since it makes debugging much easier when you can read and understand the Three.js source code.
In the next section, you'll learn how to add the first couple of 3D objects and render them to the <div> element we defined in our HTML skeleton.


