Rancher is a container management platform with the flexibility to create Kubernetes clusters with Rancher Kubernetes Engine (RKE) or cloud-based Kubernetes services, such as GKE, AKS, and EKS, which we discussed in the previous recipes.
In this section, we will cover recipes for configuring Rancher so that we can deploy and manage Kubernetes services.
Getting ready
Rancher can be installed on Ubuntu, RHEL/CentOS, RancherOS, or even on Windows Server. You can bring up Rancher Server in a high availability configuration or a single node. Refer to the See also... section for links to the alternative installation instructions. In this recipe, we will run Rancher on a single node.
How to do it…
This section will take you through how to configure and manage Kubernetes clusters with Rancher. To that end, this section is further divided into the following subsections to make this process easier:
- Installing Rancher Server
- Deploying a Kubernetes cluster
- Importing an existing cluster
- Enabling cluster and node providers
Installing Rancher Server
Follow these steps to install Rancher Server:
- Install a supported version of Docker. You can skip this step if you have Docker installed already:
$ sudo apt-get -y install apt-transport-https ca-certificates curl \
software-properties-common
$ curl -fsSL https://download.docker.com/linux/ubuntu/gpg | sudo apt-key add -
$ sudo add-apt-repository "deb [arch=amd64] https://download.docker.com/linux/ubuntu $(lsb_release -cs) stable"
$ sudo apt-get -y install docker-ce && docker --version
- Add a user to a Docker group:
$ sudo usermod -a -G docker $USER
- To install Rancher Server, run the following command:
docker run -d --restart=unless-stopped \
-p 80:80 -p 443:443 rancher/rancher:latest
- Open a browser window and go to https://localhost. Replace localhost with your host's IP if necessary.
- Set a new password and click on Continue.
- Set the public IP address of Rancher server and click on Save URL. This IP needs to be externally accessible from your clusters.
Deploying a Kubernetes cluster
To deploy a new cluster, you need to follow these steps:
- Click on Add Cluster.
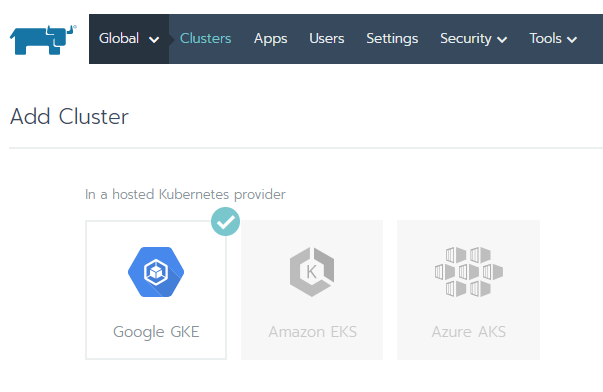
- Choose a provider. In our example, we will use GKE. Some settings for other providers might be slightly different:
- Enter a cluster name.
If you have your GCP service account JSON file that we saved previously, skip to step 10.
- From the GCP navigation menu, go to IAM and click on the Service accounts link.
- Click on Create Service Account.
- Enter a service account name and click Create.
- Add the required minimum permissions; that is, Compute Viewer, Viewer, Kubernetes Engine Admin, and Service Account User, and click Continue.
- Click on Create Key. Use JSON as the key type in order to save your service account.
- On the Rancher UI, click on Read from a file and load the service account JSON file you saved previously.
- Customize the Cluster Options as needed; otherwise, use the default settings and click on Create to deploy your Kubernetes cluster:
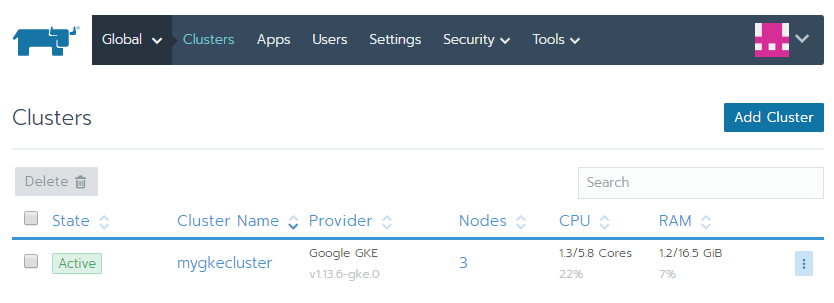
Your cluster will be listed and ready to be managed immediately on your Rancher dashboard.
Importing an existing cluster
To import an existing cluster, you need to follow these steps:
- Click on Add Cluster
- Click on Import:
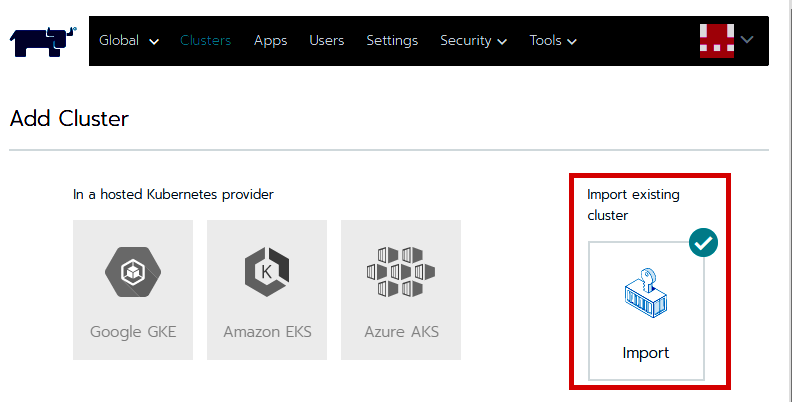
- Enter a cluster name and click on Create.
- Follow the instructions shown and copy and run the kubectl command displayed on the screen to an existing Kubernetes cluster. This command will look similar to the following if you are running with an untrusted/self-signed SSL certificate:

- By clicking on Done, your cluster will be listed and ready to manage immediately on your Rancher dashboard:
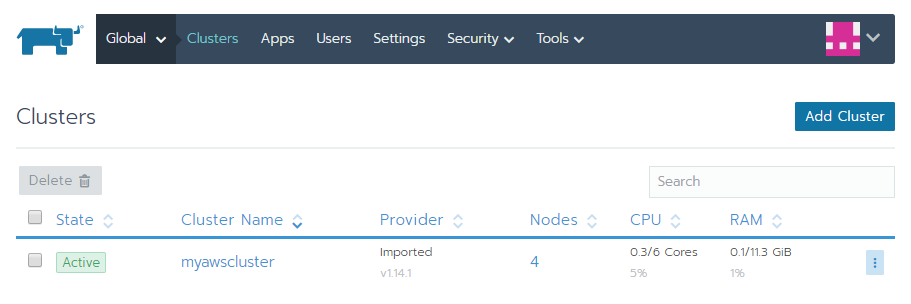
The last step may take a minute to complete. Eventually, the state of your cluster will turn from Pending to Active when it is ready.
Enabling cluster and node providers
To be able to support multiple providers, Rancher uses cluster and node drivers. If you don't see your provider on the list, then it is most likely not enabled.
To enable additional providers, follow these steps:
- From Tools, click on Drivers.
- Find your provider on the list and click Activate:
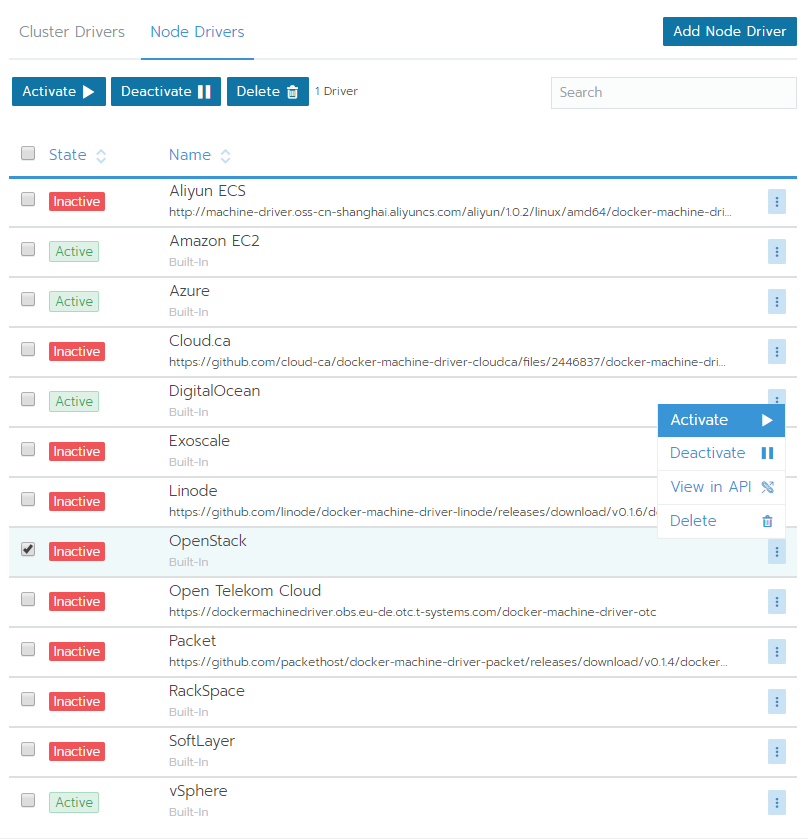
From the same page, you can also deactivate the providers you don't intend to use.
How it works…
This recipe showed you how to quickly run Rancher Server to manage your Kubernetes clusters.
In step 1, we used a single node installation using a default self-signed certificate method. For security purposes, SSL is required to interact with the clusters. Therefore, a certificate is required.
If you prefer to use your own certificate signed by a recognized CA instead, you can use the following command and provide the path to your certificates to mount them in your container by replacing the FULLCHAIN.pem and PRIVATEKEY.pem files with your signed certificates:
$ docker run -d --restart=unless-stopped \
 -p 80:80 -p 443:443 \
 -v /<CERTDIRECTORY>/<FULLCHAIN.pem>:/etc/rancher/ssl/cert.pem \
 -v /<CERTDIRECTORY>/<PRIVATEKEY.pem>:/etc/rancher/ssl/key.pem \
 rancher/rancher:latest --no-cacerts
Using a recognized certificate will eliminate the security warning on the login page.
There's more…
It is also useful to have knowledge of the following information:
- Bind mounting a host volume to keep data
- Keeping user volumes persistent
- Keeping data persistent on a host volume
- Running Rancher on the same Kubernetes nodes
Bind mounting a host volume to keep data
When using the single node installation?, the persistent data is kept on the /var/lib/rancher path in the container.
To keep data on the host, you can bind mount a host volume to a location using the following command:
$ docker run -d --restart=unless-stopped \
 -p 80:80 -p 443:443 \
 -v /opt/rancher:/var/lib/rancher \
 -v /var/log/rancher/auditlog:/var/log/auditlog \
 rancher/rancher:latest
Bind mounts have limited functionality compared to volumes. When Rancher is started using the bind mount, a directory on the host machine will be mounted to the specified directory in the container.
Keeping user volumes persistent
When using RancherOS, only specific directories keep the data defined by the user-volumes parameter persistent.
To add additional persistent user-volumes, for example, add the /var/openebs directory:
$ ros config set rancher.services.user-volumes.volumes \[/home:/home,/opt:/opt,/var/lib/kubelet:/var/lib/kubelet,/etc/kubernetes:/etc/kubernetes,/var/openebs]
$ system-docker rm all-volumes
$ reboot
After rebooting, data in the specified directories will be persistent.
Running Rancher on the same Kubernetes nodes
To add the node where you run Rancher Server on a cluster, replace the default ports -p 80:80 -p 443:443 as follows and use the following command to start Rancher:
$ docker run -d --restart=unless-stopped \
 -p 8080:80 -p 8443:443 rancher/rancher:latest
In this case, Rancher Server will be accessible through https://localhost:8443 instead of the standard 443 port.
See also
- The Rancher 2.x Documentation: https://rancher.com/docs/rancher/v2.x/en/
- K3s, a lightweight Kubernetes from Rancher Labs: https://k3s.io/
- Rio, an application deployment engine for Kubernetes from Rancher Labs: https://rio.io/


