


Creating unattended installation files
To create an unattended.xml file, you can either start from scratch with a simple text editor or use a GUI. To leverage the second option, start the setup of the Windows Assessment and Deployment Kit (ADK) you downloaded earlier. At the setup prompt, select only Deployment Tools, as shown in the following screenshot. After the completion of the installation, start Windows System Image Manager from the Start screen:
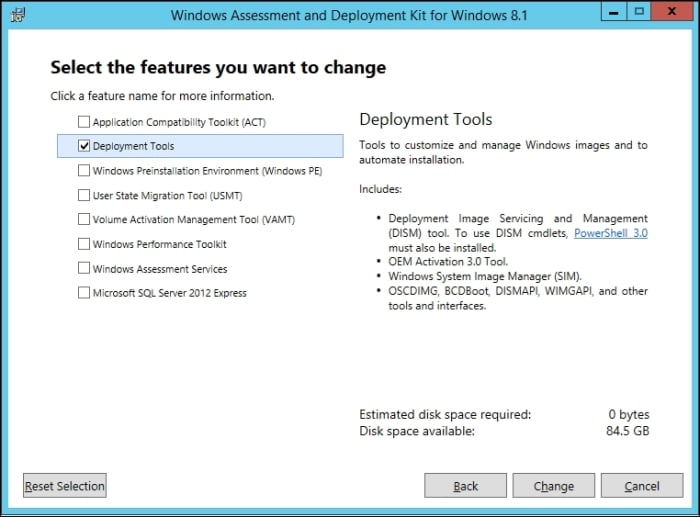
Windows ADK 8.1
After the tool is fully loaded, select the File menu, open the Select an Image wizard, and browse to the Install.wim file or your installation media in the source's subdirectory. Select the Windows Server 2012 R2 SERVERSTANDARD edition for your first unattended installation file and allow the creation of a new catalog file. If you receive a warning message stating that you are unable to write the catalog file, open Windows Explorer, navigate to the Install.wim file, open its properties, and uncheck the read only checkbox. If you have your installation media sitting on a physical read-only media, copy Install.wim to a local hard drive first. Select the Server Standard Edition with GUI:
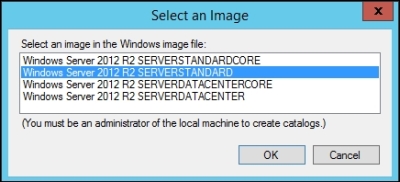
Select Windows Edition
After the catalog creation is completed, select the File menu again, create a New Answer File, and save it as unattended.xml to a place of your choice.
Windows System Image Manager will then create the basic XML structure of your unattended file, as shown in the following screenshot:
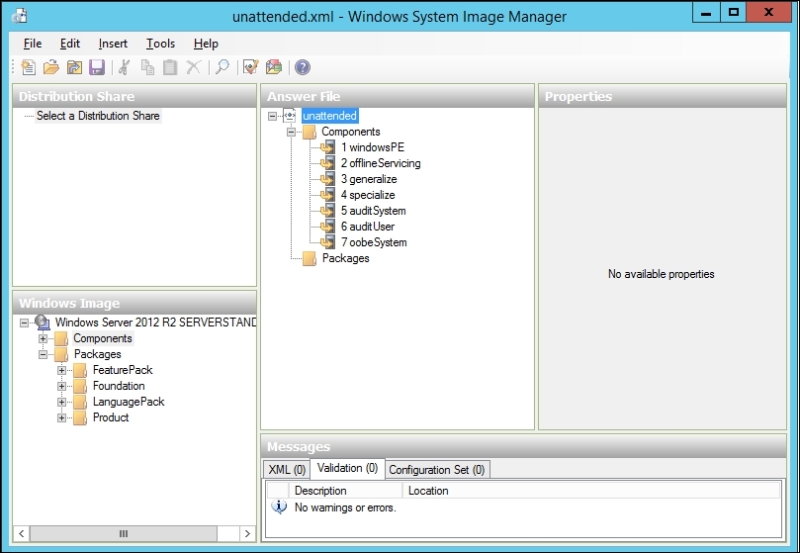
Windows System Image Manager
Opening this XML file in Internet Explorer will show you the actual file contents. Every Windows Server 2012 R2 setup will check for an existing unattended.xml file at the start of every available drive letter, but will only work if the XML structure is correct. We will now continue to fill this unattended.xml file with contents specific to the Hyper-V setup to allow a Zero-Touch installation of your Hyper-V hosts.


