Starting GROME
Depending on your host operating system you should launch either the 32-bit or 64-bit Version. If you have more than 4 GB of memory installed and a 64-bit edition of the Windows operating system then you should take advantage of running GROME (64 bit), every bit of extra memory helps (no pun intended). If you need to work with very detailed scenes you should opt for this work environment as it will pay off in terms of swap times. These examples are created using the 32-bit edition which look identical. Let's get started.
Launch GROME 3.1, when greeted with the quick start dialog click on the Create a new project button.

You'll see a New Scene dialog like the following screenshot. Since we want to get started creating our volcano lair we'll call our project
volcano_lair. You'll notice a number of icons grouped under Project Type, the type determines what kind of features you can add to the project. For now we'll just select Complete Scene which is everything.
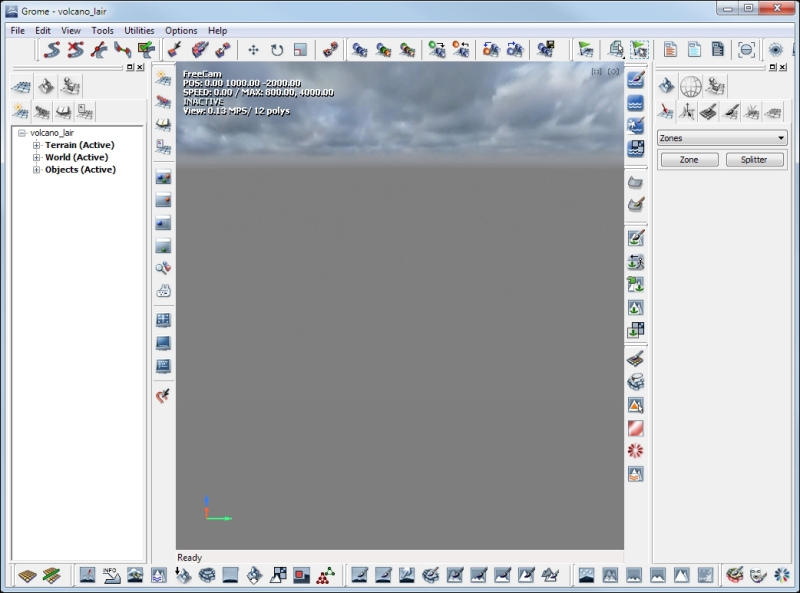
After a short moment you'll be presented with an, initially, intimidating interface and an empty scene.

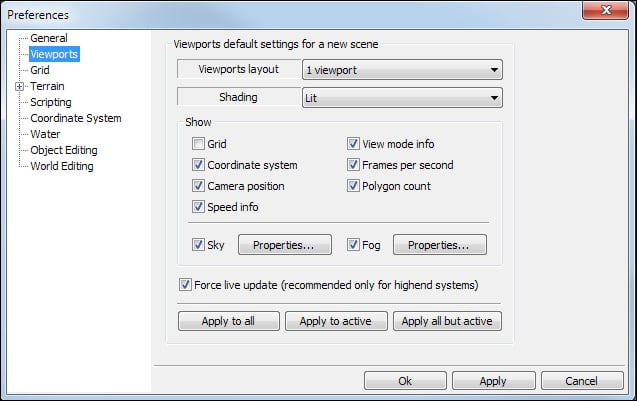
Before you start to panic, the imposing interface buttons bordering the work area are common editor functions we'll be accessing from other parts of the interface. By default the GROME interface is arranged with the tablet user in mind. If your default view is split into four viewports you can change it to a single viewport through the OPTIONS menu. Select Preferences and set the viewports in the dialog as given in the following screenshot. Be sure to click on the Apply to All button to assign these settings to the current viewports.


