Search icon CANCEL
Subscription
0
Cart icon
Your Cart (0 item)
Close icon
You have no products in your basket yet
Save more on your purchases! discount-offer-chevron-icon
Savings automatically calculated. No voucher code required.
Arrow left icon
Explore Products
Best Sellers
New Releases
Books
Videos
Audiobooks
Learning Hub
Newsletter Hub
Free Learning
Arrow right icon
timer SALE ENDS IN
0 Days
:
00 Hours
:
00 Minutes
:
00 Seconds
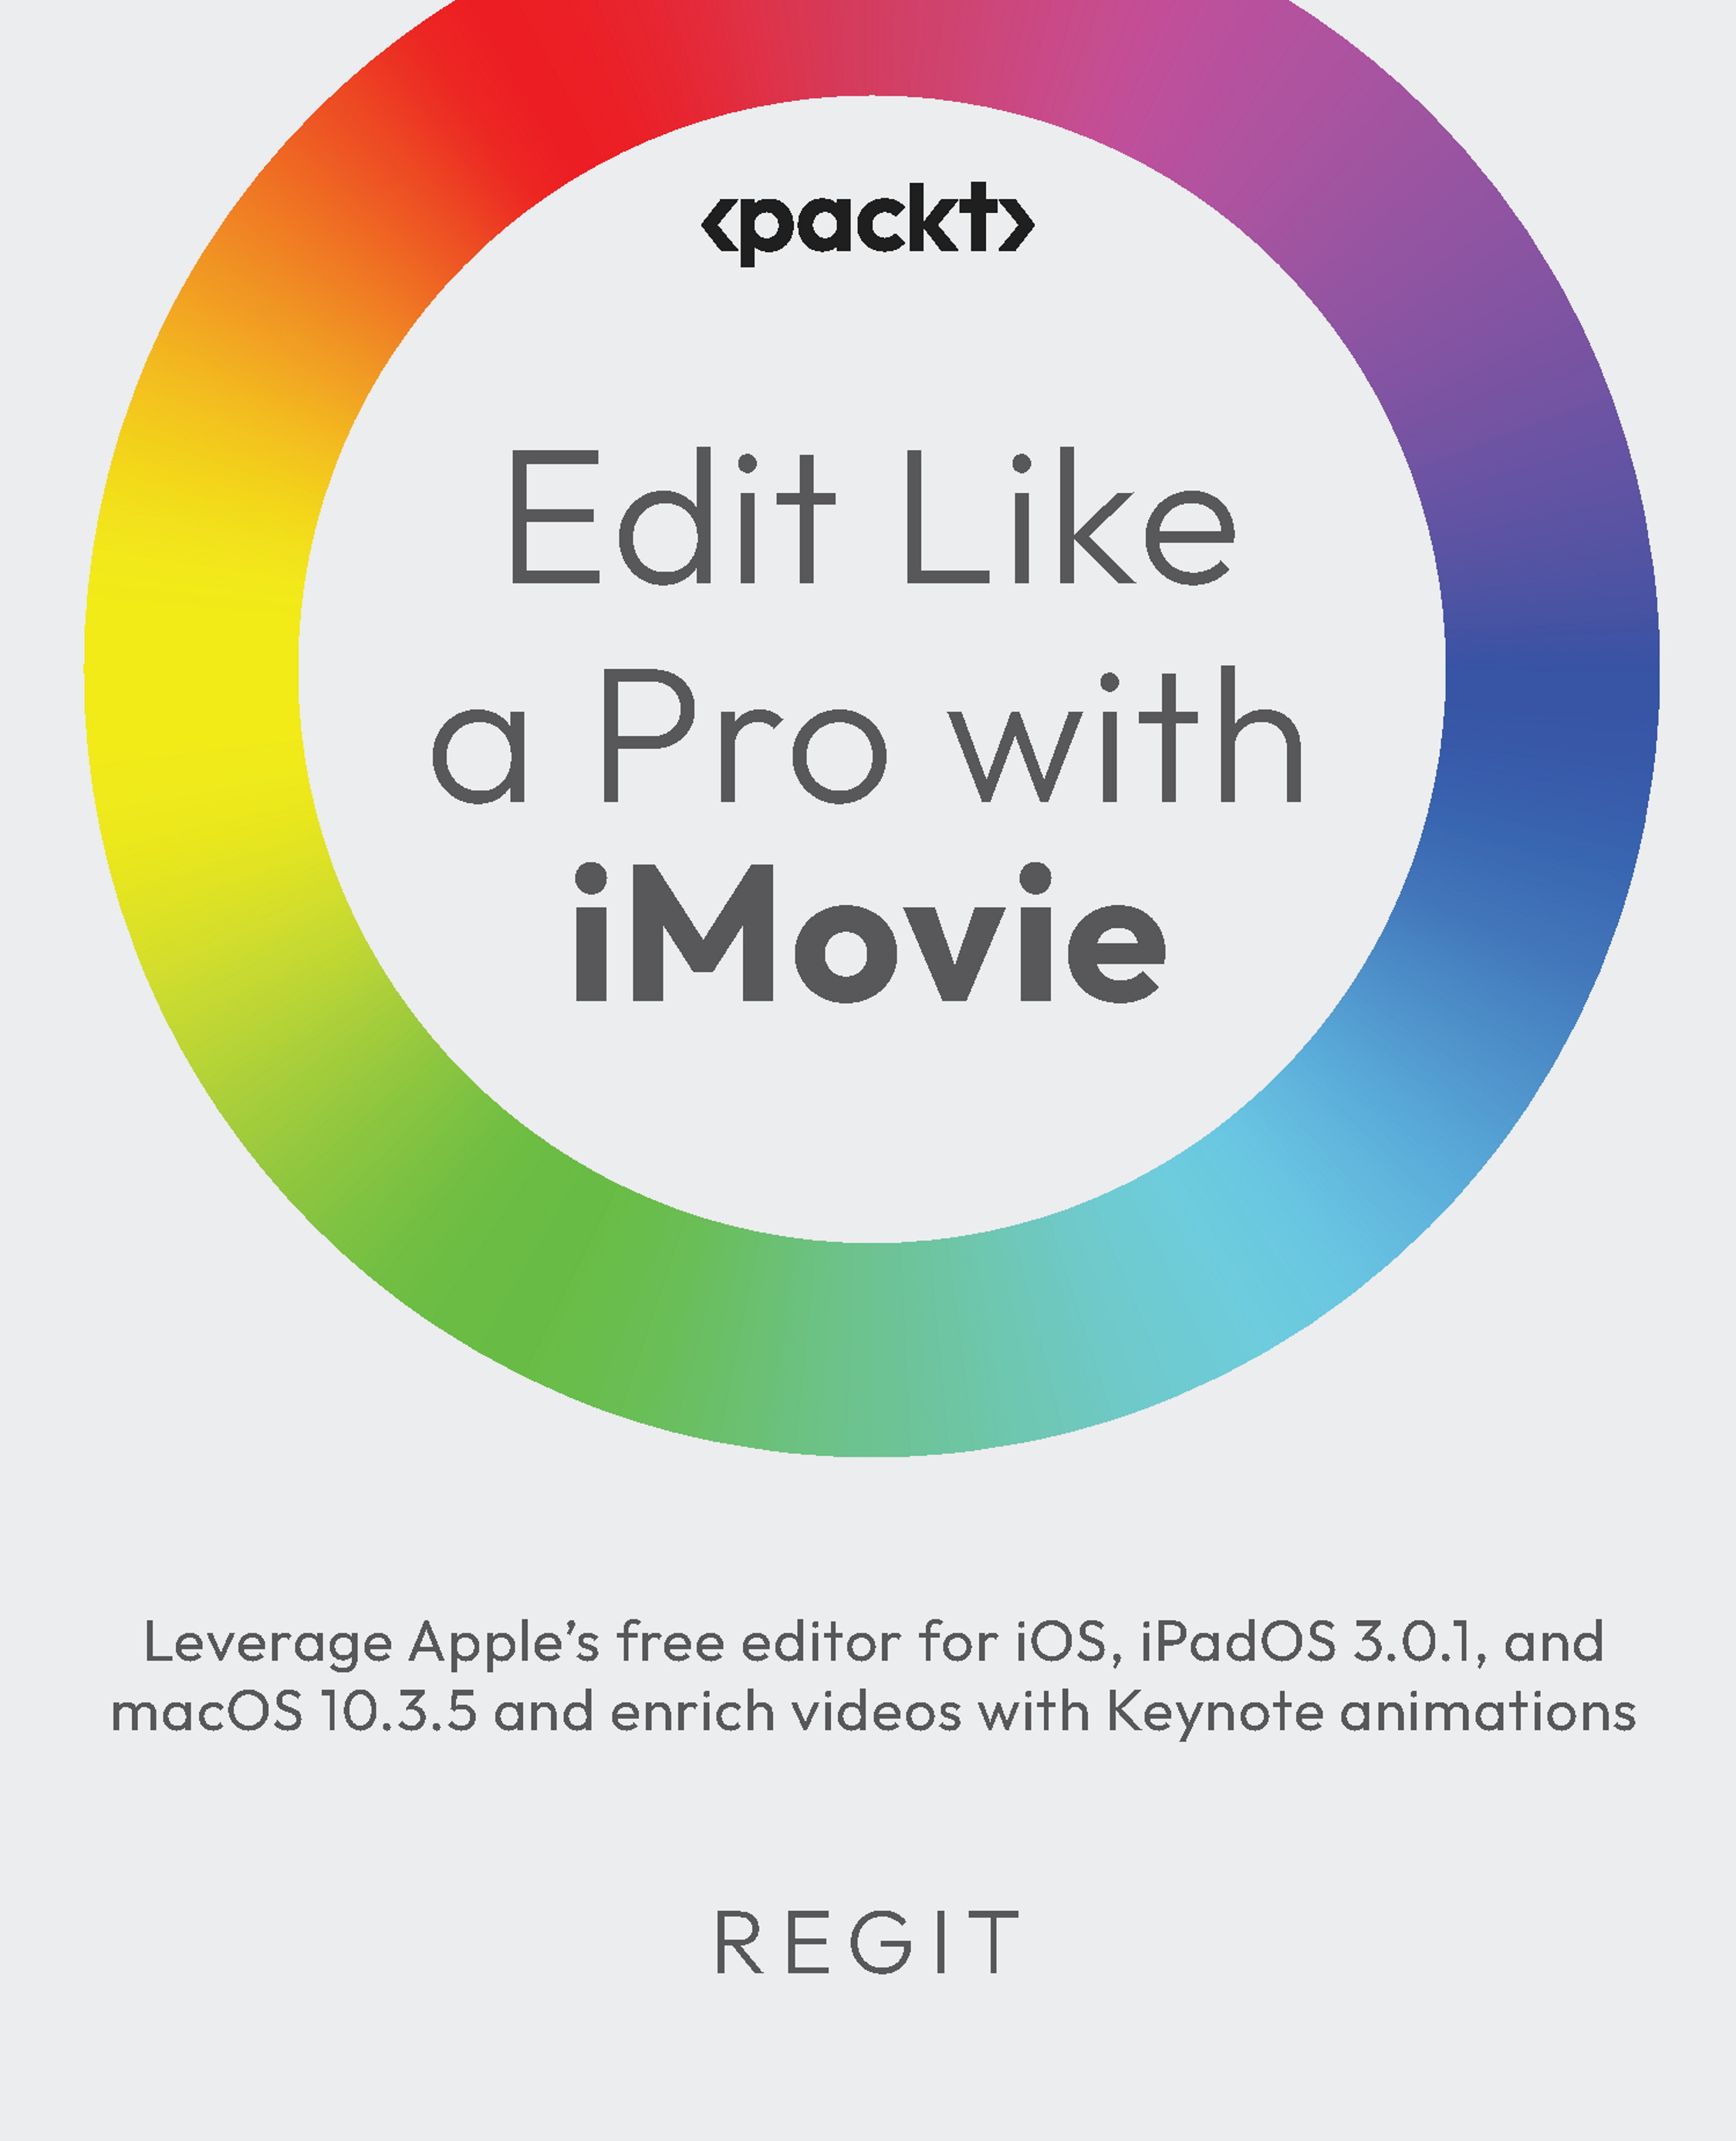
Edit Like a Pro with iMovie

Edit Like a Pro with iMovie: Leverage Apple's free editor for iOS, iPadOS 3.0.1, and macOS 10.3.5 and enrich videos with Keynote animations

eBook
$9.99 $27.99
Paperback
$34.99
Subscription
Free Trial
Renews at $19.99p/m

What do you get with eBook?

Product feature icon Instant access to your Digital eBook purchase
Product feature icon Download this book in EPUB and PDF formats
Product feature icon Access this title in our online reader with advanced features
Product feature icon DRM FREE - Read whenever, wherever and however you want
Product feature icon AI Assistant (beta) to help accelerate your learning
OR
Modal Close icon
Payment Processing...
tick Completed

Billing Address

Table of content icon View table of contents Preview book icon Preview Book

Edit Like a Pro with iMovie

Why and How We Edit Videos

Welcome to a book all about iMovie, an editing program that I love and love to tell people about. This book will take you on an editing journey, starting with the basics in the iMovie app for iOS and iPadOS, where you will learn the fundamental actions involved in editing, before using those actions to tell your own stories in simple videos. Underpinning everything will be a focus on the principles of editing – why we edit and what we’re trying to achieve by editing. Knowing what you’re trying to achieve will help you save time and avoid feeling overwhelmed when you edit. In this first chapter, we’ll look at what we try to achieve through editing, and master some basic editing techniques. You’ll also learn how to save time editing on the Mac by performing basic editing within a file using QuickTime Player.

This chapter will start by discussing why editing is a necessary part of the production process, and cannot be avoided. We’ll also look at the principles of editing: establishing coherence (getting clips in the correct order); making the video concise (removing unnecessary parts); and then adding meaning (through titles, animations, and graphics). Editing principles are really important to keep in mind because without them, there is no clear starting point in editing. Without a purpose to center on when editing, the unfamiliar world of an editing program can quickly become stressful and confusing. Knowing and being guided by simple principles will help you to make creative changes that make your video say what it intends to more successfully.

In this chapter, we will learn about the basic actions of editing by using a program that’s simpler than iMovie but still very capable. QuickTime Player is a pre-installed macOS application, and we will use it to make an unfinished, jumbled-up video coherent and concise. We will use QuickTime Player’s Trim and Clips modes to split and remove unnecessary bits of the video, as well as add extra video and an audio track that adds meaning through a voiceover. All of this editing will be done within a file, which is great for saving space and time on your computer. We are not jumping straight into iMovie because, for basic editing, even this comparably simple editing program is more complex than necessary. There is one golden rule in this book, which is to use the simplest tool that gets the job done!

The main topics we’ll cover in this chapter are as follows:

  • The importance of the editing process
  • The principles of editing
  • In-file editing with QuickTime Player on macOS

Technical requirements

To edit with QuickTime Player, you’ll need a Mac computer running macOS Catalina (10.15) or later. QuickTime Player is the macOS default video player that comes pre-installed on your Mac. If you have any file with the .mp4 or .mov extension (which you will if you use the Camera app on an Apple device), it will open automatically in QuickTime when you double-click the file.

Important note

You shouldn’t need to download QuickTime Player. It’s not on the App Store, and you should avoid looking for it on the web. It’s part of the macOS operating system and will be on every Mac. There used to be a version (QuickTime 7) that was available for Windows, but this became unsupported as of 2016. QuickTime downloads advertised online could be scams or viruses, so be careful.

We’ll also be using resources hosted on GitHub. The interactive exercise in this chapter involves putting together different parts of a video called The Timeline. The materials you need for that can be found within the Chapter 1_The Timeline folder within the .zip file provided to you through a download link in the To get the most out of this book section in the Preface. I’d recommend dragging all the files onto your desktop for easy access: when using QuickTime Player, you’ll be doing all of your edits on the desktop. With that, let’s get started on our journey toward editing like a pro.

The importance of the editing process

Why do we need to edit? Can’t we just film something and be done with it? In a word, no. Post-production is a process that’s integral to any video, TV, or film production. A video won’t make it to its intended destination (YouTube, Vimeo, or maybe even a film festival) without some kind of input after it’s been shot. Even if the sum total of your off-camera effort is clicking upload, that’s still a post-production process.

You cannot avoid the post-production process. Film has always been synonymous with editing, but ever since television first arrived, production methods have been developed to reduce the need for tinkering with footage and create almost ready-packaged shows. But editors and post-production houses are still employed to apply finishing touches or make a recorded program fit to a time slot. Live programs still have edited clips played within them. A Tom Scott video impressively recorded in one take still benefits from audio adjustments and captions. Quite simply, editing is everywhere.

But if you can minimize the post-production process to simply clicking upload on what you recorded, why not do that? Well, without editing, you won’t be able to fix any mistakes you made when the video was recorded. Secondly, the video is likely to be full of gaps and hesitations that make the video look unprofessional. Thirdly, an unedited video is unlikely to make its intended point very quickly, or it won’t give the audience enough information. Finally, an unedited video is very likely to be boring, confusing, or both.

They say time is money, but a little bit of time spent editing can make a world of difference to how well your video is perceived. Moreover, editing doesn’t have to be a waste of time if you’re focused and deliberate. To help you focus on editing the most important bits of a video, entry-level editing programs such as iMovie have stripped-down interfaces that help you to prioritize the most important tasks.

iMovie was the first editing app I found, and I stuck with it for three reasons: it’s free, unintimidating, and – unlike most basic software – it grows with you. Once you’ve learned the ropes, there are a lot of avenues available to expand your creativity and begin editing like a pro without the outlay of pro software. Before we jump into using iMovie, though, it’s important to understand why we edit in the first place. Accordingly, this chapter is going to cover the most basic principles of editing. Keeping them in mind will make your video (and by “video,” I mean anything audiovisual – a social media teaser, a tutorial, or a feature film) more engaging and effective.

The principles of editing

Fundamentally, editing creates meaning. Regardless of the type of project, editors start with a load of clips that, although they may look nice, don’t yet tell a coherent story. A video won’t make any sense or carry any meaning until the relevant clips are placed next to each other and in order. The idea of creating meaning can be broken down into these three purposes of editing:

  • Coherence
  • Conciseness
  • Adding meaning

As a heads-up, in this section, we will discuss general tools and key terms that are associated with editing and how they link to each of the three principles. Don’t worry if these terms feel vague or disconnected at the moment, as we’ll get the opportunity to put them into practice throughout this book.

Coherence – making your video easy to follow

Putting everything in the right place and in the right order will make your video coherent. It’s easy to appreciate that if you have a random jumble of clips, no one will understand what the video is trying to say. Assembling clips in the right order is a crucial first step, and that’s why in professional post-production, the first stage of editing is called the assembly edit: making sure the whole story is present and in the intended order, for it to then be trimmed down, and added to, to make the video more engaging.

To get all these clips into sequence and play one after another, you’re going to need a space where they can all be placed initially. It’s no use having them as separate files that the viewer needs to close before opening the next one to watch. That’d make for a very tiresome viewing experience! In an editing program, all the clips are placed next to each other in a timeline. The timeline is a blank horizontal canvas. From left to right, it charts increasing time as your video plays. You can add as many clips as you like, and the end of the last clip is where the video ends.

Figure 1.1 – An illustration of the timeline paradigm: the general structure of timeline-based editing programs

Figure 1.1 – An illustration of the timeline paradigm: the general structure of timeline-based editing programs

In the timeline paradigm (illustrated in Figure 1.1), the structure most editing programs are built around, the timeline sits at the bottom, with a preview window above it. The preview window shows a frame from the video based on where you click with your cursor on the timeline. That cursor location is marked by the playhead, a vertical line running down through the timeline. The timecode tells you how far through the timeline the playhead is. Phew, a lot of key terms in one paragraph. But never fear, we’ll be reviewing these when we put our The Timeline video together in the In-file editing with QuickTime Player on macOS section!

Conciseness – getting to the point quicker

Director Alfred Hitchcock is credited with saying that "drama is life with the dull bits cut out", and that’s what editing does: it turns life, which is continuous (and drags in places), into a collection of the most interesting and relevant bits. That’s what makes drama – the edited version of life – exciting and engaging.

You may have clips in your timeline that are in the right order but don’t add anything to the video. Maybe they go over something that was already explained; maybe you trip over your words; maybe it’s footage of something that isn’t really relevant at all. You should always be asking yourself: does this clip really help my video to tell its story? If the answer is “no,” remove the clip.

In the early days of editing, removing clips meant physically cutting them from a reel of film and throwing them away. Fortunately, in this digital world, you can rearrange and remove clips without degrading their quality or permanently deleting them. If a clip seems better somewhere else, you can move it. If you’d rather it wasn’t there at all, you can delete it. If you change your mind, you can undo your actions. Not having to work in order in editing software is why iMovie and its fellow editing programs are called non-linear editing (NLE) programs: you can go back and make whatever changes you like, whenever you like.

However, it is possible to lose perspective and be a bit too ruthless with removing clips. If you cut too much out, you may find that your storyline or narrative (all videos have a narrative, even factual videos!) becomes confusing because there’s not enough information to connect one bit of the story to the next. In this case, the video is not coherent. You may have deleted too many clips or moved them about too much. You should never fulfill one principle of editing at the expense of another – we need all three!

Adding meaning – creating a richer, smoother viewing experience

After you have a coherent timeline with unnecessary parts removed, you can consider how editing can add meaning to the video. It’s important that you leave this stage till last because coherence and conciseness are like a strong foundation that you need in order to build your video further. Added meaning often comes in the form of information in captions and titles (the ones on news programs or talk shows telling you people’s names and professions, for example, are called lower thirds). You can also add effects to the video or reframe shots to emphasize something in particular. But meaning can also be added through the way that you edit – the rhythm of the video and the way that you cut says a lot about the video’s tone and intended meaning. More discussion on that can be found in the Using cuts and other transitions section of Chapter 3. To learn about reframing, check out the Crop subsection in Chapter 5.

A word to the wise – be careful about being rash and over-enthusiastic when adding stuff to your video. Remember that the core of what you’re trying to do with editing is to make a few effective changes that will make your video better. Once you go past a certain point, each element you add loses its uniqueness and usefulness. Like everything in editing, this point is subjective; some people like more graphics than others. But a good technique is to ask yourself whether something really needs adding. If you can’t think of a good reason, don’t add it. Editing at its purest is simple, purposeful, and instinctive. There’s no need to overcomplicate it.

That was a brief summary of the principles of editing. To put all of this into practice, the next section is going to guide you through making a video coherent and concise, as well as adding meaning through voiceovers, music, and extra context. This can be done entirely within a video file. You don’t even need iMovie!

In-file editing with QuickTime Player on macOS

On macOS, it’s possible to make quite a lot of edits within a video file – meaning that if you just need to (re)move a few sections of your video to tidy it up, you don’t need to go through the much longer import, edit, export workflow that we’ll cover in later chapters.

Using Trim mode

Trimming is the first editing action we’re going to look at. Like most editing terms, it comes from the days of physically cutting bits of film and refers to what you might do with a pair of scissors. Because you’re cutting bits off of a clip, the action of trimming is all about removing the parts of a video you don’t need. Follow these steps to trim a video file in QuickTime Player:

  1. Double-click to open the video file (Chapter-One_the-timeline.mov if you’re following along) and use + T to open Trim mode (to access this through the menu bar, it’s Edit | Trim…). Trim mode will bring up a video strip – a basic timeline – that shows your whole video. There is a border highlighting the strip and trim handles at either end. In editing, a handle is something on the timeline you can select and move by dragging left or right.
  2. In Trim mode, you can drag the trim handles inward as far as you like to make the video start later or end sooner. When you drag the handle, a tooltip appears above the handle showing the timecode at which you have trimmed the video start or end. If you’re following along with the The Timeline video, drag the trim handle so that the video starts at the title card, as shown in Figure 1.2, not at the color bars before it.
Figure 1.2 – The Timeline video with the trim handles (circled) in the correct place

Figure 1.2 – The Timeline video with the trim handles (circled) in the correct place

  1. To make more precise edits in Trim mode, drag a trim handle slowly until the video strip shows a zoomed-in section of the video. Unfortunately, this feature isn’t very well-realized in macOS; it can be difficult to prompt the zoom change because there is no menu command to activate it. If you need to make edits that require you to be pinpoint accurate, you should use Clips mode. We will discuss Clips mode in the next section.
  2. When you’re happy, click Trim or press Enter to save the trim changes you’ve made.

Using Clips mode

The other command you can use to make edits in QuickTime, + E, allows you to do even more than in Trim mode. Clips mode shows a translucent border around the clip. Instead of using trim handles, the tool used to make changes in this mode is the playhead, shown as a thin, red, vertical line. Take the following steps to see how Clips mode works:

  1. When you play the video (which you can do by pressing the L key or the space bar), the playhead moves along the timeline as the video plays.
  2. To stop the playhead, press the space bar again or the K key. It’s good to get into the habit of using the letter keys, because the three main shortcut keys, J (play in reverse), K, and L, allow you to edit more efficiently.
  3. To make fine adjustments to the playhead's position, make sure the video is paused. Click on the video strip and use the keyboard arrow keys ( and ) to move left and right. One key press moves the playhead one frame at a time, which can help you to make very precise edits.
  4. Alternatively, if you need to move the playhead a larger distance, move your cursor to hover over the thin red line, and its shape will change to that shown in Figure 1.3. You can then click and drag the playhead to your desired location on the video strip.
  5. If the playhead ever disappears, press the space bar or L again, and it should reappear.
Figure 1.3 – The playhead adjustment cursor icon

Figure 1.3 – The playhead adjustment cursor icon

Extra tip – frames

A frame is the smallest unit of time in a video: each second of a video is usually made up of between 24 and 60 frames. In Chapter 5, we’ll look at frame rates and how to check them in an iMovie project on the Mac.

Splitting clips

The main advantage of Clips mode is that it also allows you to split clips. Splitting cuts a clip into two separate pieces, at the playhead’s position. Here’s how to do that in Clips mode:

  1. The + Y keyboard shortcut will split the clip at the playhead's position. If you’re following along, use + Y twice to cut out one of the color bar sections from the middle of the video.
  2. When a split has been made you can select the two pieces of video separately by clicking on either of them. Selected clips are highlighted with a border, as seen in Figure 1.4.
Figure 1.4 – Two splits have been made on either side of the color bars, isolating the bars into their own clip. That clip has been selected

Figure 1.4 – Two splits have been made on either side of the color bars, isolating the bars into their own clip. That clip has been selected

  1. You can delete a clip with the backspace key. If you’re following along, do that for the color bars.
  2. If you’re following along, use steps 1-3 again to remove the other section of the video that’s just color bars.

So why use splitting instead of trimming? Trimming only lets you manipulate the in and out points of the video – where the edited version of the video will start and end. Splitting allows you to cut out sections in the middle of your video, like the trick you learn where folding a piece of paper lets you cut a shape out of the middle. Splitting can be helpful if, for example, you misspeak and have to repeat something in the middle of a clip.

Adding video and audio

You thought Clips mode stopped there? Oh no. Not only can you split and reorder your original video, but you can even add other videos and an additional audio track. This is what makes the QuickTime Player genuinely capable as a basic NLE. If you’re following along, you’ve made your The Timeline video coherent and concise; now, you can add meaning with an extra video clip and a voiceover:

  1. To add clips, make sure you’re in Clips mode ( + E). If you’re following along, get the extra clip (extra-clip_part-4_The-Media-Bin.mov) ready next to the QuickTime window (this is why I suggest having the file on your desktop).
  2. To add the file to your video, click and drag the file over the video strip. The strip will move to make space for that file on the right or left of the clip, depending on which side you hover the video. Hover the extra clip between the third and fourth clips, as shown in Figure 1.5.
Figure 1.5 – If you hover the clip for long enough, little preview windows will show what’s in the clips on either side

Figure 1.5 – If you hover the clip for long enough, little preview windows will show what’s in the clips on either side

  1. Simply drop the file to place the video – it’s now been added.

As promised, you can also add your own audio track underneath the video. You might do this to complement a vlog with music or to enhance a tutorial with a how-to explanation. Let’s finish off the interactive task by adding this audio:

  1. Drag an audio file (The-Timeline_Audio.mp3 if you’re following along) over the video strip. A new space will appear underneath the video for the audio to go into.
  2. Drop the file: you now have an audio track underneath your video that will play at the same time. Figure 1.6 shows how this should look.
Figure 1.6 – Audio added below the QuickTime video strip

Figure 1.6 – Audio added below the QuickTime video strip

When you add the audio, it shows up as a waveform, which is how the clip’s loudness changes over time. Big, relatively consistent waveforms usually mean human speech or loud environmental noise. That’s what you can see in the waveform in Figure 1.6.

Do be aware that if your audio file is longer than the video, it will not stay at its original length; audio will always fit the size of the video in QuickTime by trimming off part of the end. Fear not, though, because you can trim audio files in the same way as video files:

  1. Right-click or + click on an audio file and select Open With | QuickTime Player.
  2. Type + T and use the trim handles to change the in and out points of the clip.
  3. Click Done when you’re happy.
  4. Save your changes by going to File | Export As | Audio only….
  5. Add the new audio clip to the original video.

Check how you’ve done

If you’re following along and have removed the right sections, you don’t need to worry about trimming the audio with QuickTime Player. The The Timeline audio (a mix of voiceover and music) will fit snugly from the beginning to the end of the video.

When you’re done, check The-Timeline_correct-video-audio to see how the final video is intended to look. Remember, editing isn’t an exact science – it’s about making audiences informed and entertained. So don’t worry if your video looks a little different!

Saving your finished video

When you make any changes to a video file, the name of the file will change to Untitled. This is because macOS likes to preserve the original file; your changes automatically become a new file. When you’re happy with your changes and additions, here’s how to save them:

  1. Click Trim (Trim mode), Done (Clips mode), or press Enter to save your changes.
  2. Save the new file by going to File | Export As | 1080p… in the menu bar, or save via the prompt when you click the red circle to close the QuickTime Player window.

If you want to only save the audio portion of the video, or remove the audio from a video, you can do this with QuickTime too, by going to Edit | Remove Video (or Audio) in the toolbar. You might want to do this if you have a screen recording with background noise that you don’t want to share.

Why choose QuickTime Player to make edits?

So why would you choose this limited set of tools instead of going straight into iMovie? Well, quite simply, the simpler the system, the smoother it is, and the less that can go wrong. When you make changes as part of QuickTime Player, you can save the file and – usually within a few seconds – have a finished, edited video.

When you edit in an NLE, the process is a lot more complex. First, you need to import footage, which will fill up extra space on your Mac’s hard drive. When you finish editing, you then have to render your changes, which is the process of the NLE turning your timeline into a playable video file. That process can take anywhere from minutes to hours, exponentially longer than just saving changes to a file. So if you’re only planning on making simple changes such as cutting out mistakes and adding audio, or you have to make small edits to tens or hundreds of individual videos, editing within a file via QuickTime Player can save you a huge amount of time.

But, of course, not all edits are going to be that simple. You’ll often need to add extra information through titles or graphics or direct the audience’s attention by zooming into a specific part of the video frame to effectively tell the story you want to. You may have noticed that this happens in the The Timeline video you followed along with. For these kinds of changes, you’ll need to use a proper NLE workflow, which we’ll cover starting in Chapter 3 through to Chapter 6.

What about iOS and iPadOS?

Because QuickTime Player is only available on macOS, unfortunately, you can’t split and combine videos using iOS or iPadOS as you would with QuickTime Player. However, you can trim media in the Photos app. The following steps show you how:

  1. Open the Photos app on your device.
  2. Tap a video and select Edit at the top right. There you can move the trim handles to change the in and out points of the video, as shown in Figure 1.7.
Figure 1.7 – Trimming video using the Edit menu in the iOS/iPadOS Photos app

Figure 1.7 – Trimming video using the Edit menu in the iOS/iPadOS Photos app

  1. Tap Done, and you are given two options: Save Video or Save Video as New Clip. Here’s a bit about each to help you choose:
    • Saving the video lets you play your shortened video in Photos and exports the shortened version if you share the video, but keeps the whole video preserved in case you go back into the Edit menu later or you want to import the whole video to iMovie.
    • Saving the video as a new clip permanently removes the grayed-out footage beyond the trim handles in the new video. The original is saved separately with no changes.

Unfortunately, there is no Clips mode in Photos, meaning that you can’t cut out a section in the middle of your video. Although in-file splitting and combining of clips aren’t possible on mobile devices, there are convenient alternatives within iMovie for iOS and iPadOS. Splitting and combining clips using Magic Movie (which we’ll look at in Chapter 2) is a reasonably quick and easy alternative.

Summary

This chapter has hopefully helped you to see editing in a new light – as a necessary process that is integral to the whole world of video production, from amateur to professional. Fundamentally, editing creates meaning.

To narrow down what is most important to focus on when editing your video, we covered the three key purposes of editing. These are to make a video coherent, so the story it tells makes sense; to make the video concise, so it tells its story efficiently; and to add meaning so that your story becomes richer and has more context. It’s important to ignore anything that doesn’t help you fulfill these principles. That way, you shouldn’t get waylaid or distracted when editing, which is especially important if you’re working toward a deadline.

We also learned about how clips are arranged in the timeline and how the timecode and playhead tell you what part of the video you are looking at. We edited a simple video using QuickTime Player, using trimming and splitting to remove unwanted sections, added new video and audio to the original file, and saved a new file with the edits completed. I hope you’ll now agree that every video tells a story. Thinking about how your narrative is communicated can help make your videos clearer and more impactful. In the next chapter, we will delve further into the idea of storytelling and video structure by looking at Magic Movie and Storyboards mode on iMovie for iOS and iPadOS.

Left arrow icon Right arrow icon

Key benefits

  • Learn editing principles as you assemble coherent and concise videos
  • Master basic editing tools by importing, assembling, reframing, and embellishing footage with overlays and effects
  • Customize animations and exports in iMovie and learn how to avoid the gotchas Apple won’t tell you about

Description

It’s not about having the shiniest tools; it’s what you do with them. iMovie offers Apple users the ease of creating engaging videos using the free video editing application’s support for macOS, iOS, and iPadOS devices. Complete with step-by-step tutorials for essential tools and concepts and explanations for why you should use them, this practical guide to iMovie will leave you well-prepared for the world of post-production. This book begins with an introduction to some of the core principles of editing. You’ll learn how to easily make your videos coherent and concise and flex your creative muscles with Magic Movie and the Storyboard mode. Once you grasp how to use iMovie’s full-blown Movie modes for mobile devices and macOS, you’ll be able to use simple editing tools to deliver effective videos from import to export. Finally, you’ll explore Keynote for creating custom titles and animations and building a personal visual brand that makes your videos uniquely yours. By the end of this iMovie book, you’ll be on your way to becoming a creative problem-solver, using iMovie and other free apps to create high-quality, engaging videos for projects with different visual and technical requirements.

Who is this book for?

If you have an Apple device and have to make a video for work or school, this book is where to turn. Suitable even for absolute beginners, this book includes simple, progressive guides to help you master editing principles and employ iMovie to create simple but effective videos to inform, educate and entertain your colleagues, friends, and family. For more advanced users such as YouTubers and other online content creators, this book contains valuable tips on how to stamp unique identity and brand USPs into videos.

What you will learn

  • Soak up the principles of editing—coherence, conciseness, and adding meaning
  • Use iMovie's Magic Movie and Storyboard tools to create simple, themed videos
  • Navigate movie mode for iOS, iPadOS, and macOS and create videos without a template
  • Improve the viewing experience with overlays and use keyframes for smooth animations
  • Create custom titles and animations using Keynote
  • Use open source software to transcode your exports for different platforms and requirements
  • Identify the most common problems with iMovie and how to avoid them

Product Details

Country selected
Publication date, Length, Edition, Language, ISBN-13
Publication date : Mar 10, 2023
Length: 284 pages
Edition : 1st
Language : English
ISBN-13 : 9781803248356
Vendor :
Apple
Concepts :
Tools :

What do you get with eBook?

Product feature icon Instant access to your Digital eBook purchase
Product feature icon Download this book in EPUB and PDF formats
Product feature icon Access this title in our online reader with advanced features
Product feature icon DRM FREE - Read whenever, wherever and however you want
Product feature icon AI Assistant (beta) to help accelerate your learning
OR
Modal Close icon
Payment Processing...
tick Completed

Billing Address

Product Details

Publication date : Mar 10, 2023
Length: 284 pages
Edition : 1st
Language : English
ISBN-13 : 9781803248356
Vendor :
Apple
Concepts :
Tools :

Packt Subscriptions

See our plans and pricing
Modal Close icon
$19.99 billed monthly
Feature tick icon Unlimited access to Packt's library of 7,000+ practical books and videos
Feature tick icon Constantly refreshed with 50+ new titles a month
Feature tick icon Exclusive Early access to books as they're written
Feature tick icon Solve problems while you work with advanced search and reference features
Feature tick icon Offline reading on the mobile app
Feature tick icon Simple pricing, no contract
$199.99 billed annually
Feature tick icon Unlimited access to Packt's library of 7,000+ practical books and videos
Feature tick icon Constantly refreshed with 50+ new titles a month
Feature tick icon Exclusive Early access to books as they're written
Feature tick icon Solve problems while you work with advanced search and reference features
Feature tick icon Offline reading on the mobile app
Feature tick icon Choose a DRM-free eBook or Video every month to keep
Feature tick icon PLUS own as many other DRM-free eBooks or Videos as you like for just $5 each
Feature tick icon Exclusive print discounts
$279.99 billed in 18 months
Feature tick icon Unlimited access to Packt's library of 7,000+ practical books and videos
Feature tick icon Constantly refreshed with 50+ new titles a month
Feature tick icon Exclusive Early access to books as they're written
Feature tick icon Solve problems while you work with advanced search and reference features
Feature tick icon Offline reading on the mobile app
Feature tick icon Choose a DRM-free eBook or Video every month to keep
Feature tick icon PLUS own as many other DRM-free eBooks or Videos as you like for just $5 each
Feature tick icon Exclusive print discounts

Frequently bought together


Stars icon
Total $ 164.97
iOS 17 Programming for Beginners
$44.99
Edit Like a Pro with iMovie
$34.99
Final Cut Pro Efficient Editing
$84.99
Total $ 164.97 Stars icon
Banner background image

Table of Contents

14 Chapters
Part 1 – Get to Know Video Editing Chevron down icon Chevron up icon
Chapter 1: Why and How We Edit Videos Chevron down icon Chevron up icon
Chapter 2: Automatic and Template Editing with Magic Movie and Storyboards Chevron down icon Chevron up icon
Chapter 3: Using Movie Mode in iOS and iPadOS Chevron down icon Chevron up icon
Part 2 – iMovie for macOS Chevron down icon Chevron up icon
Chapter 4: Understanding iMovie for macOS – Keyboard Shortcuts and the Magnetic Timeline Chevron down icon Chevron up icon
Chapter 5: iMovie Editing Workflow – Import, Edit, and Export Chevron down icon Chevron up icon
Chapter 6: Using iMovie Effects – Overlays and Keyframing Chevron down icon Chevron up icon
Part 3 – Customizing Your Videos Chevron down icon Chevron up icon
Chapter 7: Integrating Keynote – Titles and Animations Chevron down icon Chevron up icon
Chapter 8: Custom Export Formats,ft. Handbrake Chevron down icon Chevron up icon
Chapter 9: Common iMovie Problems and Their Solutions Chevron down icon Chevron up icon
Index Chevron down icon Chevron up icon
Other Books You May Enjoy Chevron down icon Chevron up icon

Customer reviews

Rating distribution
Full star icon Full star icon Full star icon Half star icon Empty star icon 3.8
(4 Ratings)
5 star 50%
4 star 25%
3 star 0%
2 star 0%
1 star 25%
Sheloko Mar 25, 2023
Full star icon Full star icon Full star icon Full star icon Full star icon 5
This is an easy to navigate, useful guide to getting the best out of iMovie. It helps you understand and conquer aspects of the software that may have con-fuddled or frustrated you in the past. A useful tool to ensure you get the best experience and results with iMovie.
Amazon Verified review Amazon
Grant McKenzie Mar 16, 2023
Full star icon Full star icon Full star icon Full star icon Full star icon 5
As an amateur video creator for a non-profit, I make numerous videos every year - and am getting better as I go along. But I'm self-taught, which means that I run into problems. This book definitely helps with getting me up to speed on the basics, but also taught me that some of my editing methods are flawed, and, more importantly, there are easier ways to do things. I loved the chapter on using Keynote for graphics as it makes much more sense than firing up Photoshop. I also enjoyed the chapters on iOS compared to MacOS as I have been using both platforms depending on the project. Definitely a worthwhile overview of how iMovie can make creating videos simple and easy. I recommend.
Amazon Verified review Amazon
RKO Jun 12, 2023
Full star icon Full star icon Full star icon Full star icon Empty star icon 4
At first, trying to download the additional content for this book ‘‘twas not working. After contacting the publisher they identified the likely problem. (Typing zero instead of the O that was in the link). The availability of a free PDF file is a bonus. Content and technical advice is easy to understand and comprehensive.
Amazon Verified review Amazon
H. Richmond Nov 17, 2023
Full star icon Empty star icon Empty star icon Empty star icon Empty star icon 1
I had to return it since the printing was so poor I could not use the book
Amazon Verified review Amazon
Get free access to Packt library with over 7500+ books and video courses for 7 days!
Start Free Trial

FAQs

How do I buy and download an eBook? Chevron down icon Chevron up icon

Where there is an eBook version of a title available, you can buy it from the book details for that title. Add either the standalone eBook or the eBook and print book bundle to your shopping cart. Your eBook will show in your cart as a product on its own. After completing checkout and payment in the normal way, you will receive your receipt on the screen containing a link to a personalised PDF download file. This link will remain active for 30 days. You can download backup copies of the file by logging in to your account at any time.

If you already have Adobe reader installed, then clicking on the link will download and open the PDF file directly. If you don't, then save the PDF file on your machine and download the Reader to view it.

Please Note: Packt eBooks are non-returnable and non-refundable.

Packt eBook and Licensing When you buy an eBook from Packt Publishing, completing your purchase means you accept the terms of our licence agreement. Please read the full text of the agreement. In it we have tried to balance the need for the ebook to be usable for you the reader with our needs to protect the rights of us as Publishers and of our authors. In summary, the agreement says:

  • You may make copies of your eBook for your own use onto any machine
  • You may not pass copies of the eBook on to anyone else
How can I make a purchase on your website? Chevron down icon Chevron up icon

If you want to purchase a video course, eBook or Bundle (Print+eBook) please follow below steps:

  1. Register on our website using your email address and the password.
  2. Search for the title by name or ISBN using the search option.
  3. Select the title you want to purchase.
  4. Choose the format you wish to purchase the title in; if you order the Print Book, you get a free eBook copy of the same title. 
  5. Proceed with the checkout process (payment to be made using Credit Card, Debit Cart, or PayPal)
Where can I access support around an eBook? Chevron down icon Chevron up icon
  • If you experience a problem with using or installing Adobe Reader, the contact Adobe directly.
  • To view the errata for the book, see www.packtpub.com/support and view the pages for the title you have.
  • To view your account details or to download a new copy of the book go to www.packtpub.com/account
  • To contact us directly if a problem is not resolved, use www.packtpub.com/contact-us
What eBook formats do Packt support? Chevron down icon Chevron up icon

Our eBooks are currently available in a variety of formats such as PDF and ePubs. In the future, this may well change with trends and development in technology, but please note that our PDFs are not Adobe eBook Reader format, which has greater restrictions on security.

You will need to use Adobe Reader v9 or later in order to read Packt's PDF eBooks.

What are the benefits of eBooks? Chevron down icon Chevron up icon
  • You can get the information you need immediately
  • You can easily take them with you on a laptop
  • You can download them an unlimited number of times
  • You can print them out
  • They are copy-paste enabled
  • They are searchable
  • There is no password protection
  • They are lower price than print
  • They save resources and space
What is an eBook? Chevron down icon Chevron up icon

Packt eBooks are a complete electronic version of the print edition, available in PDF and ePub formats. Every piece of content down to the page numbering is the same. Because we save the costs of printing and shipping the book to you, we are able to offer eBooks at a lower cost than print editions.

When you have purchased an eBook, simply login to your account and click on the link in Your Download Area. We recommend you saving the file to your hard drive before opening it.

For optimal viewing of our eBooks, we recommend you download and install the free Adobe Reader version 9.