


Using Visual Studio Code as the default IDE
Visual Studio Code is a lightweight but powerful IDE that provides extensions to expand the supported programming languages and technologies you want to use. It is available for Windows, macOS, and Linux. Go to https://code.visualstudio.com/ and click on the Download button. Select the option that matches your operating system:
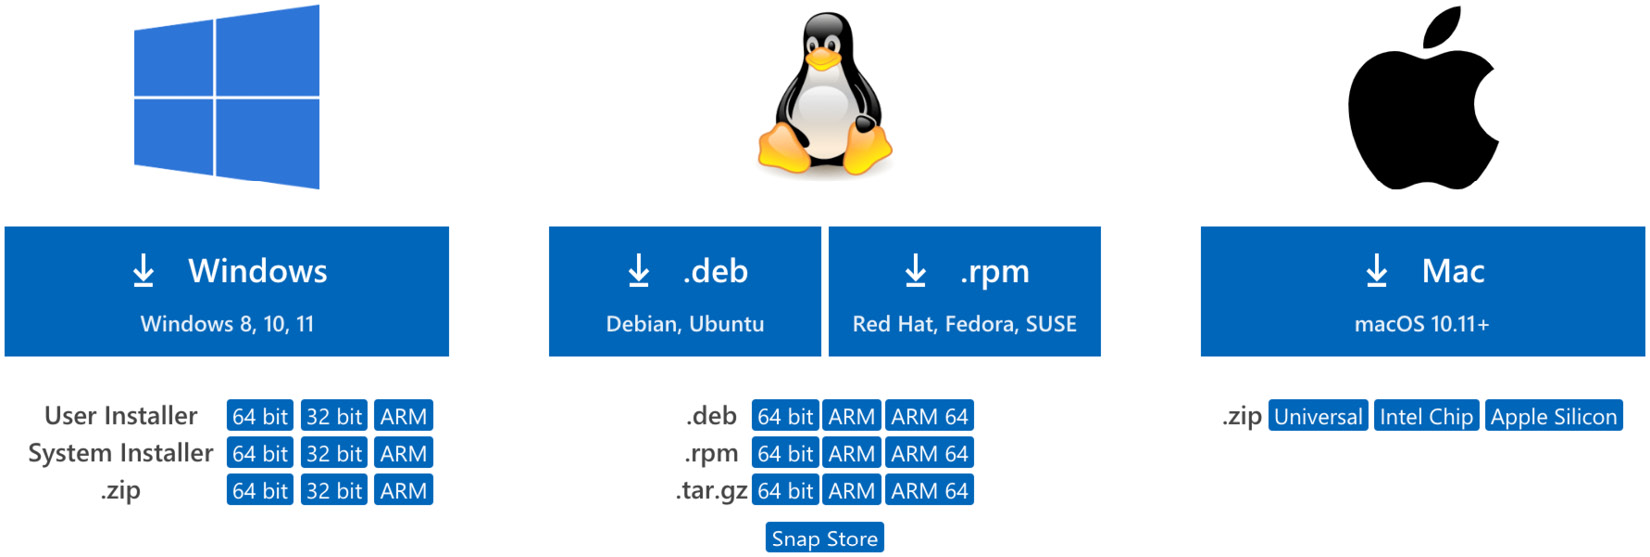
Figure 2.4 – Visual Studio Code download
Once downloaded, unzip the file and double-click it to launch the IDE. On the left-hand side of the screen, select Extensions and search for C#, as shown in the following screenshot. Click Install to add C# support to Visual Studio Code:

Figure 2.5 – Visual Studio Code C# extension
Now that Visual Studio Code has been installed and configured, we can create a new Unity project and set it up as the default IDE.
Launch Unity Hub and click on the New Project button in the top-right corner. Then, select...


