Creating a brush
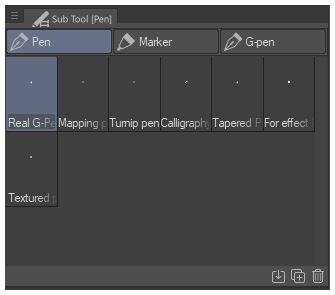
Ironically, before talking about brushes, I need to talk about grayscale and give you some basic knowledge about it. This is because when you create a brush tip, you need to do it in grayscale mode. CSP can use images as brush tips, so, for example, if you need to create a forest and you have some tree png cutouts, you can add them to a brush and it will copy stamp those exact trees. But, if those trees were registered as a brush tip in grayscale mode, everything on the black-pixels side will be converted to Main color and every white pixel will be converted to Sub color. This can give you a lot of freedom in creating brushes with textures and color variation. The first thing you need to do is go to the Sub Tool group. Before following the steps, I recommend that you create a folder inside your Materials folder called Brush Tips. To do this, just right-click on the Materials folder and click on New folder. In this way, you will have all your brush tips cleanly organized. If you deem it necessary, you can even create subfolders based on the brush tips, such as Watercolor or Painting:

Figure 2.1 – The pen Sub Tool group
To create a new brush, follow these steps:
- Go to the Sub Tool window and click on the following button and it will create a copy of the brush you selected. Rename it, and there you have your new brush:

Figure 2.2 – Create a copy of currently selected Sub Tool icon
- Before changing our brush tip, we need to create one. The process is pretty straightforward. Create a new layer set by going to Expression color | Gray and drawing whatever you want.
- Go to Edit | Register Material | Image.
If you remember from the previous chapter, this will open this window:

Figure 2.3 – Material property window
- Give a name to your material, check the Use for brush tip shape box, select a folder location to save your material, and there you have it—your personal brush tip.
Now… how can you apply your brush tip?
- Go to the Tool property window and click on that little wrench in the bottom-right corner. This will give you access to all the brush options; go to Brush tip:

Figure 2.4 – The Tool property window
- Click on Material (if it isn't already selected), and after this, double-click on the area in which there is written Click here and add tip shape. Now you just need to select your brush tip. And voilà… you just applied your first brush tip!

Figure 2.5 – The brush tip shape lets you use two things: a circle or custom brush tip
- Now I have Ape sitting brush—I hope that you didn't follow me exactly and made something less silly…

Figure 2.6 – The result of using a custom brush tip
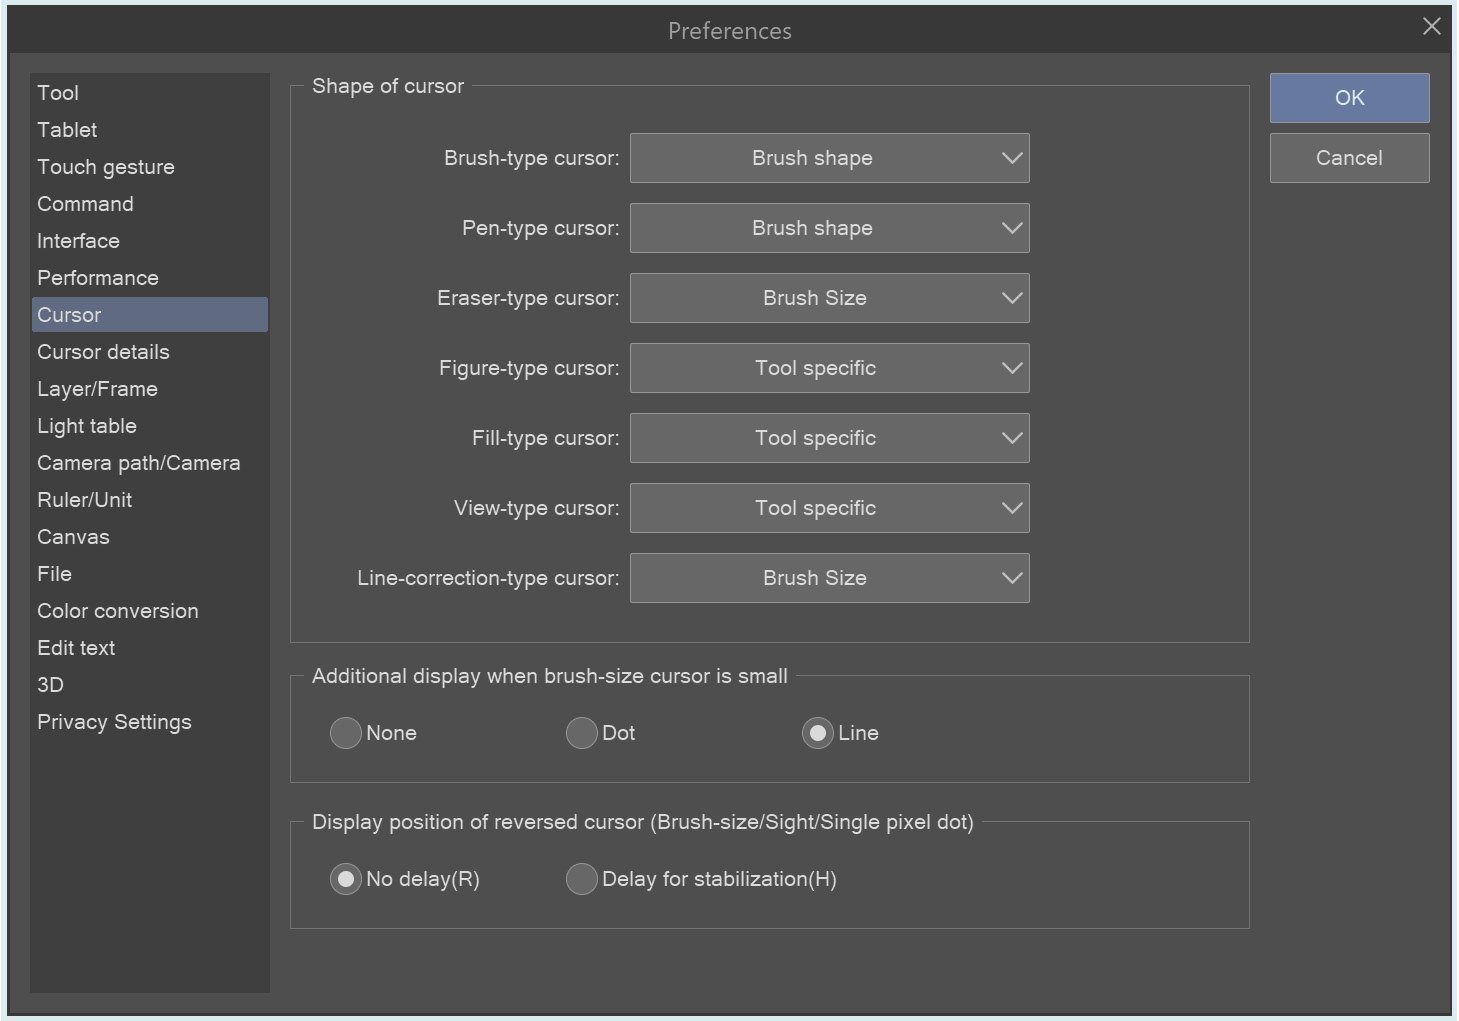
Before moving further, there is just one extra little bit of information. In CSP, you can now change how your brush cursor looks by just going to File | Preferences | Cursor:

Figure 2.7 – Cursor shape options location
You have a pretty wide range of options for how your cursor will look while you work. Here's a list with some details:
- Tool specific: Your cursor will have the tool-like little symbol that you find in the Tool palette and the Sub Tool palette. An eraser will show a little eraser cursor—simple, no?
- None: You will have nothing, an invisible cursor. It's a strange feeling, to be honest. But if you can get used to it, it's the best option if you want to feel like you're painting in real life.
- Cross: You will have a little cross.
- Triangle: You will have a little triangle.
- Dot: You will have a little dot.
- Single pixel dot: You will have a very little dot, like, 1 px little.
- Sight: You will have a cross with a dot in the middle
- Brush size: This is the default mode for brush-related tools. You see your brush size as a circle that tells you the size of your brush.
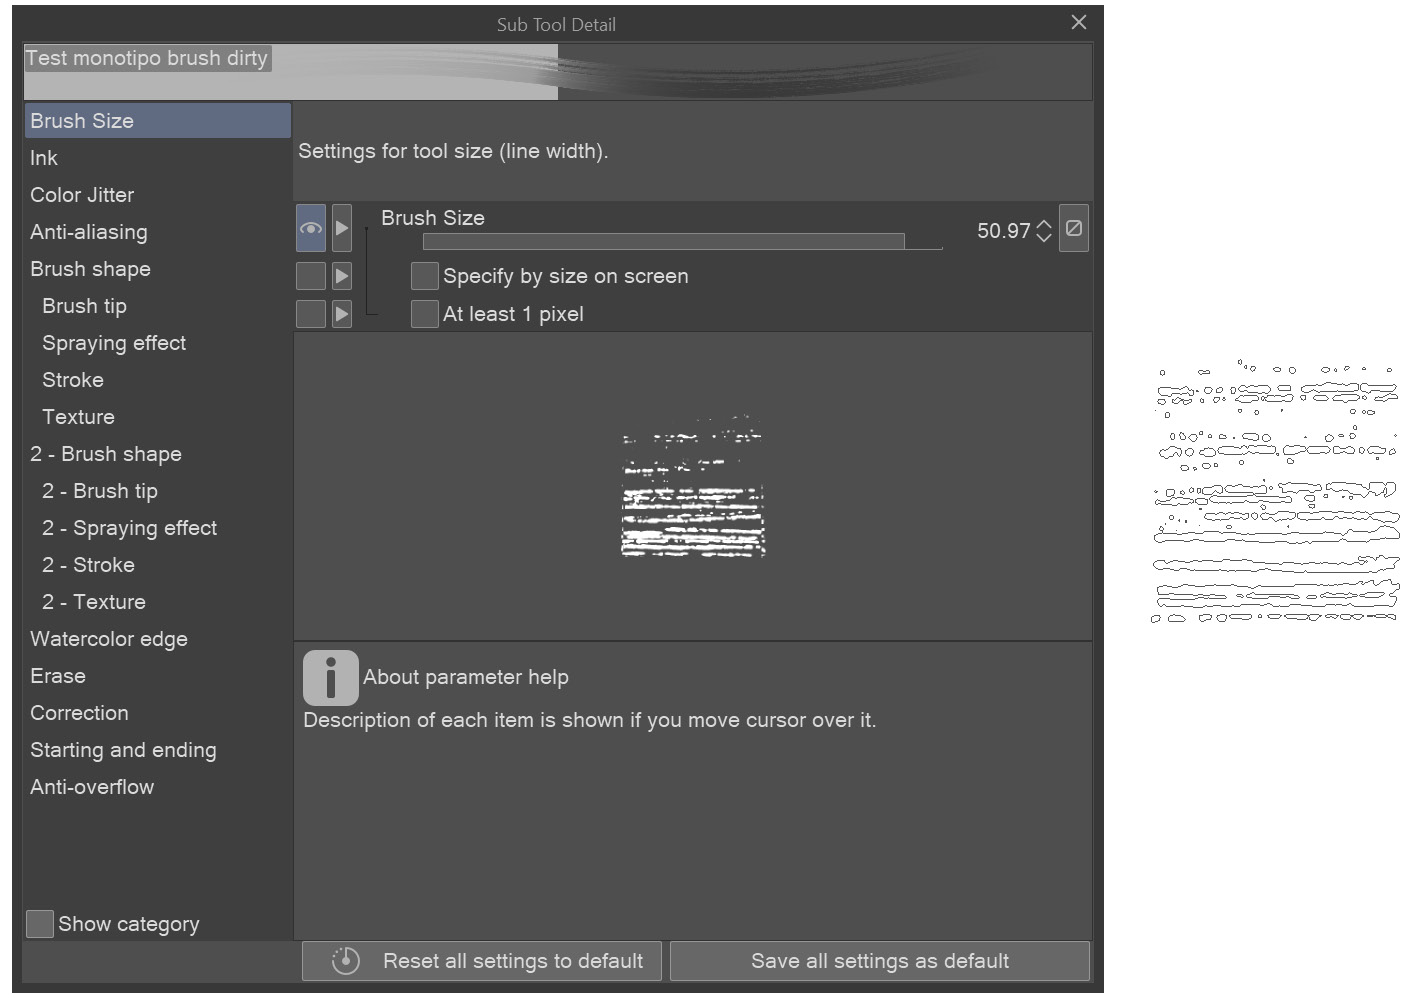
- Brush shape: This is a new feature from the May 2021 update. You can have your cursor show your brush tips silhouettes, like in Photoshop. You can find your brush silhouette in the Sub Tool Detail palette, under the Brush Size section:

Figure 2.8 – Example of a brush silhouette and how it's seen on the canvas (right)
The other options are a combination of the groups I've just listed.
Little tips
If you feel like you're always cycling between the same brushes, thanks to the Brush shape cursor option, you can even remove the Sub Tool palette from your workspace. Just put every brush you need in a single group, bind a key to the shortcut for cycling between sub tools, and you can use the brush shape to recognize the brush you're using. You can find the shortcut under File | Shortcut Settings | Category: Options | Sub Tool palette.
And that is how you make a brush and change the look of your cursor. By using the same method that I showed you for creating a brush, you can create a decoration brush as well, as you will see in the next section.


