Time for action - starting a new project
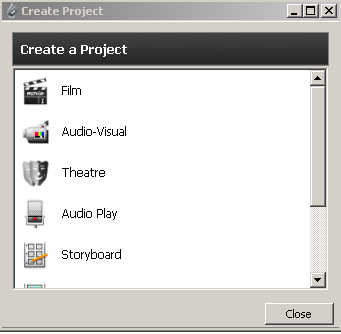
At the top of the menu, as shown in the preceding screenshot, the first item—New Project—allows us to create new projects. Click on it and we get the Create a Project dialog box, as shown in the following screenshot:

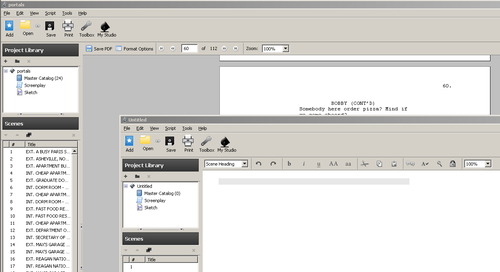
We click on the type of new project to create, unless you've created custom projects as described in Chapter 1, Obtaining and Installing Celtx. Those choices are Film, Audio-Visual, Theatre (Canadian spelling, eh?), Audio Play, Storyboard, Comic Book, and Text. The new project then opens, but the old project does not close; it's still there underneath the new project, as we see in the following screenshot. It's possible to have several Celtx projects open at once (the only limit being the amount of working memory in your computer):

Note
On a Windows-based computer, use the key combination of Alt+Tab to rotate around through open programs.
A shortcut is the key combination Ctrl+N, which also gives us the Create a Project dialog box.


