
How to install Android Things on Intel Edison
Intel Edison is a prototyping board developed by Intel with interesting features. It is a Raspberry Pi 3 alternative and it is powerful. The main specifications for this board are:
- Intel Dual-core Atom at 500MHz
- 1 Gb DDR3 Ram and 4 Gb eMMC flash
- Compatible with Arduino (using an Arduino breakout Kit)
- Bluetooth and WiFi
Intel Edison with Arduino Kit is shown in the following image:
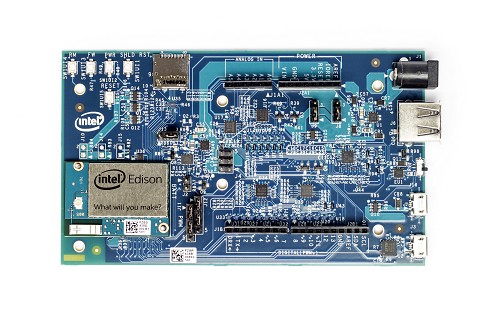
source: https://www.arduino.cc/en/uploads/ArduinoCertified/Intel_Edison_Kit_Front.jpg
In this book, we will use Intel Edison and Arduino breakout kit to develop our projects. Anyway, you can apply all the topics covered here to other Intel development boards compatible with Android Things. Before starting to flash the image into the Intel board, be sure you have installed the following on your system:
- SDK Platform tools 25.0.3 or later
Moreover, check if the fastboot application is installed on your system. To do so, go to <Android_SDK_HOME>/platform-tools.
If you do not have the SDK installed correctly, please go to SDK Manager at https://developer.android.com/tools/help/sdk-manager.html and download and install it before continuing the flashing process.
Let us start:
- Go to https://developer.android.com/things/preview/download.html and download the image for Intel Edison.
- Unzip the file.
- Go to https://01.org/android-ia/downloads/intel-platform-flash-tool-lite. Download and install
Platform flash tool lightaccording to your operating system (OS X or Windows). - In the directory where you unzipped the image downloaded at step 1 there is a file called
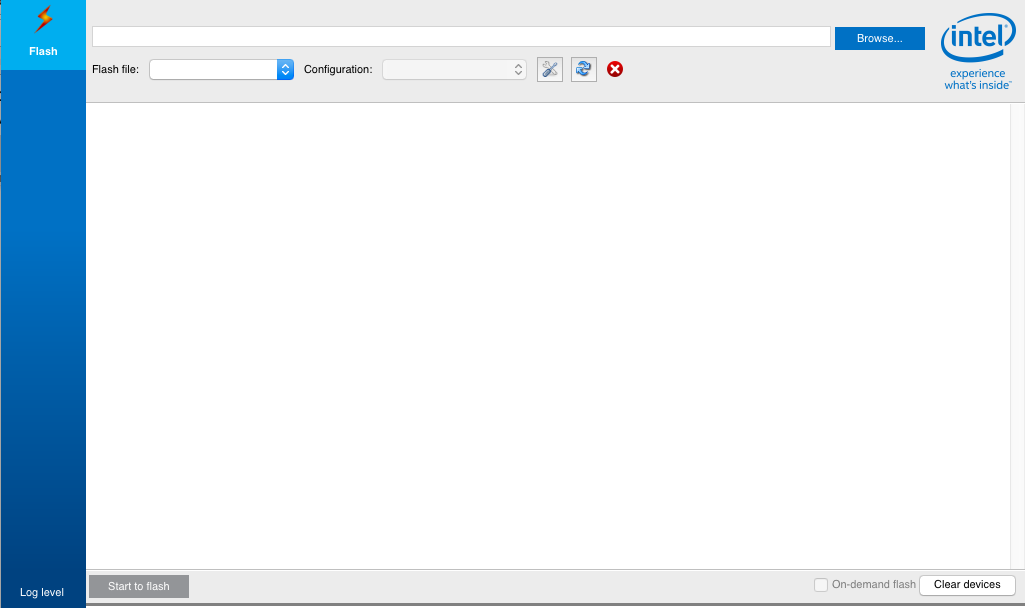
FlashEdison.json. This is our file. Check if it exists before continuing. - Run the
Platform flash tool light:
- If you are using Intel Edison with Arduino breakout kit be sure that you:
- Click on the FW button and keep it pressed until step 7.
- Connect the USB port (J16) to your PC or Mac.
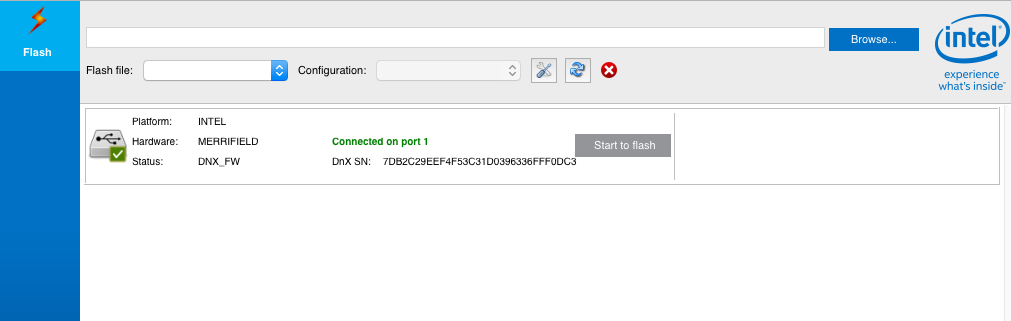
- When the board is connected to your PC or Mac, it appears in the
Platform Flash Tool Light:
- Click on the
Browsebutton and select theFlashEdison.jsonfile, as described in step 4. - Check in
Platform Tool Flash Lightthat the Configuration list box containsNon_OS.
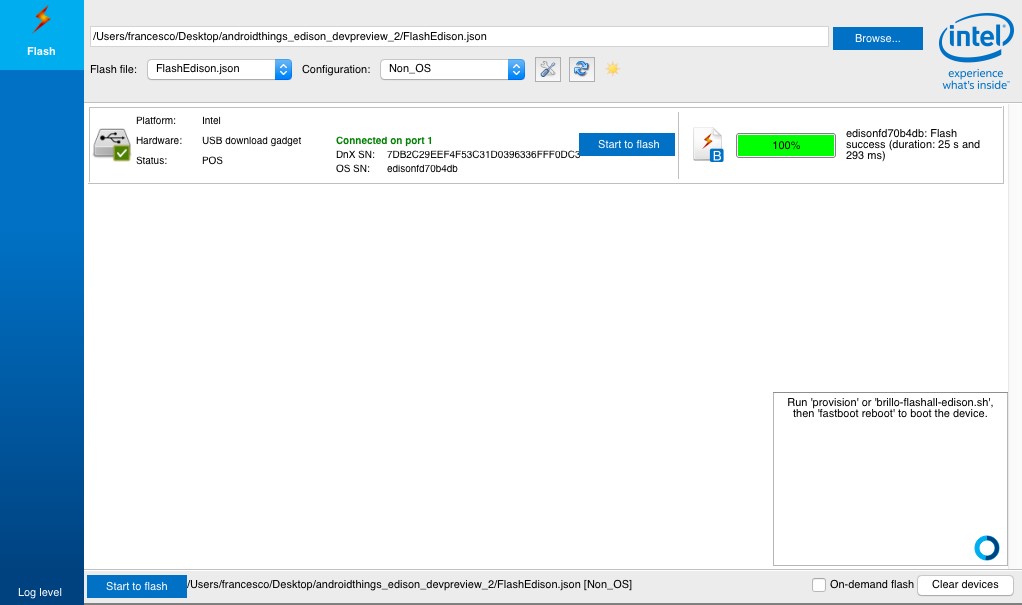
- Click on the
Flashbutton and wait for the end of the process, as shown in the following screenshot:
- Open a terminal console or the command prompt and execute the following command:
<Android_SDK>/platform-tools/adb reboot bootloader- To verify that the board is connected, write the following:
<Android_SDK>/platform-tools/fastboot devicesYou should get the following as the result: edisonXXXXX
- Move to the directory containing the unzipped content.
- Write these commands:
<Android_SDK>/platform-tools/fastboot
flash gpt partition-table.img
flash u-boot u-boot-edison.bin flash boot_a boot.img
flash boot_b boot.img flash system_b system.img
flash userdata userdata.img erase misc
set_active _a
Now wait until the process is complete.
- As the process completes and you have the prompt again, execute the following:
<Android_SDK>/platform-tools/fastboot
flash gapps_a gapps.img
flash gapps_b gapps.img
Wait until the end of the process.
- Finally, execute the last command:
<Android_SDK>/platform-tools/fastboot
flash oem_a oem.img
flash oem_b oem.img
- At the end, reboot your board:
<Android_SDK>/platform-tools/fastboot rebootYou can verify your installation listing the Android device connected to your system with:
adb devicesIn the device list, there should be a device named edison.