Working with active Zabbix proxies
We now know how to install and add proxies. Let’s set up our active proxy, like we did with the passive proxy in the previous recipe, and see how it works.
Getting ready
You will need the lar-book-proxy-active host for this recipe, ready and installed with Zabbix proxy, as set up in the first recipe of this chapter. We will also be using our Zabbix server in this recipe.
How to do it…
- Let’s start by logging in to our Zabbix frontend and navigating to Administration | Proxies:

Figure 8.7 – Administration | Proxies page, no active proxies
Our Proxies page is where we do all configurations that are proxy related.
Let’s add a new proxy by clicking the blue Create proxy button in the top-right corner.
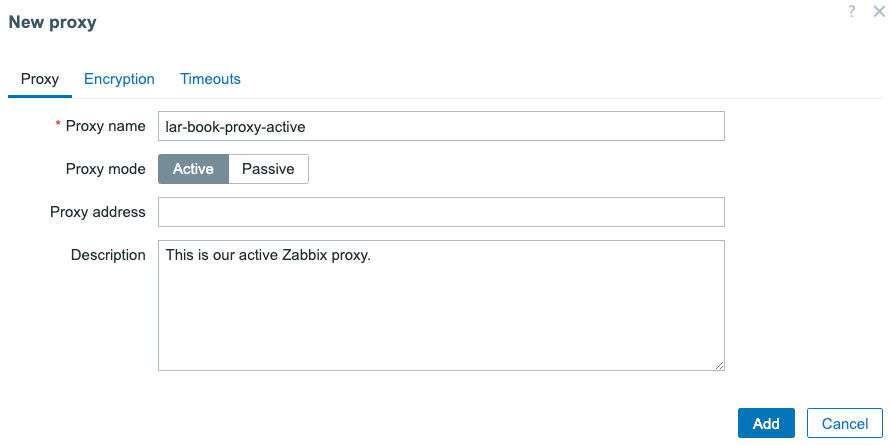
- This will open the Create proxy popup, where we will fill out the following information:

Figure 8.8 – Administration | Proxies...


