The book will be covering some concepts on how Spring 5.0 handles data persistence involving relational database management systems. MySQL 5.7 will be the database server that will be used to create, store, update, and delete records of data.
Installing the MySQL 5.7 database server
Getting started
Visit the site http://dev.mysql.com/downloads/mysql/ to download the preferred community server for your projects. MySQL server is available in any operating system platform.
How to do it...
- On the download page, choose the General Available (GA) Releases tab.
- Choose the desired platform through the Select Platform dropdown. The book will be using the MySQL server for Windows.
- Once the Windows platform is chosen, there are other options available for download under the Other Downloads link. Choose the Windows (x86, 32-bit) Windows MSI installer for easy installation.
- Afterwards, just click No thanks, just start my downloads! to download the installer immediately.
- After downloading the installer (for example, mysql-installer-community-5.7.17.0.msi), click the file and start the following wizards.
- Choose Developer Default as our server type.
- Install all the connectors.
- Use port 3306 and set the password to packt.
- After installing the MySQL server, proceed with installing the Samples and Examples scripts.
- After finishing the installation, create MySQL_HOME in your classpath and expose <installation_folder>MySQLMySQL Server 5.7bin commands.
- At this point, you are now ready to install the server for database transactions.
How it works...
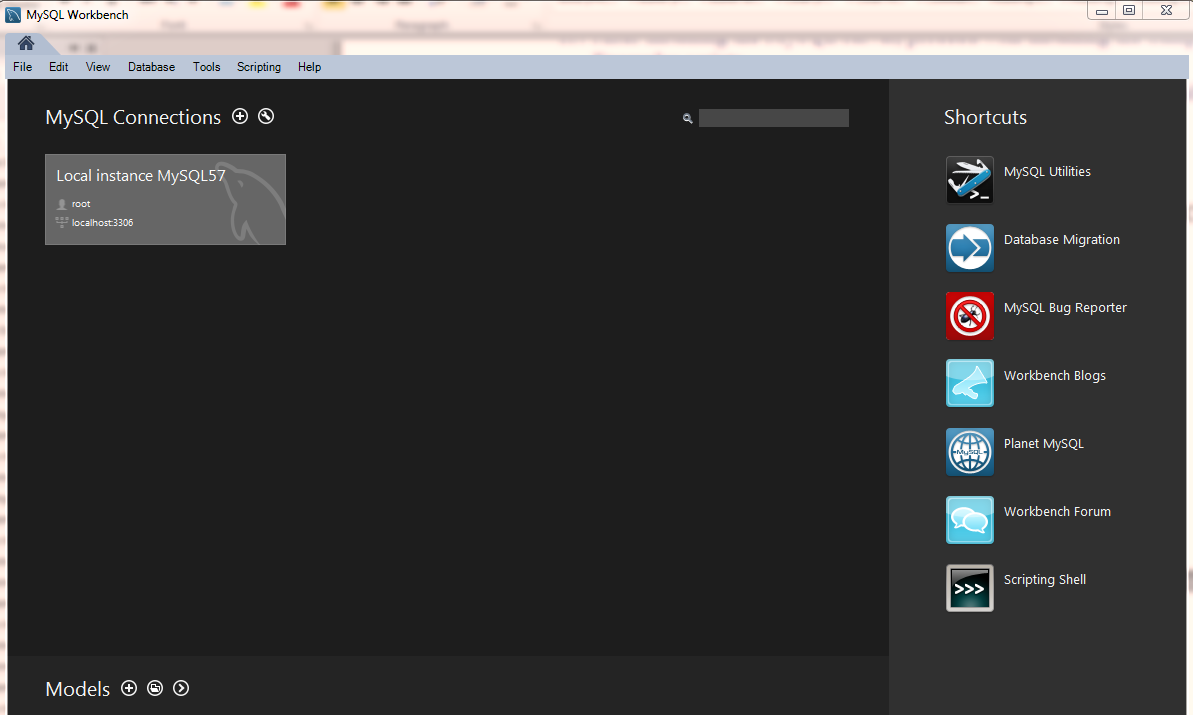
To deal with SQL transactions, we can us the CLI of MySQL or the given GUI-based MySQL Workbench:


