Developing the first game
Now that we got the boring parts finished, we can finally start making a game. So where do we start? What do we do first? First, you should have an idea of what kind of game you want to develop, and what elements it will incorporate. For the purpose of this book, we have chosen to create a shoot-em-up game. The player controls an aircraft viewed from the top, and has to find its way through a level full of enemies.
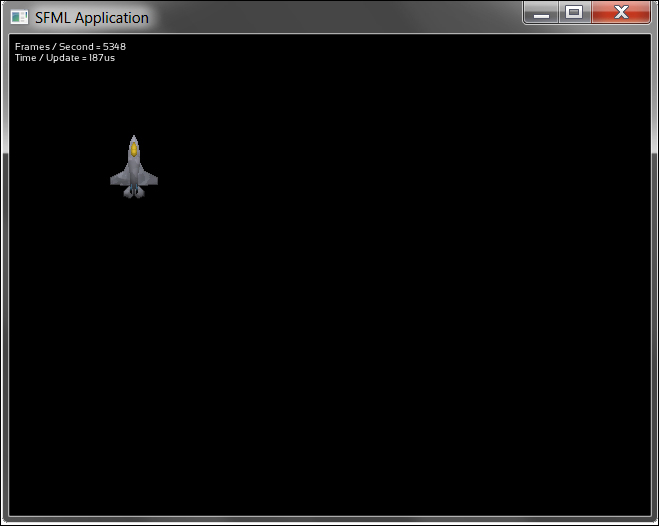
In order to tease you a little, we show you a screenshot we will have at the end of this chapter.

It might not be the most amazing game you have seen so far, but it exemplifies a good point. To make a game, we need a medium for communicating what is going on to the user. For us, that amounts to showing images on the screen to the player, and having a way for the player to manipulate the game.
The Game class
In this chapter, we implement the basis for your game that will get you going. The root for us is a class called Game; instead of doing our logic in the main() function as we did in the minimal example, we move everything into the Game class instead. This is a good starting point—it gives us a better overview of our code, as we can extract separate functionality into their own functions, and use them within the Game class. If we look at the minimal example, we had three distinct areas in the code: initialization, event processing, and rendering. Now if we continued to develop there, these three parts would grow quite a lot, and we would end up with a gigantic wall of code, which would be nearly impossible to navigate. The Game class helps us out here.
Here is the general design of the class and its intended usage:
class Game
{
    public:Game();
        void             run();

    private:
        void             processEvents();
        void             update();
        void             render();

    private:
        sf::RenderWindow mWindow;
        sf::CircleShape  mPlayer;
};

int main()
{
    Game game;
    game.run();
}
As you can clearly see, we replaced all the code in the main() function from the minimal example with just a Game object and a call to its run() function. The idea here is that we have hidden the loop we had previously in the
run() function. It doesn't happen very often that we have to fiddle with it anyway. Now, we can move the actual code that updates the game to the
update() function, and the code that renders it to the
render() function. The method processEvents() is responsible for player input. So if we want to get something actually done, we implement it in one of the three private functions.
Tip
Downloading the example code
You can download the example code files for all Packt books you have purchased from your account at http://www.packtpub.com . If you purchased this book elsewhere, you can visit http://www.packtpub.com/support and register to have the files e-mailed directly to you.
Let's have a look at the code now:
Game::Game()
: mWindow(sf::VideoMode(640, 480), "SFML Application")
, mPlayer()
{
    mPlayer.setRadius(40.f);
    mPlayer.setPosition(100.f, 100.f);
    mPlayer.setFillColor(sf::Color::Cyan);
}
void Game::run()
{
    while (mWindow.isOpen())
    {
        processEvents();
        update();
        render();
    }
}
The function processEvents() handles user input. It polls the application window for any input events, and will close the window if a Closed event occurs (the user clicks on the window's X button).
void Game::processEvents()
{
    sf::Event event;
    while (mWindow.pollEvent(event))
    {
        if (event.type == sf::Event::Closed)
            mWindow.close();
    }
}
The method update() updates the game logic, that is, everything that happens in the game. For the moment, we leave the implementation empty. We are going to fill it as we add functionality to the game.
void Game::update()
{
}
The render() method renders our game to the screen. It consists of three parts. First, we clear the window with a color, usually black. Therefore, the output of the last rendering is completely overridden. Then, we draw all the objects of the current frame by calling the
sf::RenderWindow::draw() method. After we have drawn everything, we need to actually display it on the screen. The render() method looks as follows:
void Game::render()
{
    mWindow.clear();
    mWindow.draw(mPlayer);
    mWindow.display();
}
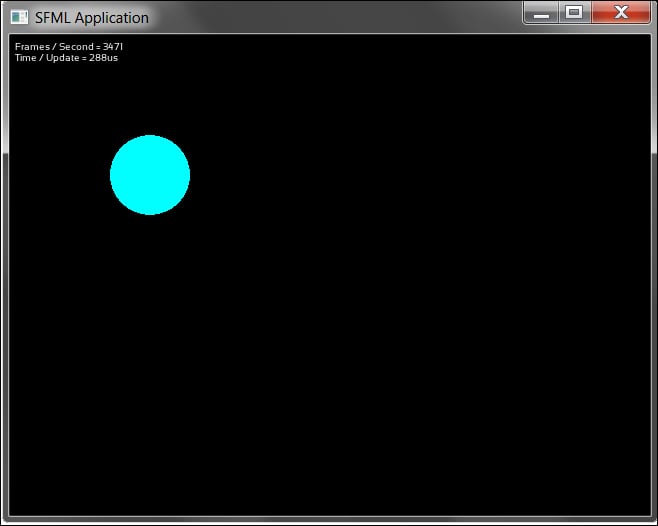
Later in the chapter, when we display something more interesting than a cyan circle, we are going to have a deeper look at the rendering step.
Even though this actually is more code than what we started with, it still looks like it is less, because at any given time, our eyes only have to rest on a smaller part.

And with this you should still get the same result as you would in the SFML minimal example: a cyan-colored circle in a window with a black background. Nothing fancy yet, but we are well on our way.


