Building your first application
This paragraph provides a step-by-step approach to building a console application using Visual Studio 2015 that utilizes the basics of DocumentDB. We will perform the following steps:
- Create a DocumentDB account.
- Create a database.
- Create a collection.
- Build a console application that connects to DocumentDB and saves a document.
Provisioning an account
To create a DocumentDB account, you need to go to the Microsoft Azure portal. If you don't have a Microsoft Azure account yet, you can get a trial version at https://azure.microsoft.com/en-us/pricing/free-trial/.
After logging in to the Azure portal, go ahead and create your first DocumentDB account. For now, you only need to come up with a name.
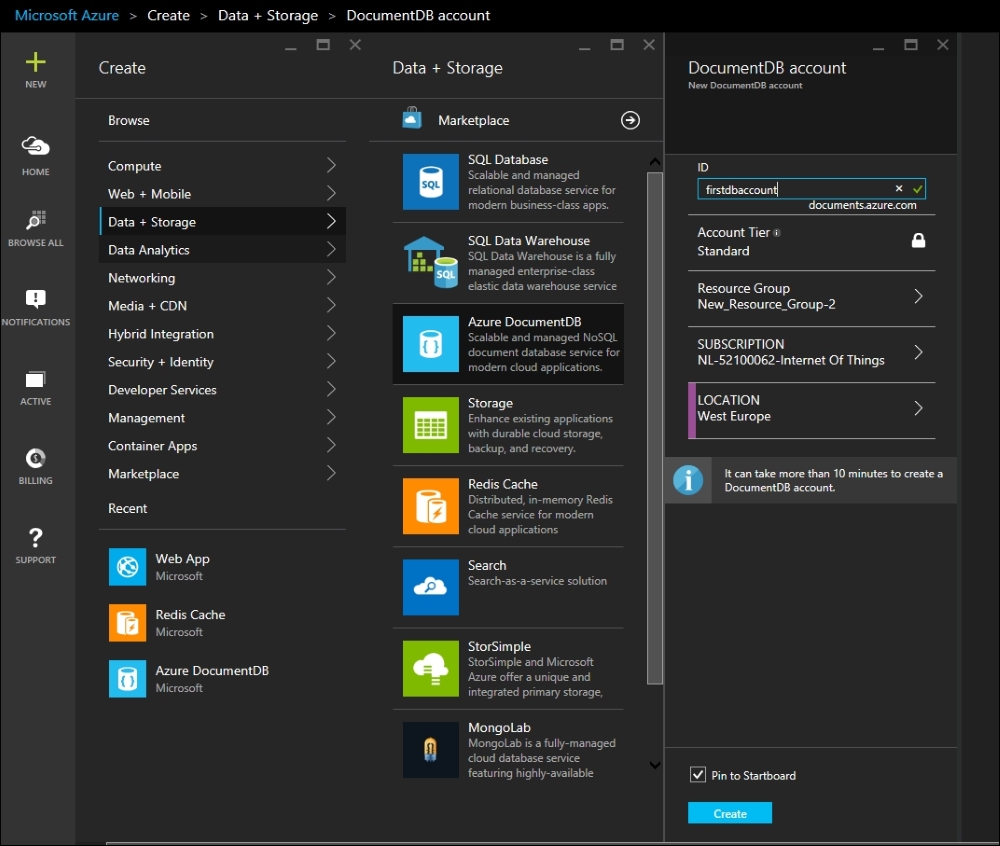
After clicking on the Create button, your DocumentDB account will be provisioned. This process might take some time to finish.
After provisioning, your account is ready for use. Select the account you have just created and you will get an overview.

On the overview blade of your account, you will see a lot of information. For now, the most important information is located in the settings blade on the right-hand side. From this blade, you can retrieve keys and a connection string. We need this information if we want to start building the console application. Select the DocumentDB option, copy the URI, and copy the primary key.
Creating a database
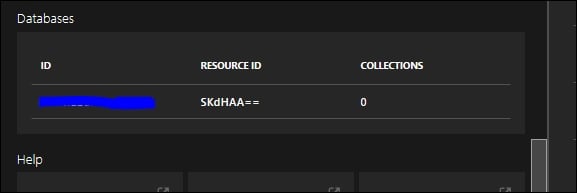
In order to be able to create collections, we need a database first. Creating a database is straightforward as it only needs a name as input. Click the Add Database button and enter a meaningful name. After selecting OK, your database is provisioned. On the left blade you can scroll down and locate your new database.
Creating a collection
As we have seen before, a collection is created inside a database. Selecting your database gives you the ability to add a collection. When the Add Collection option is selected, you need to pick the right performance level (or tier). For this demo, the S1 tier is more than sufficient.
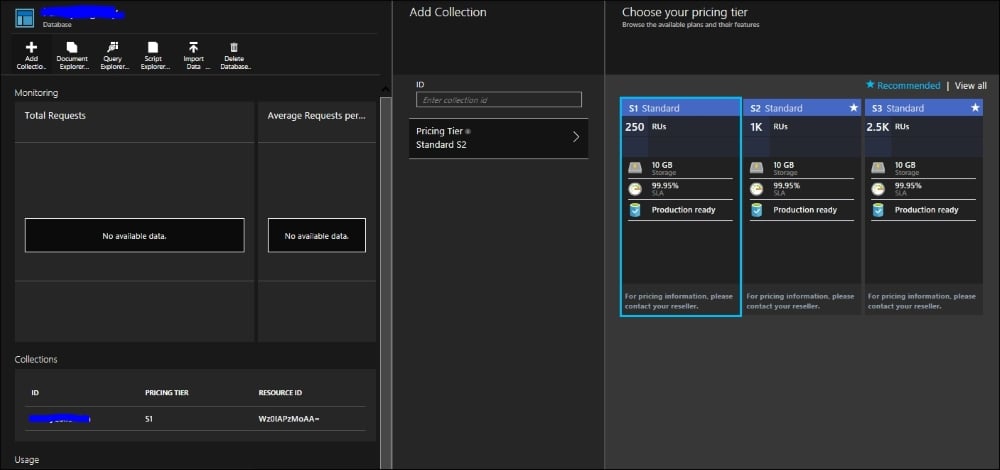
Now that we have our DocumentDB account, a database, and a collection, we can start building our first application.
Note
Creating databases and collections can also be done through the REST API or the designated SDKs.
Building a console application
This sample is built using Visual Studio 2015. If you do not have Visual Studio 2015, you can download the free version Visual Studio 2015 Community from https://www.visualstudio.com/en-us/products/visual-studio-express-vs.aspx.
Setting up a solution
Here are the steps for creating a Visual Studio solution containing a console application that will demonstrate the basic usage of DocumentDB:
- Start Visual Studio.
- Go to File | New Project and then click on the Console Application template.
- Name your project
MyFirstDocDbApp.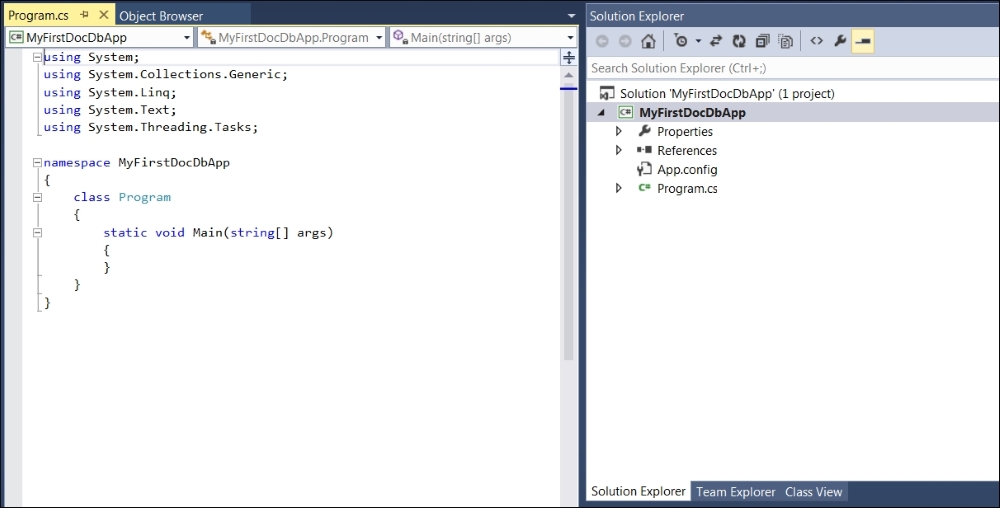
Visual Studio now creates a console application.
- In order to work with DocumentDB, we need to pull in a NuGet package. Right-click on your project file and select Manage NuGet Packages. Search for the Microsoft Azure DocumentDB Client Library.
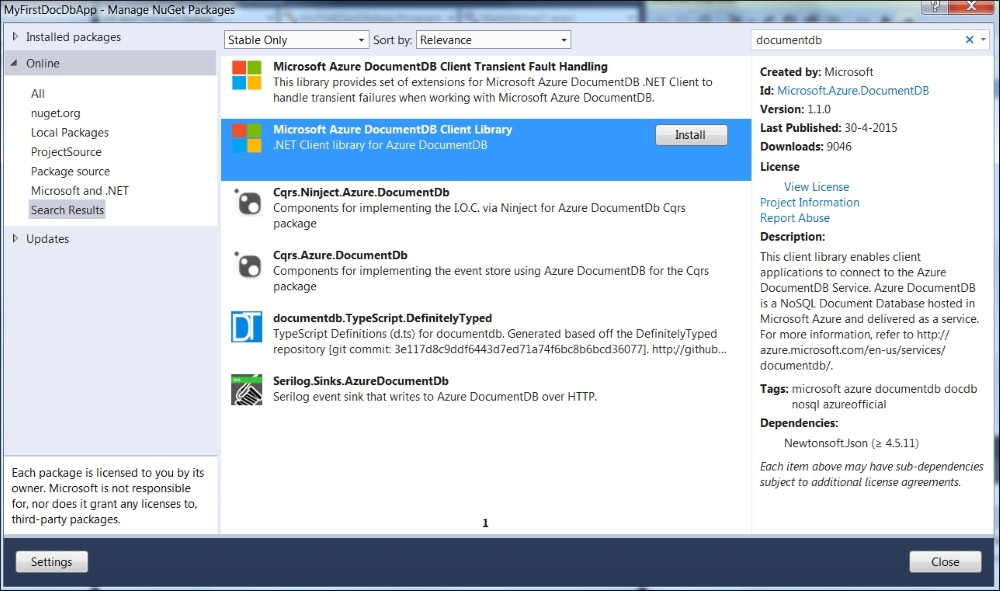
- Select the right package in the search results and click Install. Your project is now ready to use the DocumentDB Client Library.
Saving a document
Now that we have set up a solution, created a project, and enabled the right .NET library to manage DocumentDB, we are going to write some C# code.
Note
Keep in mind that although the code samples in this book are mostly in C#, you can also use the programming language of your choice. There are SDKs available for multiple platforms (Java, Python, Node.js, and JavaScript). If yours is not supported, you could always use the REST API.
- Add the following
usingstatements to the top of theprogram.csfile:using Microsoft.Azure.Documents; using Microsoft.Azure.Documents.Client; using Microsoft.Azure.Documents.Linq; using Newtonsoft.Json;
- We need the URI and primary key that we retrieved in the previous paragraph.
After writing a few lines of C# code, we have the code snippet ready. It performs the following tasks:
- Makes a connection to the DocumentDB account
- Finds the database that is created in the portal
- Creates a collection named
testdevicehub - Saves a document to this collection
The code is as follows:
private static async Task CreateDocument()
  {
    //attach to DocumentDB using the URI and Key from the Azure portal
    DocumentClient client = new DocumentClient(new Uri(docDBUri), key);
    //query for the right database inside the DocDB account
    Database database = client.CreateDatabaseQuery().Where(d => d.Id == "devicehub").AsEnumerable().FirstOrDefault();
    //find the right collection where we want to add the document
    DocumentCollection collection = client.CreateDocumentCollectionQuery((String)database.SelfLink).
        ToList().Where(cl => cl.Id.Equals("testdevicehub")).FirstOrDefault();
    //create a simple document in the collection by providing the DocumentsLink and the object to be serialized
    //and stored
    await client.CreateDocumentAsync(
      collection.DocumentsLink,
      new PersonInformation
      {
        FirstName = "Riccardo",
        LastName = "Becker",
        DateOfBirth = new DateTime(1974, 12, 21)
      }
    );
  }
Replace the values of docDBUri and the key with your information and run the console application. You have just created your first document.
Now, go to the Azure portal again and open the query documents screen. You need to select the designated collection to enable this option. Running the base query returns the document that we have just created:
select * from c
Here's the screenshot:

As you can see, the document contains more than just the fields from the class PersonInformation. Here is a brief explanation of these fields:
id: This is the unique identifier for the document. In the application we have just created, the ID is automatically generated and is represented by a GUID._rid: This resource ID is an internally used property._ts: This is a property generated by the system, and it contains a timestamp._self: This is generated by the system, and it contains a unique URI pointing to this resource document._etag: This is a system-generated property containing anETagthat can be used for optimistic concurrency scenarios (if somebody updates the same document in the meantime, theETagwill differ and your update will fail)._attachments: This is generated by the system, and it contains the path for the attachments resource belonging to this document.


