Using the ScrollView widget to navigate through the application (Intermediate)
A ScrollView widget is used in Picture-Gallery-like applications, where you would like to scroll to the next page to see the next picture in the gallery. The widget allows you to move to the next page or to the previous page by swiping from right to left or left to right.
How to do it...
A
ScrollViewwidget is created by setting the valuescrollviewto thedata-roleattribute on the target element.Each widget inside the
ScrollViewwidget is defined as apagewidget by setting thedata-roleattribute topage.
Let's use the ScrollView widget to create a photo gallery application. This application will show one image at a time, and on swiping from right to left or vice versa, the image defined in the next or the previous page will be shown.
<div data-role="view"
  id="scrollviewContainer">

  <div data-role="scrollview">

    <div data-role="page">
      <img src="images/image1.jpg"/>
    </div><div data-role="page">
      <img src="images/image2.jpg"/>
    </div><div data-role="page">
      <img src="images/image3.jpg"/>
    </div><div data-role="page">
      <img src="images/image4.jpg"/>
    </div><div data-role="page">
      <img src="images/image5.jpg"/>
    </div><div data-role="page">
      <img src="images/image6.jpg"/>
    </div><div data-role="page">
      <img src="images/image7.jpg"/>
    </div>

  </div>

</div>
The previous code snippet defines a view that contains the ScrollView widget. The ScrollView widget contains seven page widgets (data-role='page'), each of which has an image tag specified in it.
Note
Notice that the markup contains no whitespaces between the page widgets. This is intentional, because when an extra space is specified, an additional page is added to the view.
How it works...
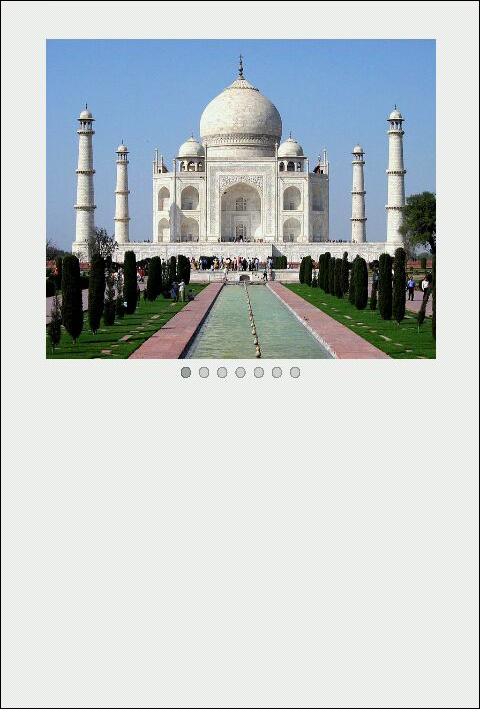
When the page loads, it initializes the ScrollView widget and displays the first image in the set. It also displays seven buttons corresponding to the seven images on the screen. By default, the first button in the set is selected since the first page is shown when the application is viewed.

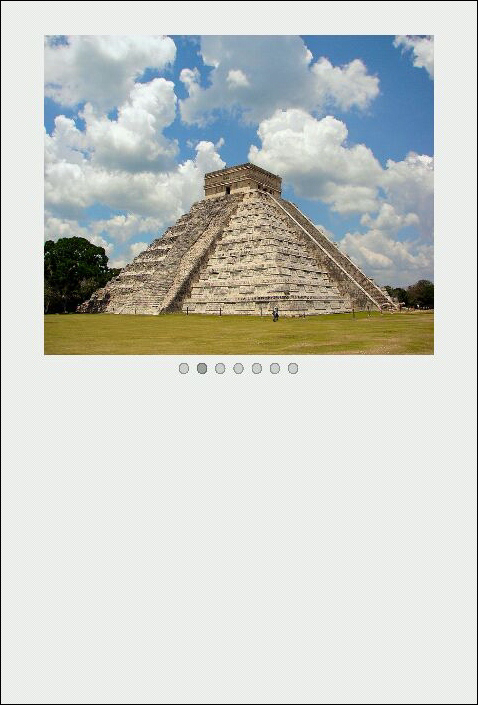
On swiping from right to left, the next page containing the image is shown. This will also update the selected button in the ScrollView widget, as shown in the following screenshot:

There's more...
You can also specify a JavaScript callback function when the page widget has changed. To do that, define the data-change attribute on the ScrollView widget.
<div data-role="scrollview"
  data-change="pageChange">
  ......
</div>
The JavaScript callback function would be as follows:
function pageChange() {
  console.log('New Page');
}
The pageChange function is executed when you swipe on the device to see the next page.
Here we will see how an application created with Kendo UI Mobile is rendered on different platforms, namely iOS, Android, and Blackberry. Also, how the framework handles different orientations, portrait and landscape.


