Gradle is an open source build automation system that is based on the Apache ANT and Maven concept. It introduces a Groovy-based Domain Specific Language (DSL) instead of the XML which is primarily used by Apache Maven for declaring the project configuration. Gradle was designed keeping in mind the support for multi-project builds which grow to be quite a large size, and it supports incremental builds. Gradle does this by understanding which parts of the build tree are up to date.
This ensures that tasks dependent on those parts will not be re-executed. Gradle determines which tasks need to be run and in which order, using Directed Acyclic Graph (DAG).
Gradle can automate the building, testing, publishing, deployment, and more of software packages or other types of projects. Using the combination of the power and flexibility of ANT and the dependency management and conventions of Maven, Gradle helps to build in a more effective manner.
First, let's get familiarized with the Gradle environment inside Android Studio. To do that we should first create a new Android Project. I assume you have Android Studio installed by now. Here is the link in case you wish to know more about the install: https://developer.android.com/studio/install.html
Now that you have the Android Studio installed, we will first create a new project,
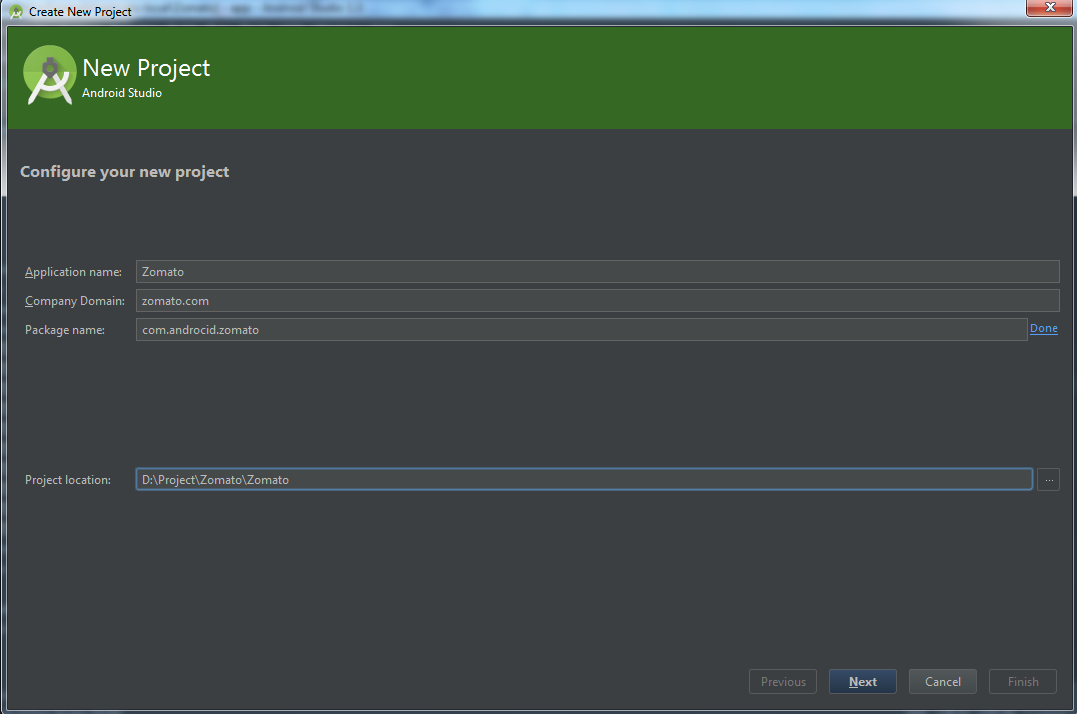
Open Android Studio, create a New Project, and give a name to your project as seen in the following figure:
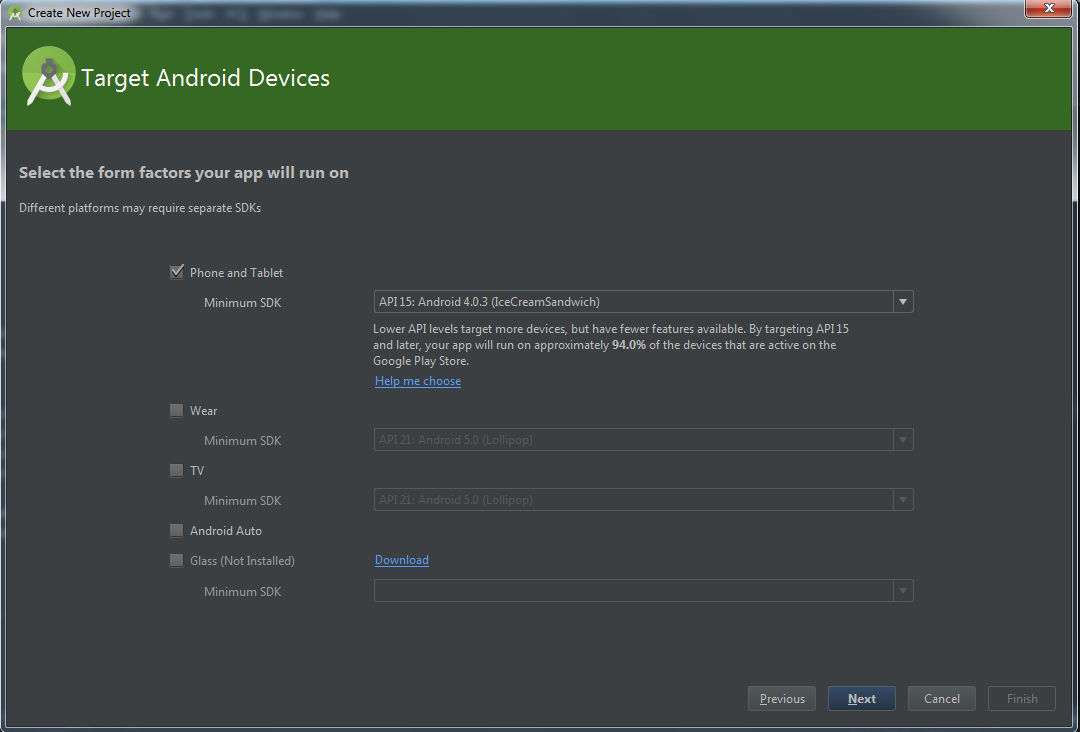
At the Target Android Devices screen, without making any changes, just click on Next:
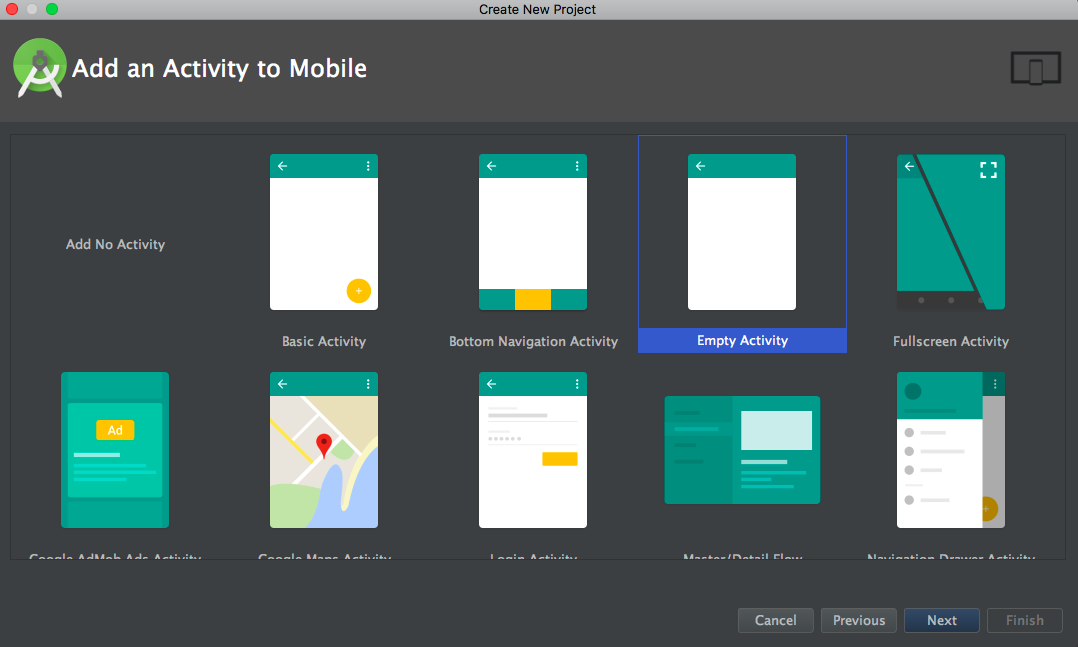
Next, at the Add an Activity to Mobile screen, select the Empty Activity option for now:
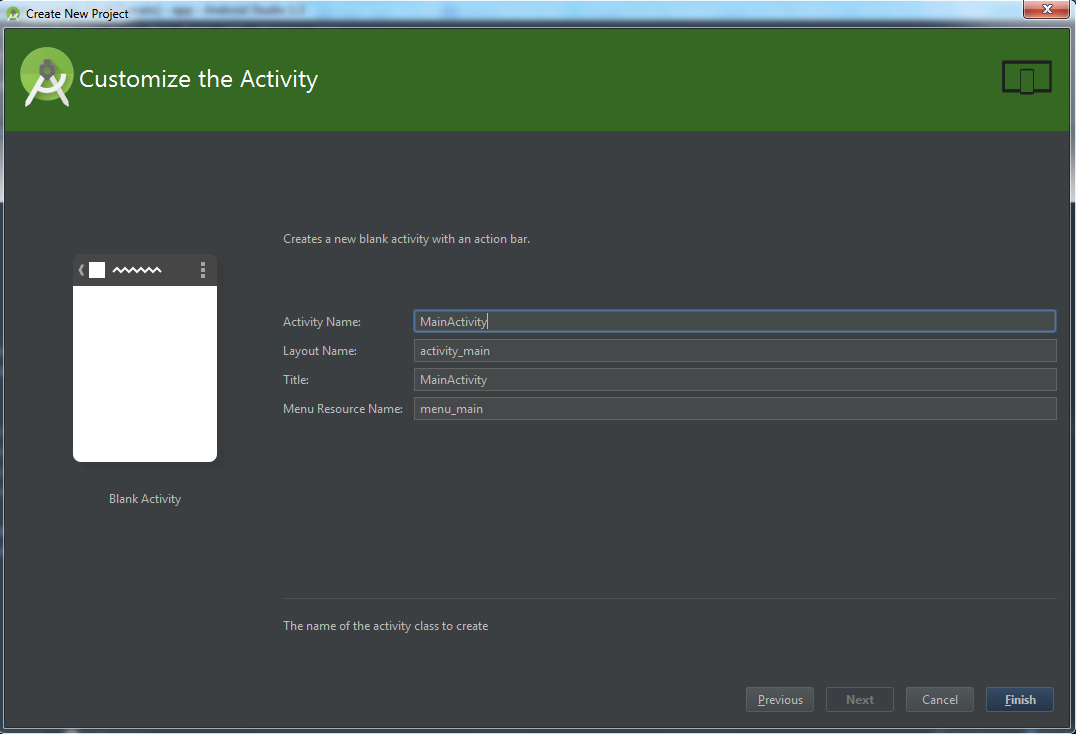
Now, the Activity and an XML file will be generated by default. Just click Finish when done:
When the project load is complete, just change the view structure to Project. You may leave it at Project Files by default:
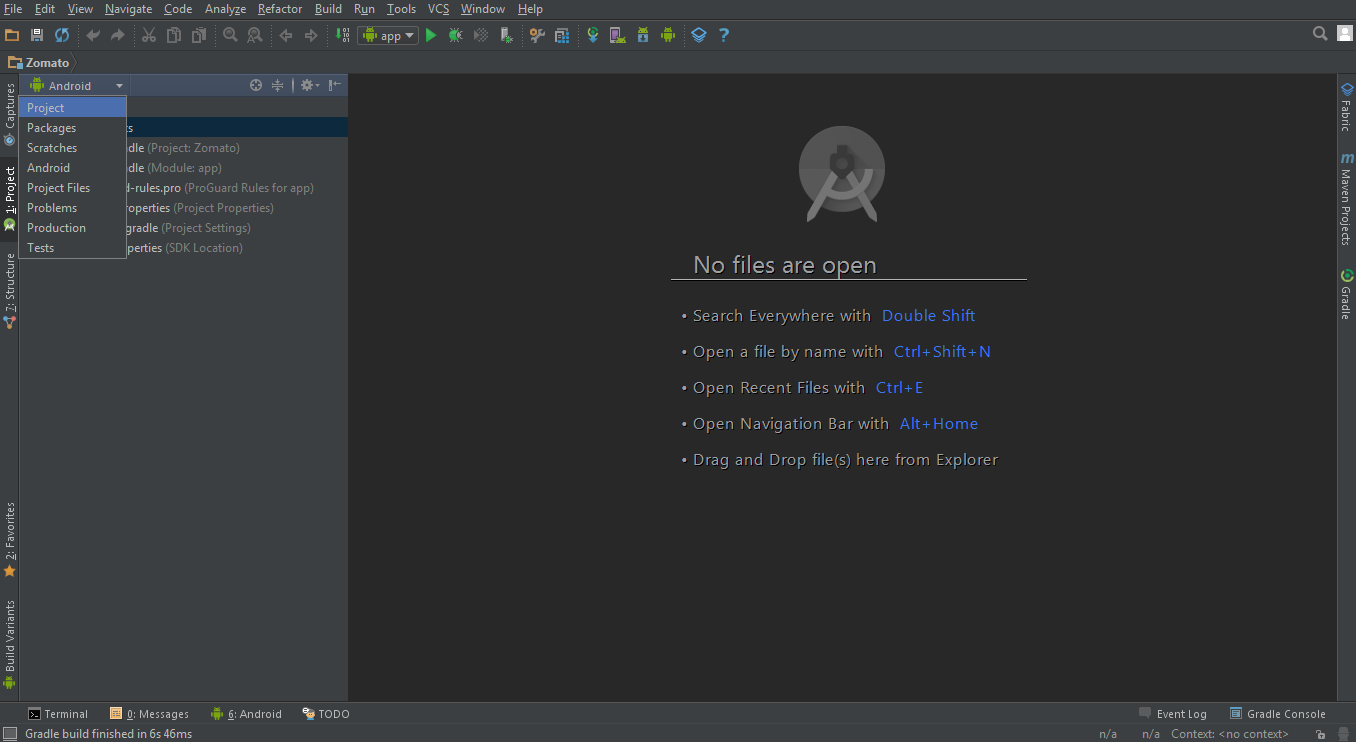
Once this is done open the build.gradle file. Here you will see the libraries that are compiled in the project:
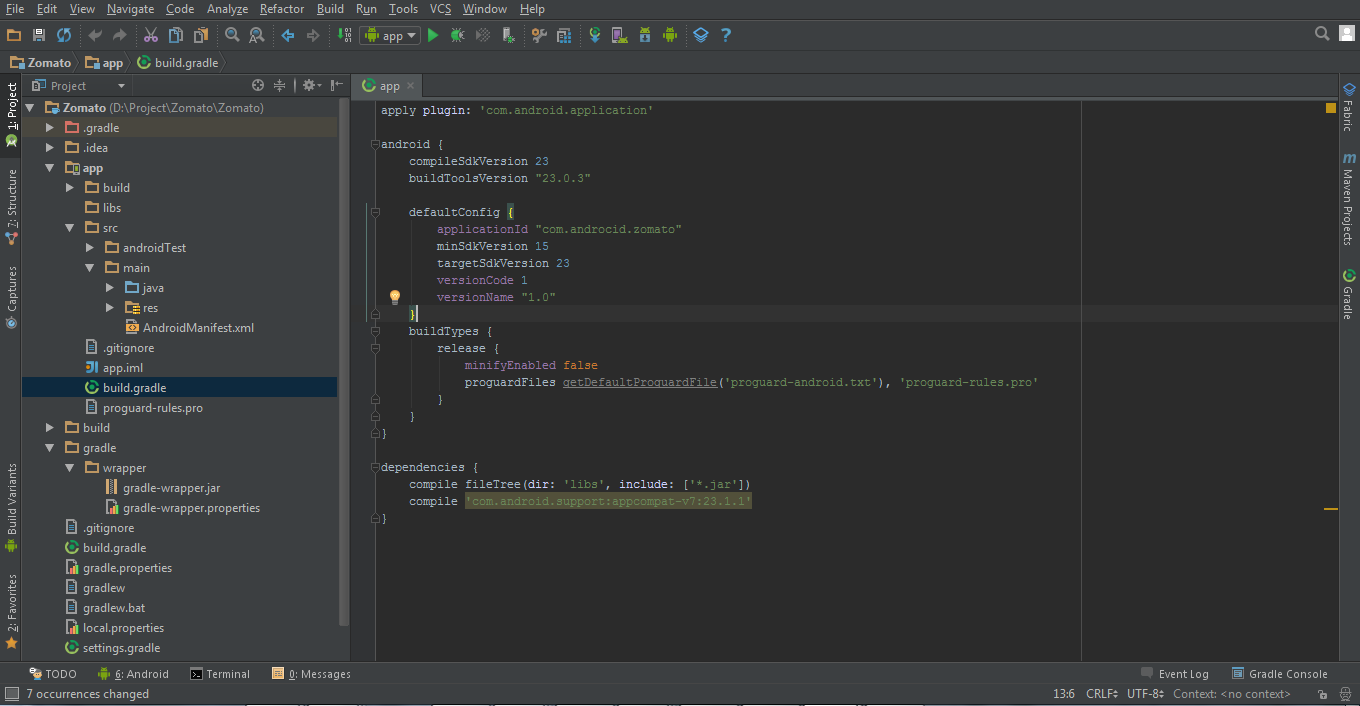
We have completed the launch of a blank project and we now should understand the basic setup of the same. In the next section, we will talk about adding Gradle to this app.


