
When working with SQL Server (or other database technologies), you'll have to establish a connection to a database. Connection details will depend on the type of database you're connecting to, but the most common fields or properties that you'll need to populate include a server name or IP address, credentials, port numbers, and a database name.
To connect to a database in Power Automate, follow these steps:
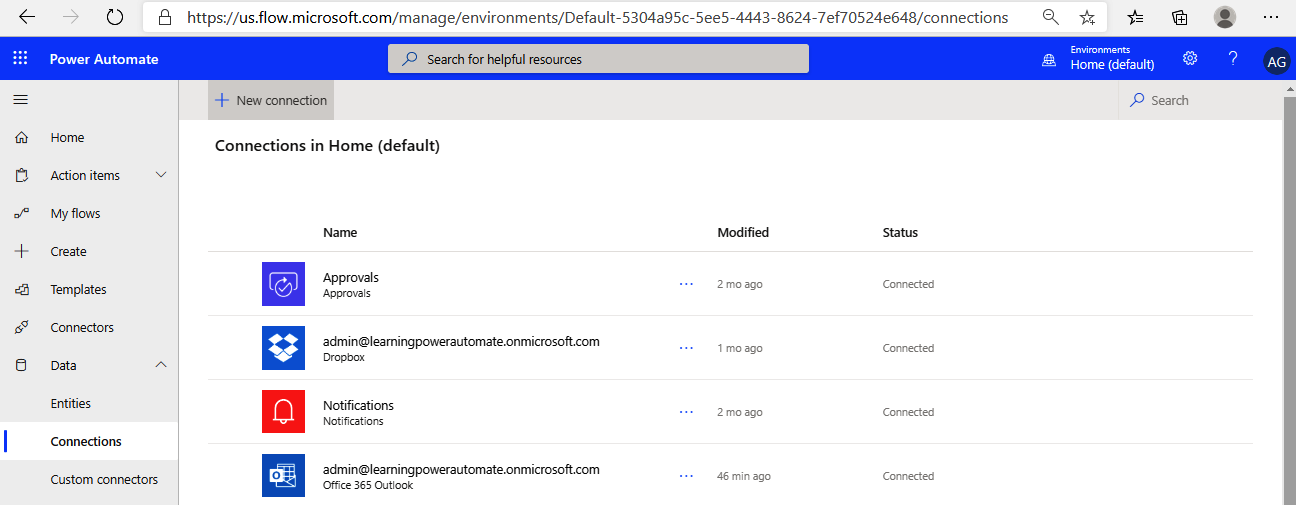
- Navigate to the Power Automate web portal (https://flow.microsoft.com). Expand Data and click Connections.
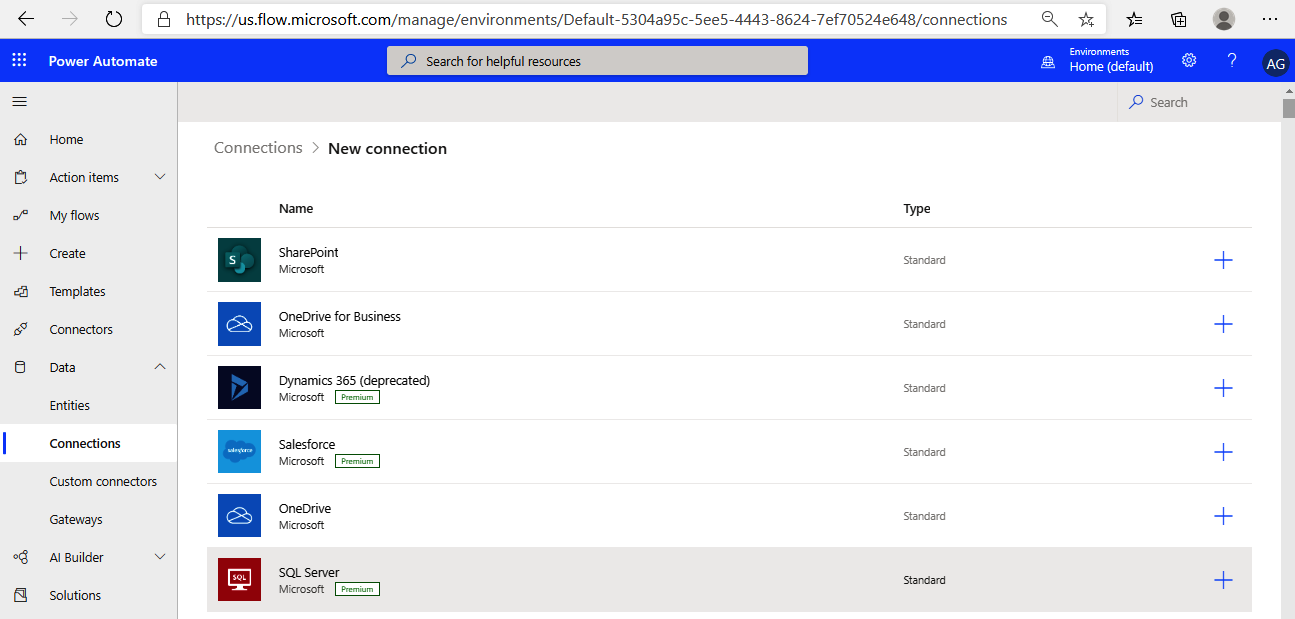
- Select + New connection:
- Select SQL Server from the list of connection types:
- Fill out the dialog box using the server name, database name, and the credentials you created in the previous sections:

- Click Create.
Now that a connection has been established, you can create a simple button flow in order to place information in the database.