This recipe describes how to configure pfSense to use an RSA key rather than a username/password combination for authentication.
Configuring SSH RSA key authentication
Getting ready
Make sure you have enabled SSH access and generated an RSA key (if you completed the last two recipes, you have).
How to do it...
- Navigate to System | Advanced.
- Make sure SSHd Key Only is set to Public Key Only:

- Navigate to System | User Manager. Click on the Users tab (it should be selected by default).
- Click on the Edit icon (the pencil) for the admin account.
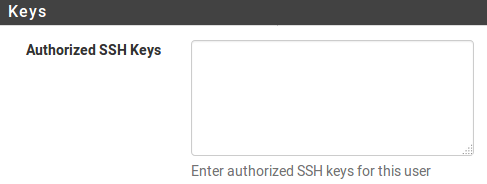
- In the Keys section, paste the client's public RSA key (that can be the RSA key you created in the previous recipe). When pasted, the key should appear as a single line. Make sure your text editor does not insert any line feeds, or authentication may fail:

- When done, click on the Save button.
How it works...
When you connect using an SSH client, instead of asking for a username and password, the SSH server will now use your public RSA key to send a challenge to you. The challenge can only be read if you have the matching private RSA key.
There’s more...
RSA private keys can also be stored encrypted to the client’s computer. The SSH client will prompt you for the decryption password. Once entered, it will be able to use the private key for authentication.
See also
- The Enabling SSH access recipe
- The Generating authorized RSA keys recipe
- The Accessing the SSH recipe


