Getting the tools ready
The tools that we will need during the book are the latest version of Android Studio, an Android SDK updated to Android M or later. It is also recommended that you have Genymotion, an emulator to test the app.
Note
First, we need to download and install Android Studio, the official tool to develop in Android. It can be downloaded from http://developer.android.com/sdk/index.html.
At the top of the website, you will have a link to download it depending on your OS version.

Once it's installed, we need to download an Android M SDK, which will provide all the classes and resources necessary to develop an app for a specific Android version. This is done through SDK Manager, a tool included inside Android Studio.
We can click on Tools | Android | SDK Manager or find a shortcut in the uppermost bar of Android Studio.

Once we open SDK manager, we will see a list of the available SDK platforms and SDK tools. We need to ensure that the latest version available is installed.

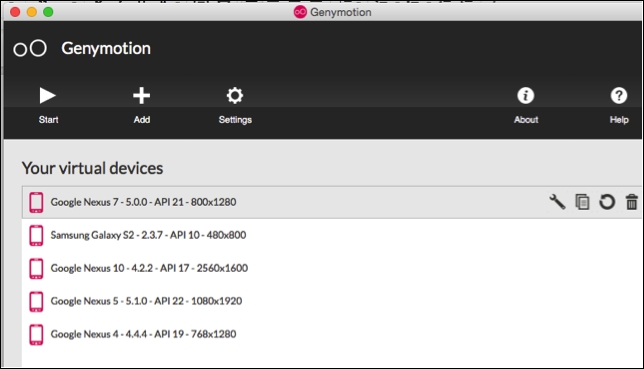
With this, we have all that we need to develop our app. In order to test it, it would be ideal to have Genymotion, which is an Android emulator that will help us test our app on different devices.
The reason we use this emulator instead of the Android default one is primarily the speed. Deploying an app in Genymotion is even quicker than using a physical device. Apart from this, we benefit from other features, such as resizable windows, copying and pasting from our computer, and other smaller details that are time consuming with the default emulator. It can be downloaded from https://www.genymotion.com.
All we need to do is install it, and once opened, we can add emulators with the same features included with existing devices.


