Office 365 is offered in a variety of flavors, each including a different set of services. One of the common tiers offered as a trial is the E3. It includes services such as the Office suite, email, document and file management, conferencing and Skype, team sites, and so on.
For additional details on what is included in Office 365 E3, refer to https://products.office.com/en-us/business/office-365-enterprise-e3-business-software.
From your existing Office 365 instance where you created your Dynamics 365 for Sales trial, you can add this additional trial service by going through the following steps:
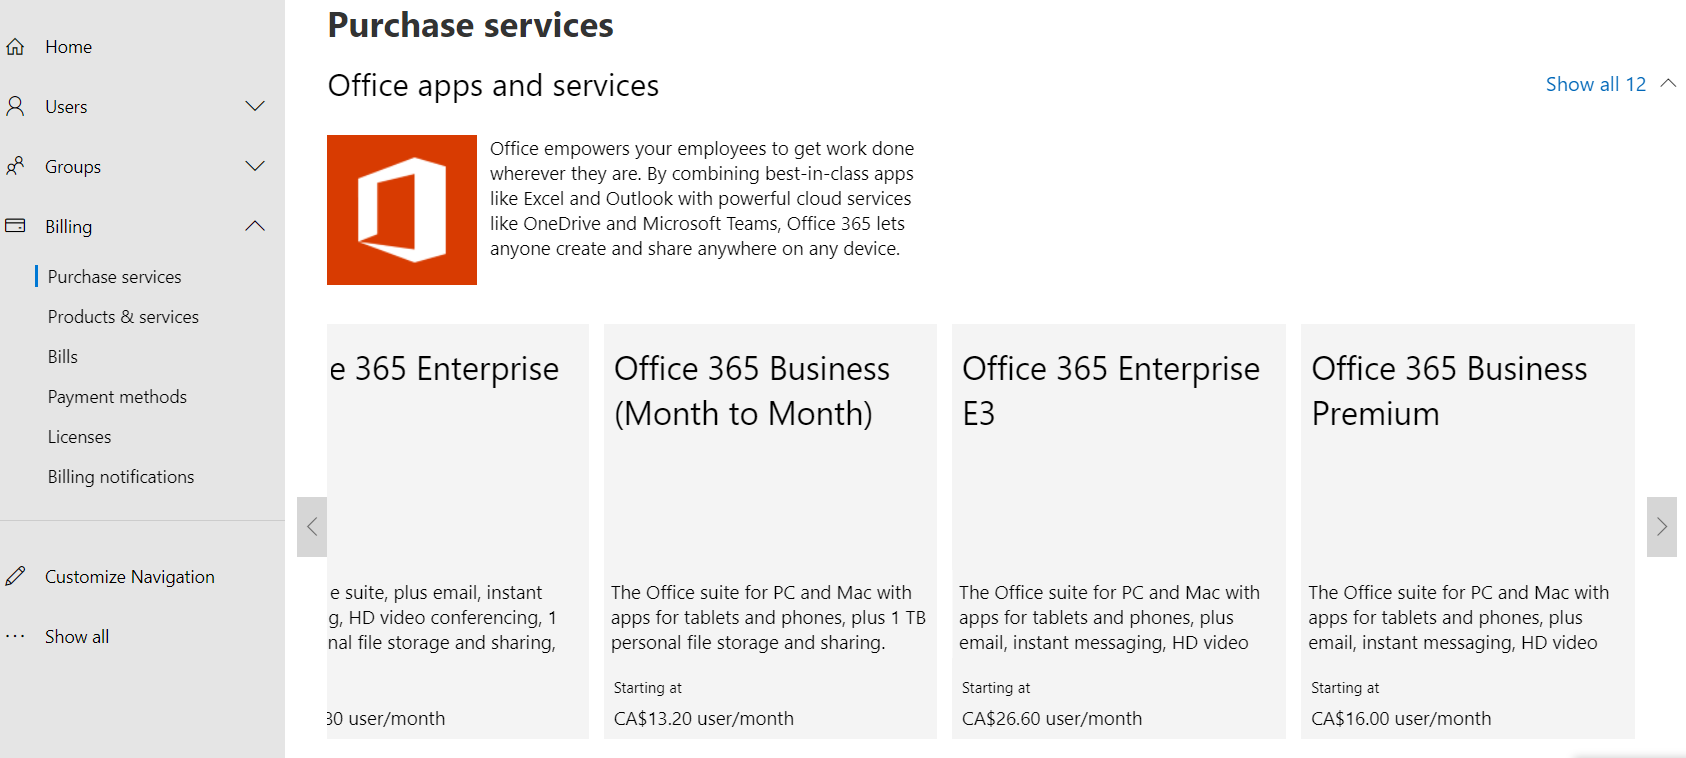
- Start by navigating on the left navigation area to BILLING | Purchase services.
- Find the Office apps and services section and scroll to find the Office 365 Enterprise E3 selection. Click on it:

- On the page that opens, click the Get free trial button to add this trial to your existing instance:

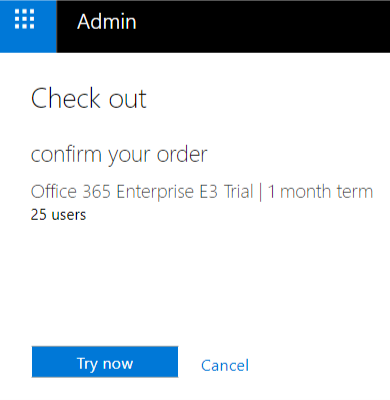
- You will be asked to provide a valid mobile number for validation. A text message will be sent with a validation code. Once you complete the wizard, you will be asked to confirm your selection. Click the Try now button to activate this trial:

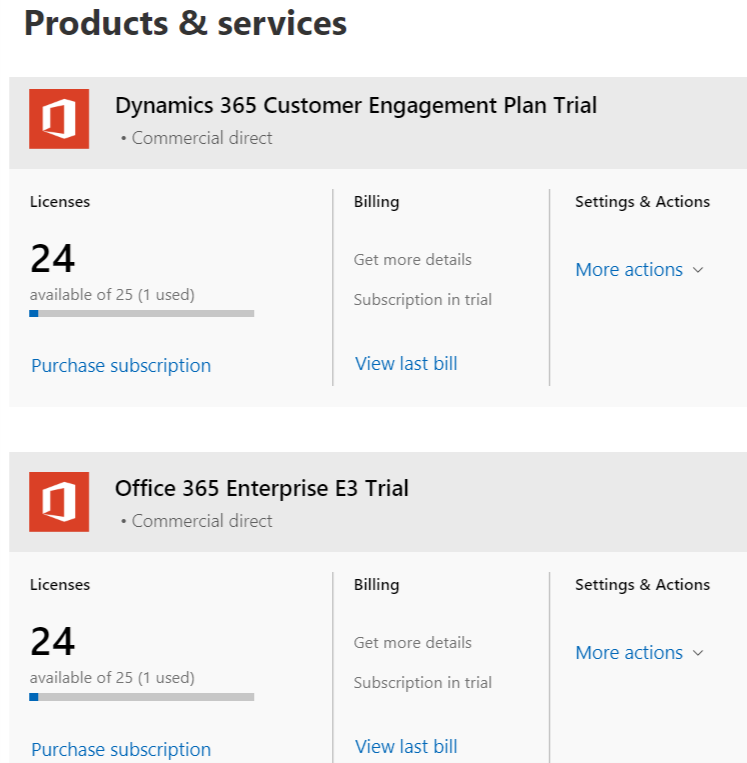
- And with that, all the additional services associated with the Office 365 Enterprise E3 services will be enabled and associated with your existing instance. To confirm, look at the expanded Billing section in the Admin center and select Products & services. You should see both trials listed with the available licenses:

Now we can configure all of the default integrations that should be available. We will look at those tasks in some of the future chapters.


