Getting started
Before you can dive into the elements of Trello, you’ll need to create an account and create your first workspace.
Creating an account
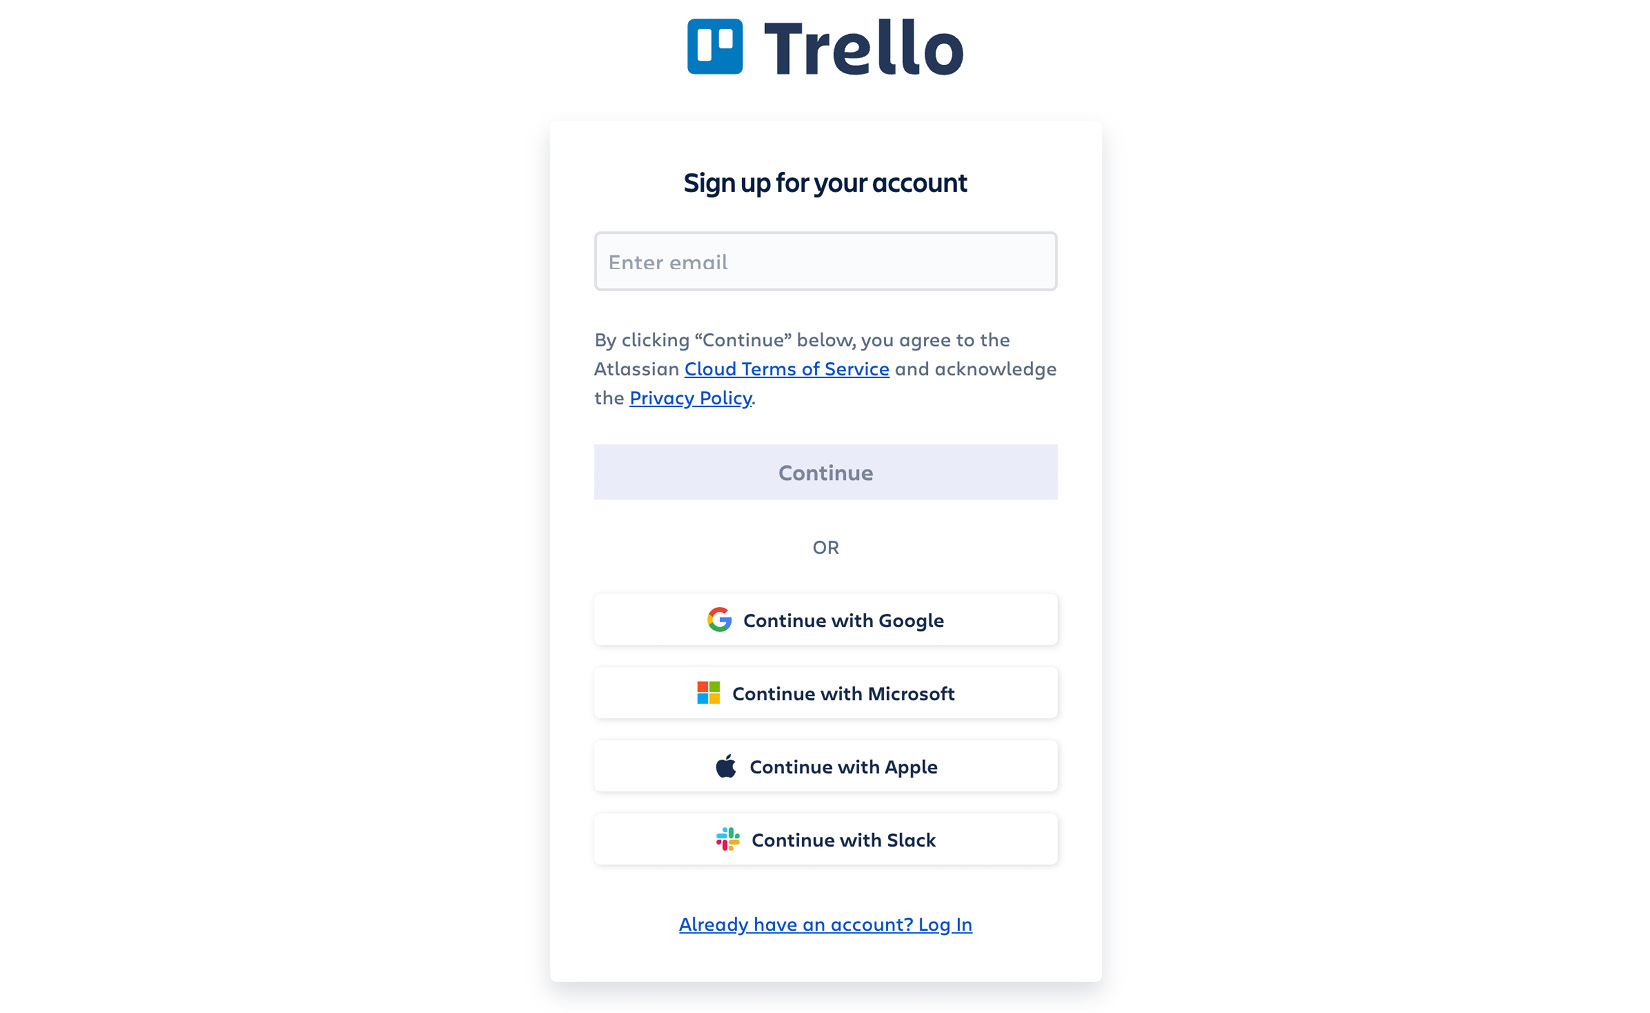
Go to trello.com and click Sign up. You’ll be directed to an Atlassian login page. You can use your existing Atlassian login if you use other Atlassian products (such as Jira, Confluence, or Bitbucket). This makes it extremely easy to get started and keeps everything under one login if you use multiple tools. Otherwise, you’ll need to create a new account.
You can do that by typing an email address or choosing one of the social account options, such as Gmail:

Figure 1.1 – Trello sign-up modal
Workspaces (previously called Teams)
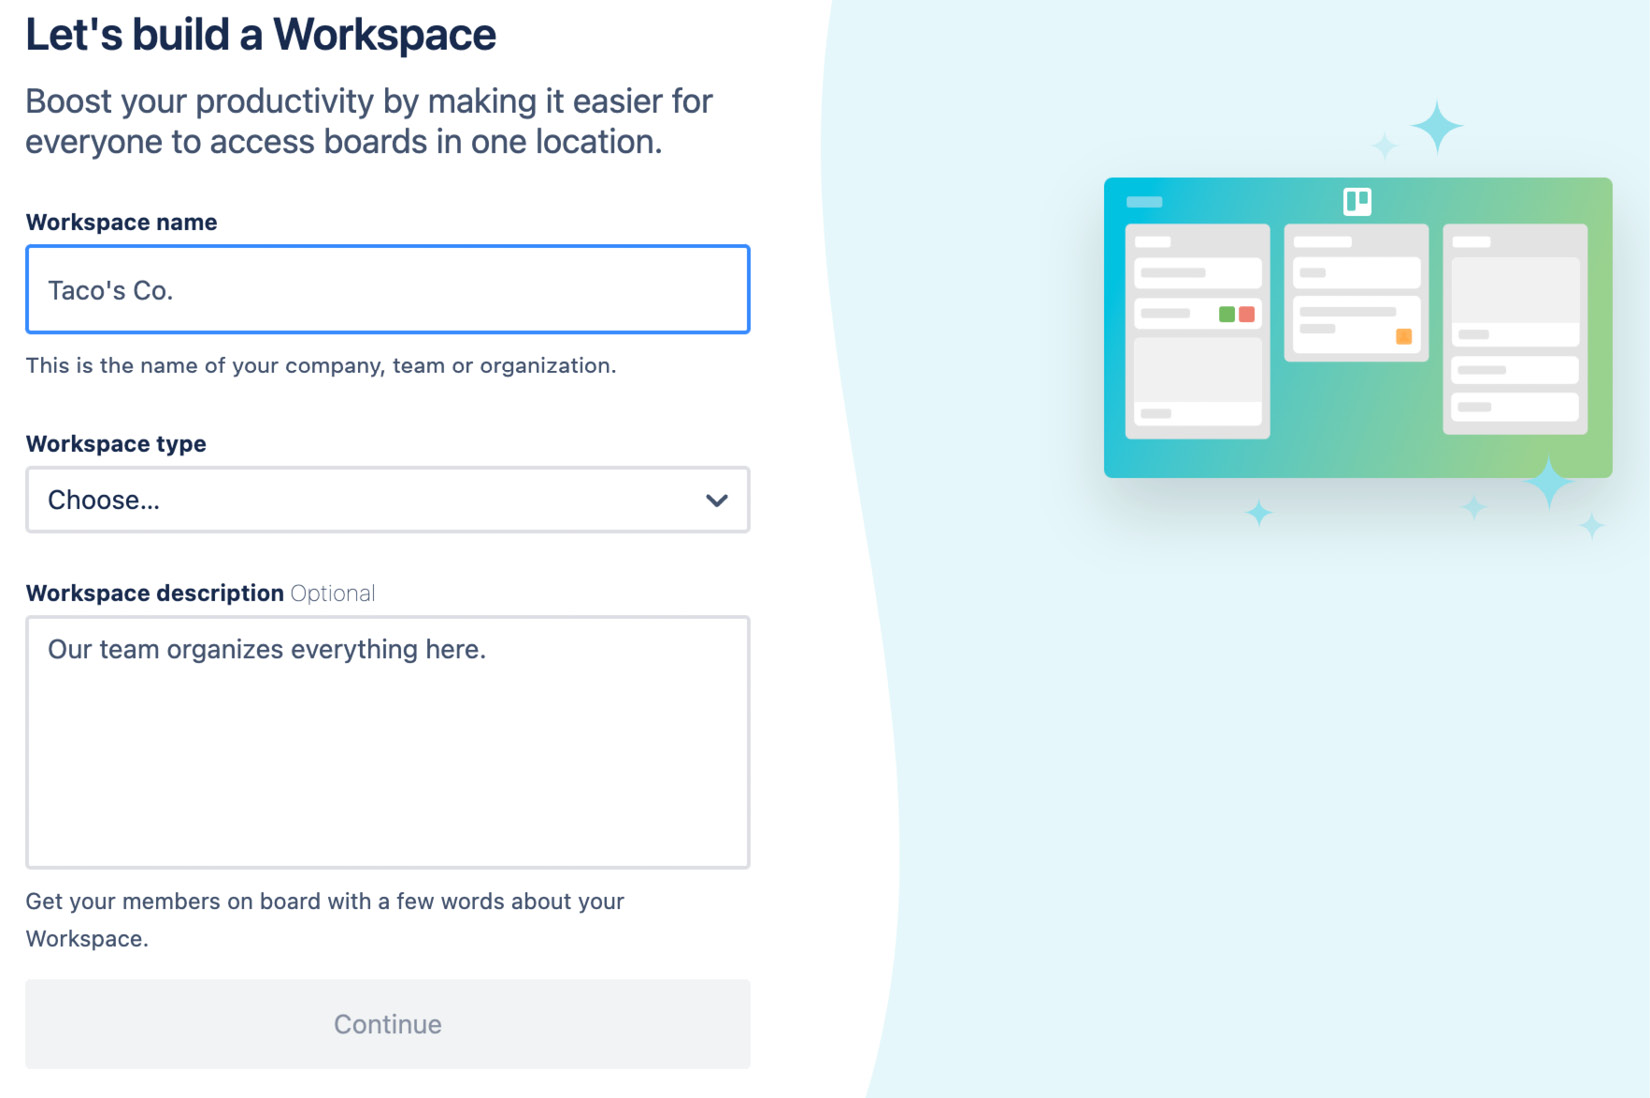
The wizard will walk you through the sign-up flow and help you create your first workspace. Think of a workspace as your department or organization, or a type of project:

Figure 1.2 – Form to create a Trello workspace
Each workspace is charged by the number of members in that workspace. You can have free workspaces, and you can have as many workspaces as you wish. Select your team type you are to get specific template recommendations. Next, invite team members via email address, or skip this process for now and invite them later.
Now that you’ve got a Trello account squared away, you’re ready to start playing around and getting your hands dirty. It’s time for the rubber to meet the proverbial road because we’re going to start creating boards and lists and understand what those things are, as well as how to use them.
Let’s dive into what Trello is most known for... its boards!


