It is no surprise that we commonly face repetitive and time-consuming tasks. For example, you might want to create multiple virtual machines. You would have to follow the previous guide multiple times to get your job done. This is why Microsoft supports its Azure services with multiple ways of automating most of the tasks that can be implemented in Azure.
Azure automation tools
Azure PowerShell
PowerShell is commonly used with most Microsoft products, and Azure is no less important than any of these products. You can use Azure PowerShell cmdlets to manage most Azure services.
Installing the Azure PowerShell module
There are two ways of installing the Azure PowerShell module on Windows:
- Download and install the module from the following link: https://www.microsoft.com/web/downloads/platform.aspx
- Install the module from the PowerShell Gallery
Installing the Azure PowerShell module from the PowerShell Gallery
The following are the steps required to get Azure PowerShell installed:
- Open PowerShell in an elevated mode.
- To install the Azure PowerShell module for the current portal, run the following cmdlet:
Install-Module AzureRM
If your PowerShell requires a NuGet provider, you will be asked to agree to install it, and you will have to agree to the installation policy modification, as the repository is not available in your environment, as shown in the following screenshot:

Azure CLI
The Azure CLI is an open source and cross-platform tool that supports implementing all the tasks you can do in the Azure portal with commands. This tool can be used to provide automation by writing all the tasks you want to configure in the Azure CLI and running it instead of manually doing it over and over again. It can be used to run on Windows, Linux, and macOS. The latest version is Azure CLI 2.0.
Installing Azure CLI 2.0
Perform the following steps to install Azure CLI 2.0:
- Download Azure CLI 2.0 from the following link: https://azurecliprod.azureedge.net/msi/azure-cli-2.0.47.msi.
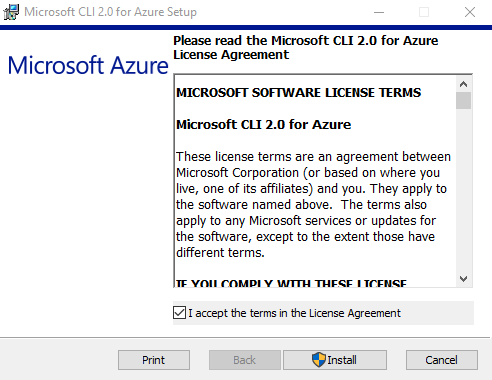
- Once downloaded, you can start the installation:

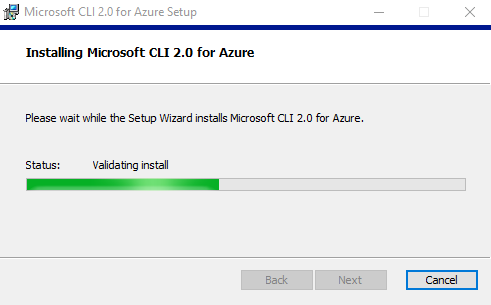
- Once you click on Install, it will start to validate your environment to check whether it is compatible with it or not. Then, it starts the installation:

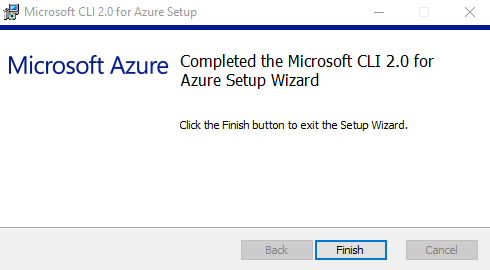
- Once the installation completes, you can click on Finish, and you are good to go:

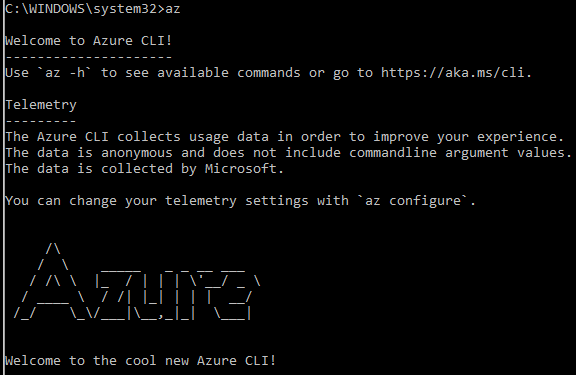
- Once done, you can open Command Prompt and write az to access Azure the CLI commands:


