Follow these steps to create projects in JIRA:
- Log in using our JIRA credentials. Click on Create project:
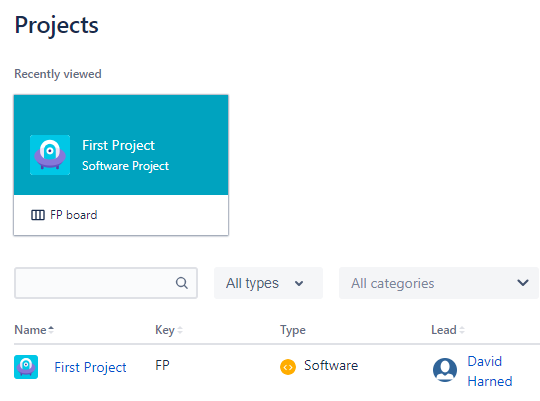
Projects view
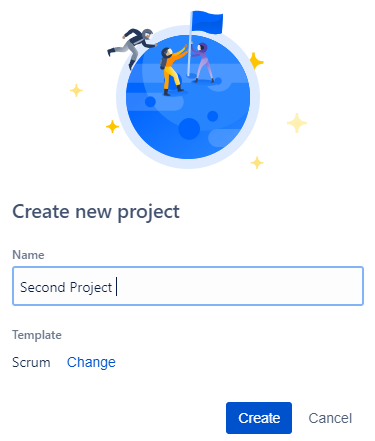
- I have already created a First Project, so in our example, let's name the project Second Project. In the following screenshot, you can see that we have a Scrum template, and we can change that to something else if we want to; for now, we'll leave it as it is and click on the Create button:
- Now, as you can see in the following screenshot, we have a First Project, as well as our new Second Project:
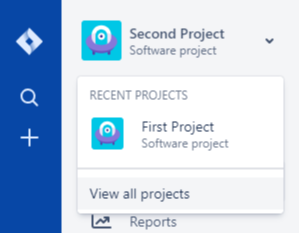
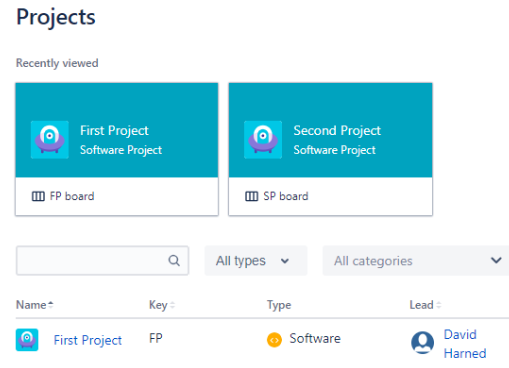
- Go to View all projects, where you will be able to see all of the projects, as follows:
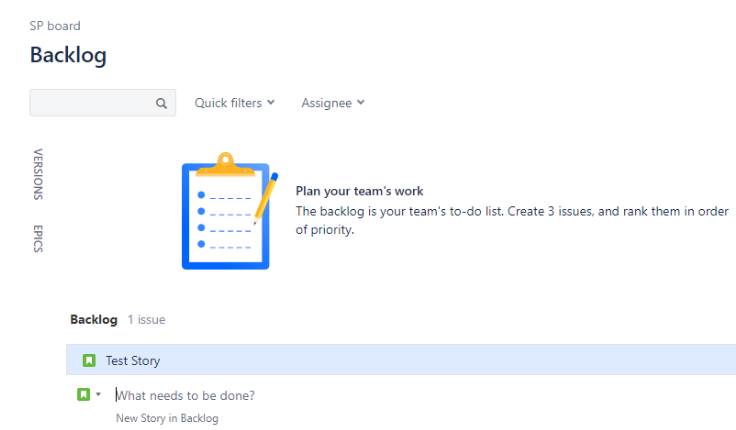
- Click on Second Project. In the following screenshot, you can see what the Backlog view looks like. This is where we can create a test story and put items into our backlog:
JIRA uses projects to help us organize our work and create a holding place for everything. Each project has a unique key, which is a three- or four-digit ID that we can reference, as well. You'll see those more as we move forward in this book.
We'll go into more detail about what all of these different things are in the UI, but for now, it's important to note that projects are what JIRA uses in order to organize our work.


