


Creating materials
Now, it's time to set up our materials. The first thing I'll do is split my screen into three parts—the 3D Viewport,Node Editor, and Materials Tab:
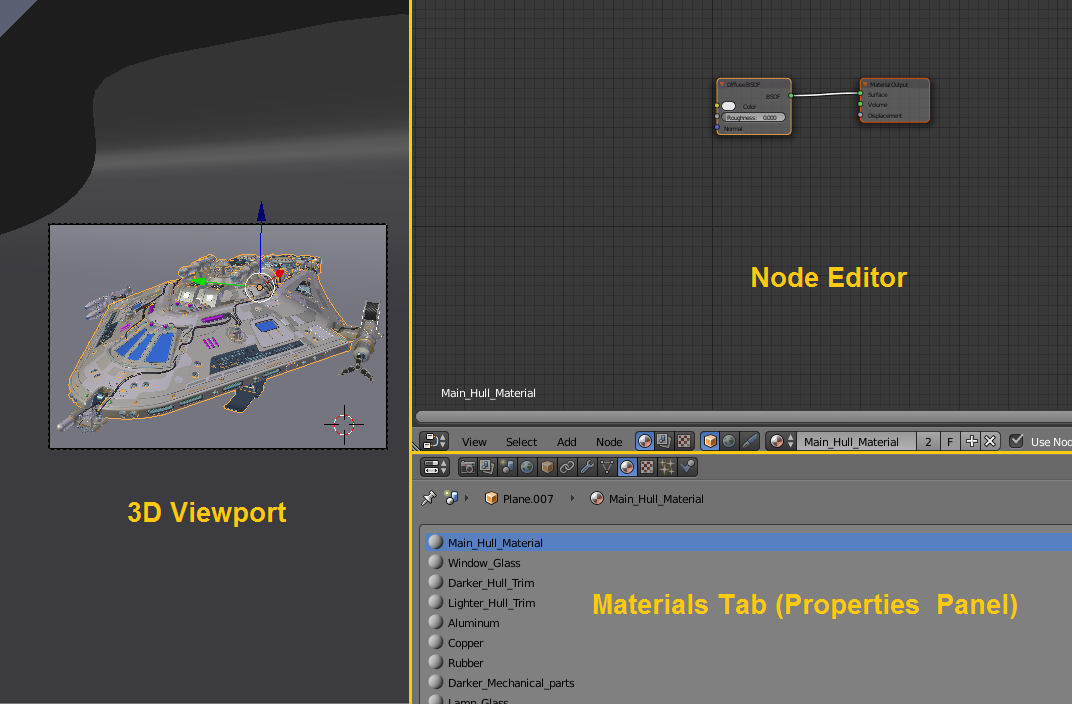
This is just a personal preference, but it does give you access to everything you'll need in order to adjust your materials.
Before going further, let's take a look at some of the basic procedural textures that come with Blender:
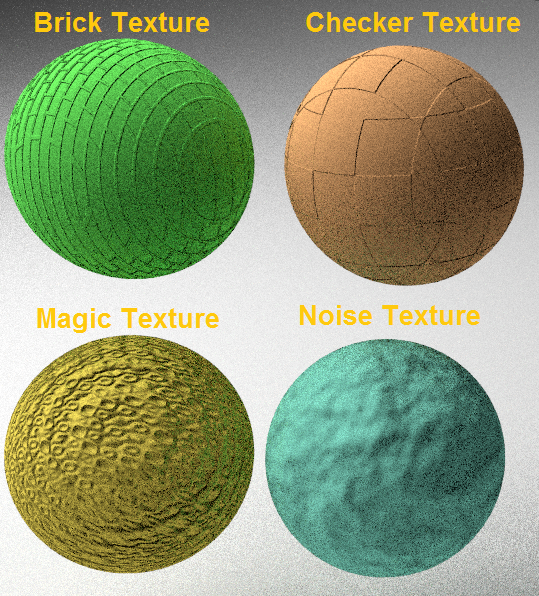
As you can see, I've used these textures to affect the displacement or normal of the material. The textures are basically acting as normal maps.
Note
A normal map is a way to add additional detail to the model without physically building it. For example, if you wanted a cloth pattern, it would not be practical to model a cloth with all of the tiny folds and stitching. Normal mapping allows us to simulate the light and shadows of a complex surface without adding all of the geometry to model it.
You can use a texture to control the normal map by plugging its output into the Displacement input of the material...


