Previously, we saw how Ubuntu Desktop could be set up locally using VMWare Fusion. In this section, we will learn how to do the same on Google Cloud Platform.
Installing and configuring Ubuntu Desktop for Google Cloud Platform
Getting ready
The only requirement is a Google account username. Begin by logging in to your Google Cloud Platform using your Google account. Google provides a free 12-month subscription with $300 credited to your account. The setup will ask for your bank details; however, Google will not charge you for anything without explicitly letting you know first. Go ahead and verify your bank account and you are good to go.
How to do it...
Follow the steps in the recipe to configure Ubuntu Desktop for Google Cloud Platform:
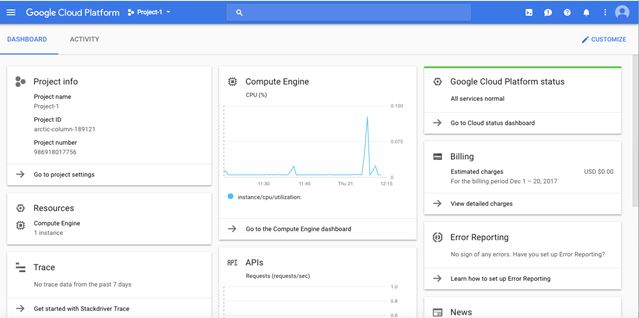
- Once logged in to your Google Cloud Platform, access a dashboard that looks like the one in the following screenshot:
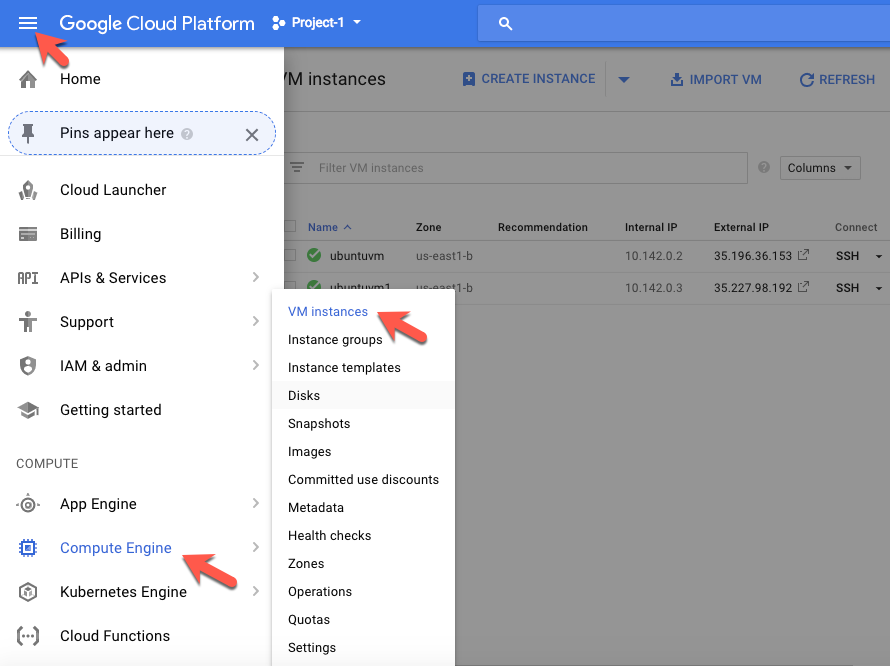
- First, click on the product services button in the top-left-hand corner of your screen. In the drop-down menu, under Compute, click on VM instances, as shown in the following screenshot:
-
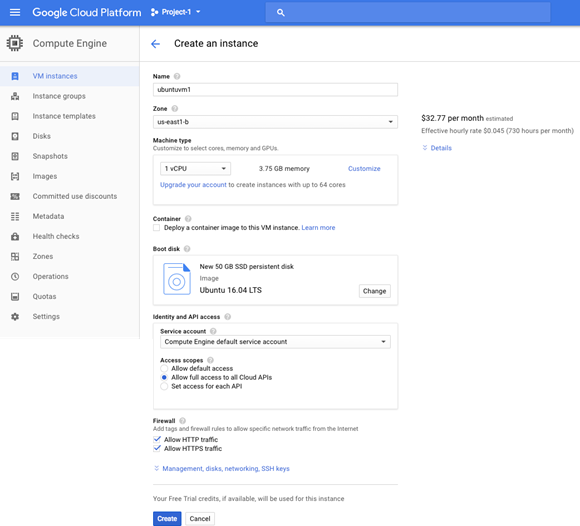
Create a new instance and name it. We are naming it ubuntuvm1 in our case. Google Cloud automatically creates a project while launching an instance and the instance will be launched under a project ID. The project may be renamed if required.
- After clicking on Create Instance, select the zone/area you are located in.
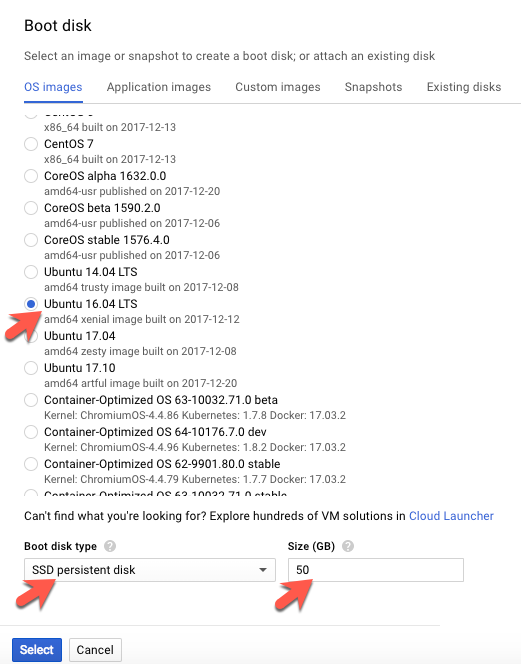
- Select Ubuntu 16.04LTS under the boot disk as this is the operating system that will be installed in the cloud. Please note that LTS stands for version, and will have long-term support from Ubuntu’s developers.
- Next, under the boot disk options, select SSD persistent disk and increase the size to 50 GB for some added storage space for the instance, as shown in the following screenshot:
- Next, set Access scopes to Allow full access to all Cloud APIs.
- Under firewall, please check to allow HTTP traffic as well as allow HTTPS traffic, as shown in the following screenshot:
- Once the instance is configured as shown in this section, go ahead and create the instance by clicking on the Create button.
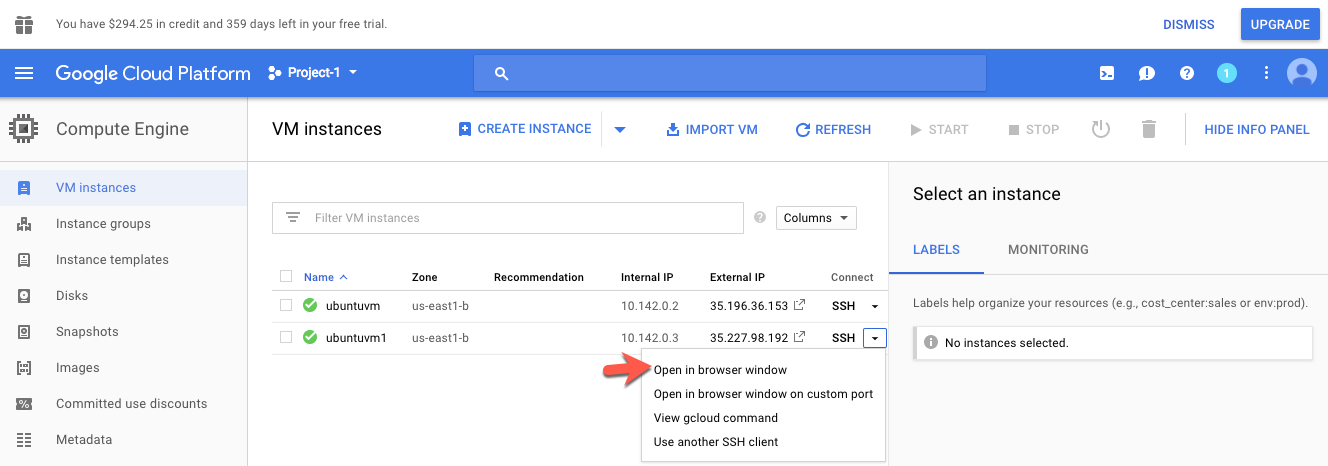
- Click on the newly created instance. From the drop-down menu, click on open in browser window, as shown in the following screenshot:
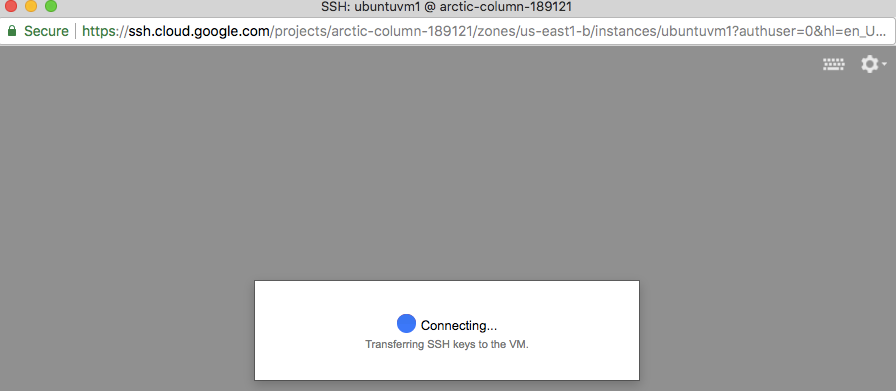
- You will see that Google opens up a shell/terminal in a new window, as shown in the following screenshot:
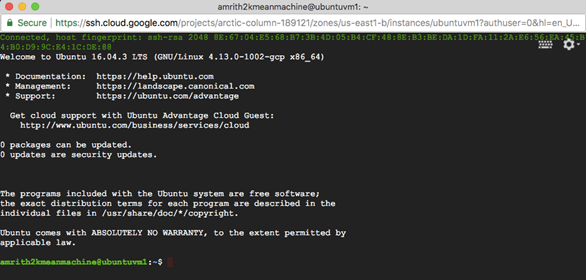
- Once the shell is open, you should have a window that looks like the following screenshot:
- Type the following commands in the Google cloud shell:
$ sudo apt-get update
$ sudo apt-get upgrade
$ sudo apt-get install gnome-shell
$ sudo apt-get install ubuntu-gnome-desktop
$ sudo apt-get install autocutsel
$ sudo apt-get install gnome-core
$ sudo apt-get install gnome-panel
$ sudo apt-get install gnome-themes-standard
- When presented with a prompt to continue or not, type y and select ENTER, as shown in the following screenshot:

- Once done with the preceding steps, type the following commands to set up the vncserver and allow connections to the local shell:
$ sudo apt-get install tightvncserver
$ touch ~/.Xresources
- Next, launch the server by typing the following command:
$ tightvncserver
- This will prompt you to enter a password, which will later be used to log in to the Ubuntu Desktop virtual machine. This password is limited to eight characters and needs to be set and verified, as shown in the following screenshot:

- A startup script is automatically generated by the shell, as shown in the following screenshot. This startup script can be accessed and edited by copying and pasting its PATH in the following manner:

- In our case, the command to view and edit the script is:
:~$ vim /home/amrith2kmeanmachine/.vnc/xstartup
This PATH may be different in each case. Ensure you set the right PATH. The vim command opens up the script in the text editor on a Mac.
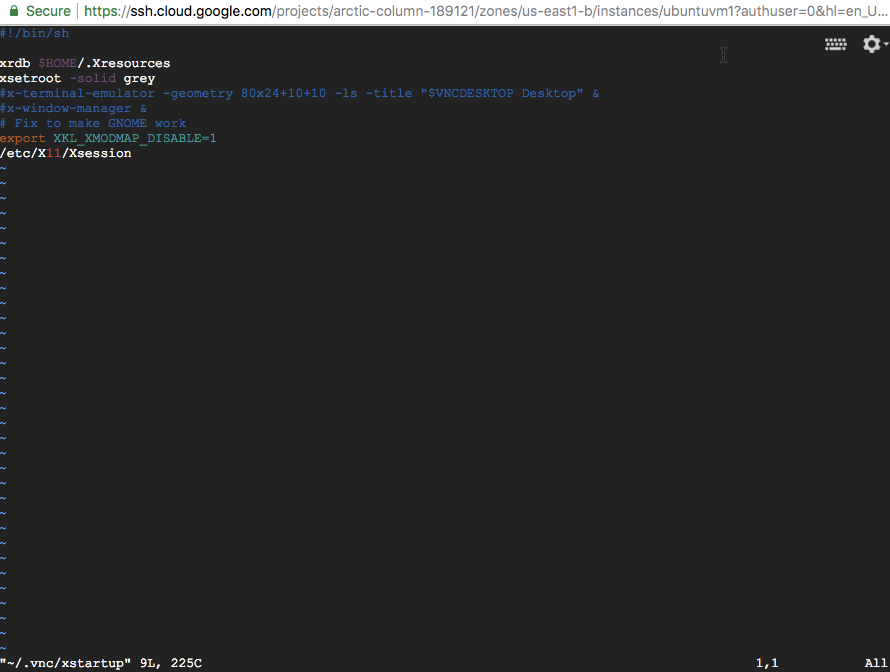
- After typing the vim command, the screen with the startup script should look something like this screenshot:
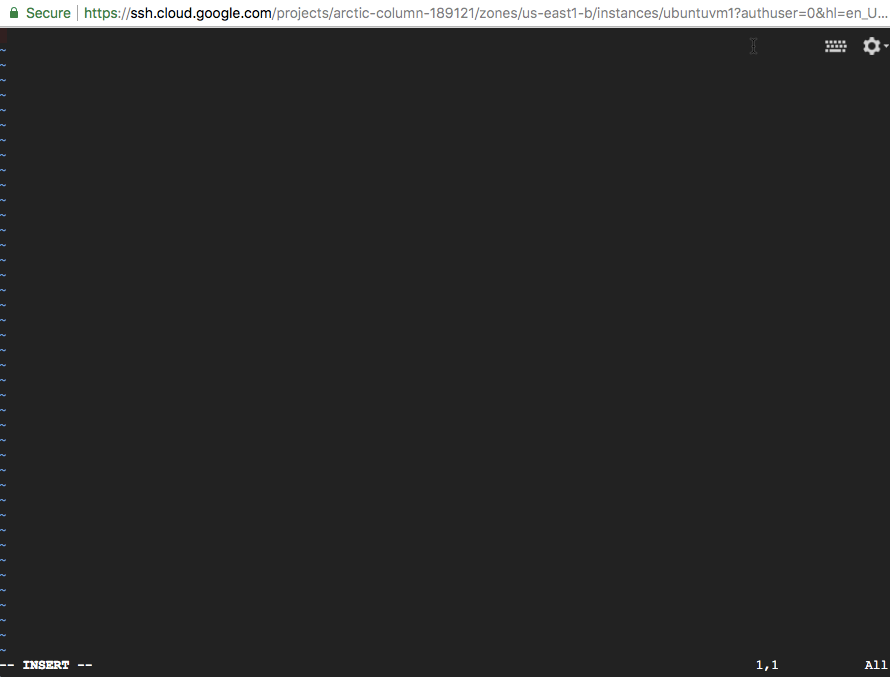
- Type i to enter INSERT mode. Next, delete all the text in the startup script. It should then look like the following screenshot:
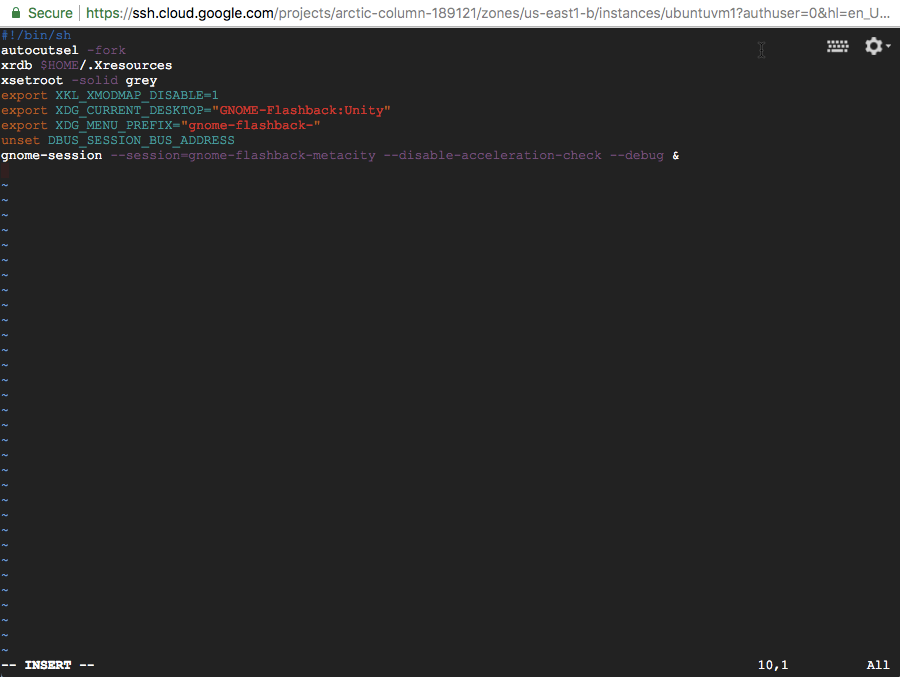
- Copy paste the following code into the startup script:
#!/bin/sh
autocutsel -fork
xrdb $HOME/.Xresources
xsetroot -solid grey
export XKL_XMODMAP_DISABLE=1
export XDG_CURRENT_DESKTOP="GNOME-Flashback:Unity"
export XDG_MENU_PREFIX="gnome-flashback-"
unset DBUS_SESSION_BUS_ADDRESS
gnome-session --session=gnome-flashback-metacity --disable-acceleration-check --debug &
- The script should appear in the editor, as seen in the following screenshot:
- Press Esc to exit out of INSERT mode and type :wq to write and quit the file.
- Once the startup script has been configured, type the following command in the Google shell to kill the server and save the changes:
$ vncserver -kill :1
- This command should produce a process ID that looks like the one in the following screenshot:

- Start the server again by typing the following command:
$ vncserver -geometry 1024x640
The next series of steps will focus on securing the shell tunnel into the Google Cloud instance from the local host. Before typing anything on the local shell/terminal, ensure that Google Cloud is installed. If not already installed, do so by following the instructions in this quick-start guide located at the following website:
https://cloud.google.com/sdk/docs/quickstart-mac-os-x
- Once Google Cloud is installed, open up the terminal on your machine and type the following commands to connect to the Google Cloud compute instance:
$ gcloud compute ssh \
YOUR INSTANCE NAME HERE \
--project YOUR PROJECT NAME HERE \
--zone YOUR TIMEZONE HERE \
--ssh-flag "-L 5901:localhost:5901"
- Ensure that the instance name, project ID, and zone are specified correctly in the preceding commands. On pressing ENTER, the output on the local shell changes to what is shown in the following screenshot:
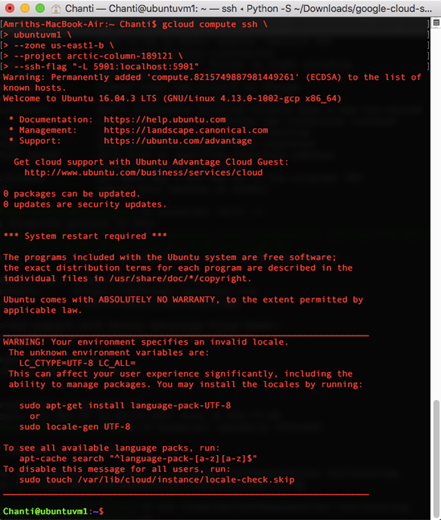
- Once you see the name of your instance followed by ":~$", it means that a connection has successfully been established between the local host/laptop and the Google Cloud instance. After successfully SSHing into the instance, we require software called VNC Viewer to view and interact with the Ubuntu Desktop that has now been successfully set up on the Google Cloud Compute engine. The following few steps will discuss how this is achieved.
- VNC Viewer may be downloaded using the following link:
https://www.realvnc.com/en/connect/download/viewer/
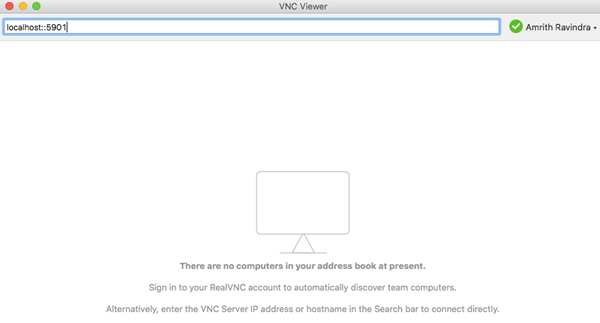
- Once installed, click to open VNC Viewer and in the search bar, type in localhost::5901, as shown in the following screenshot:
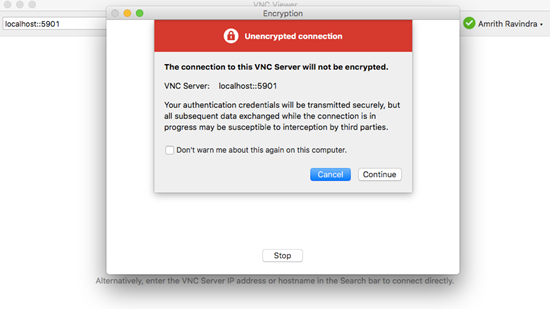
- Next, click on continue when prompted with the following screen:
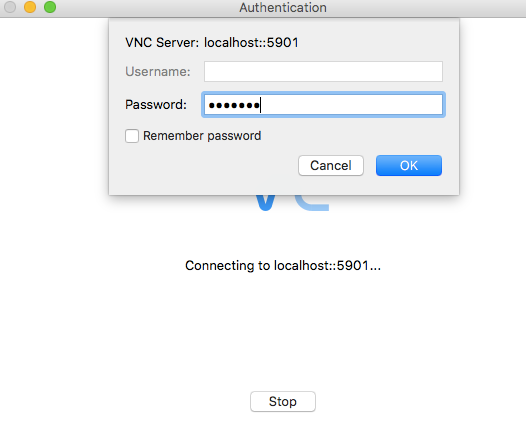
- This will prompt you to enter your password for the virtual machine. Enter the password that you set earlier while launching the tightvncserver command for the first time, as shown in the following screenshot:
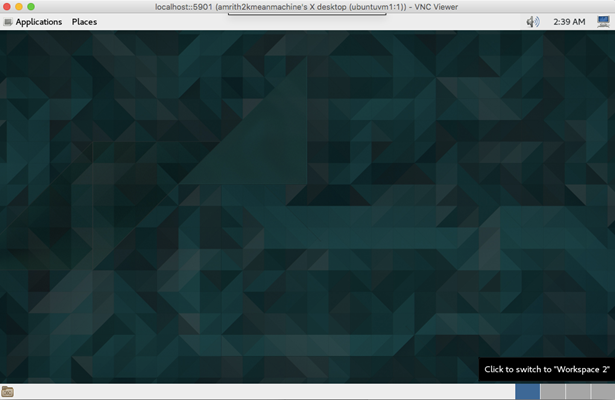
- You will finally be taken into the desktop of your Ubuntu virtual machine on Google Cloud Compute. Your Ubuntu Desktop screen must now look something like the following screenshot when viewed on VNC Viewer:
How it works...
You have now successfully set up VNC Viewer for interactions with the Ubuntu virtual machine/desktop. Anytime the Google Cloud instance is not in use, it is recommended to suspend or shut down the instance so that additional costs are not being incurred. The cloud approach is optimal for developers who may not have access to physical resources with high memory and storage.
There's more...
While we discussed Google Cloud as a cloud option for Spark, it is possible to leverage Spark on the following cloud platforms as well:
- Microsoft Azure
- Amazon Web Services
See also
In order to learn more about Google Cloud Platform and sign up for a free subscription, visit the following website:


