Now, let's create a production provisioning profile, which is used for distributing your application. Xcode 9 creates these for you, but again it is still good to know how to do it:
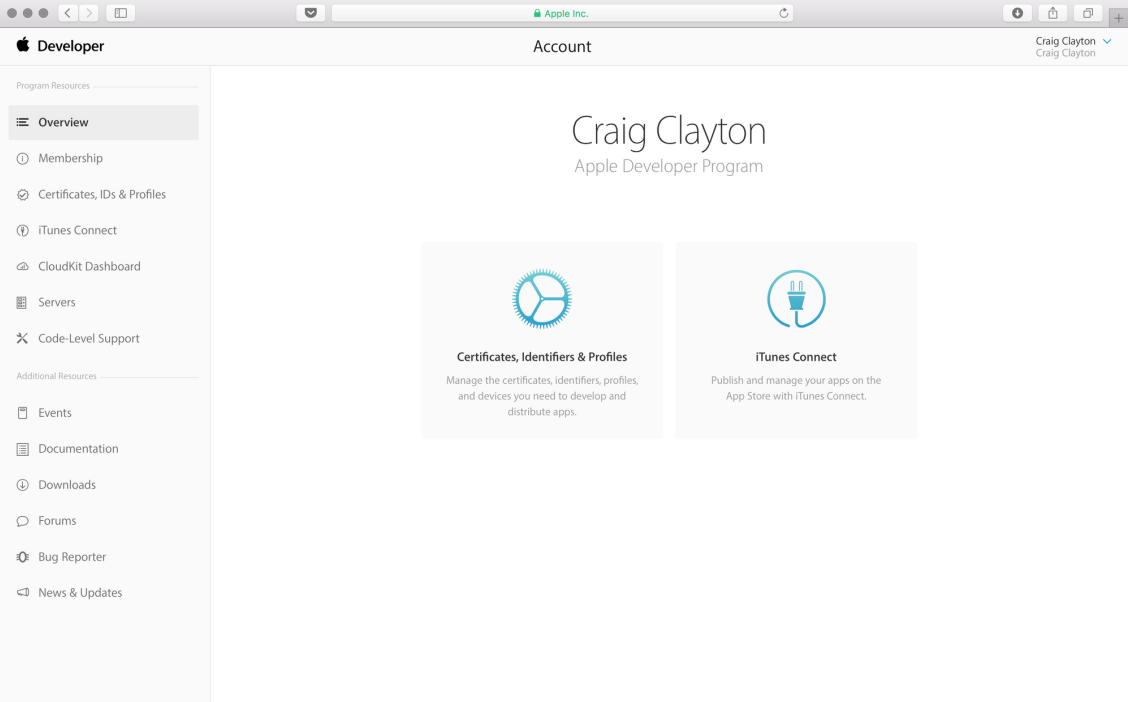
- Log in to the Apple developer account, and you will see the following screen:
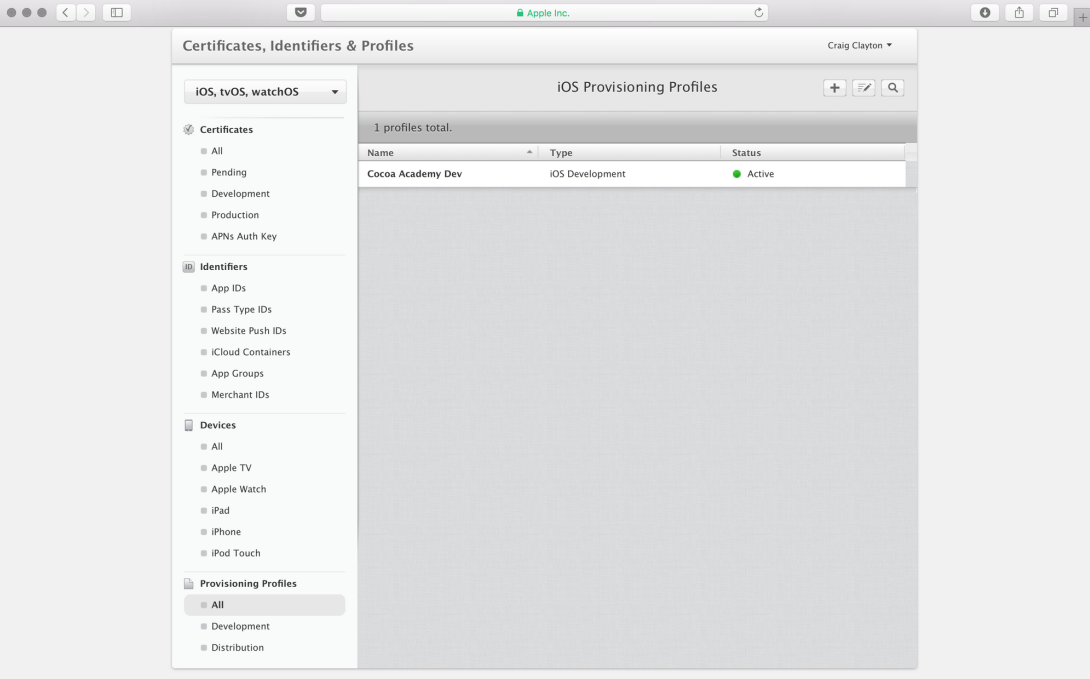
- Click Certificates, IDs & Profiles, and under Provisioning Profiles, select All.
- Click on the + button at the top right of the screen:
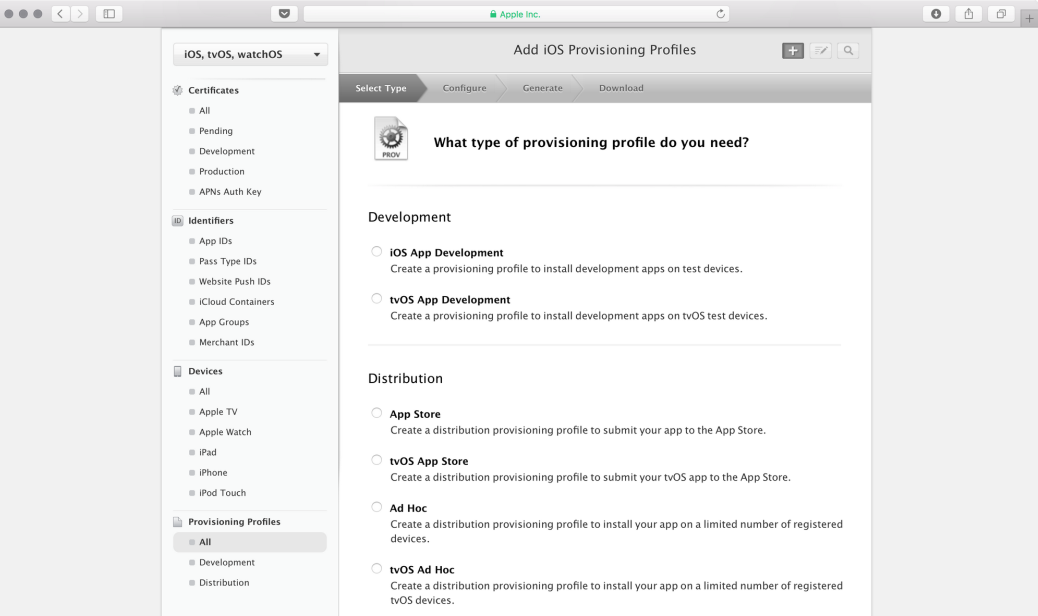
- Select App Store under Distribution and then click Continue:
- Select the Bundle ID created earlier and then click Continue:

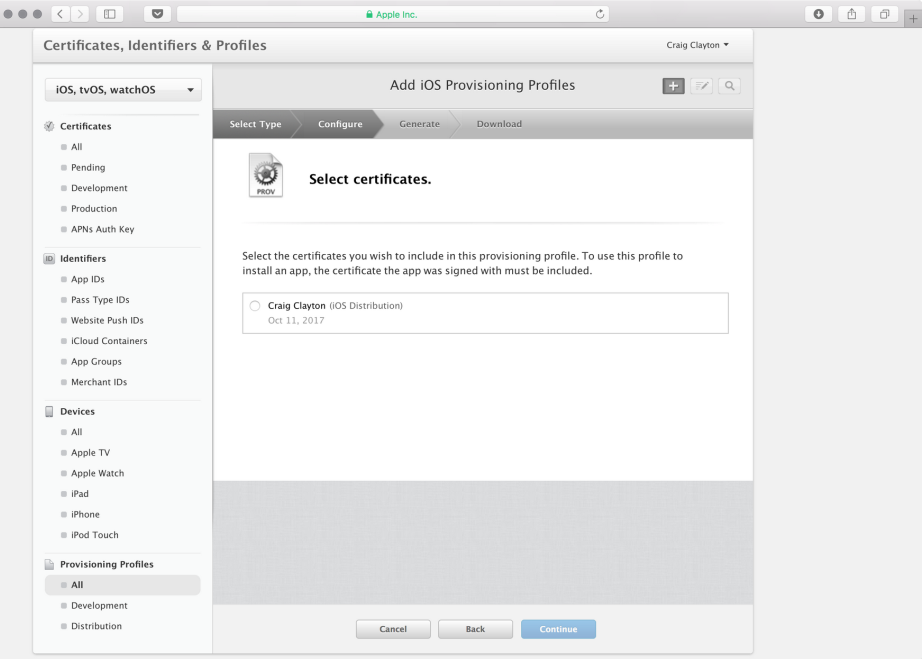
- Next, select the certificate created earlier and then click Continue:
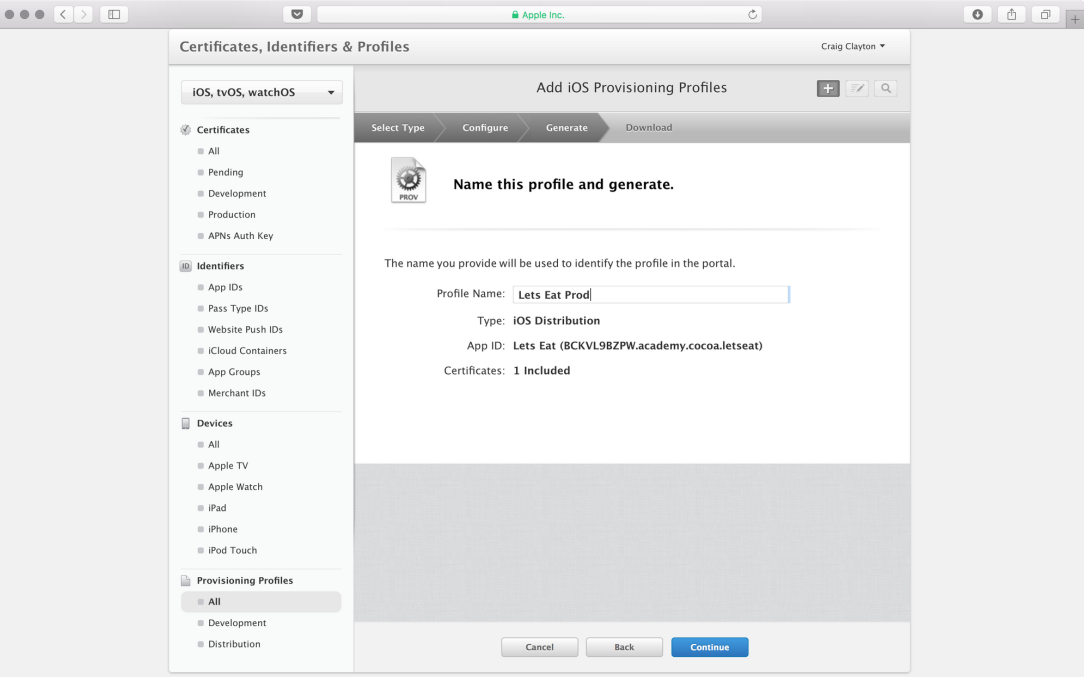
- Next, enter the Profile Name, Lets Eat Prod, and click Continue:
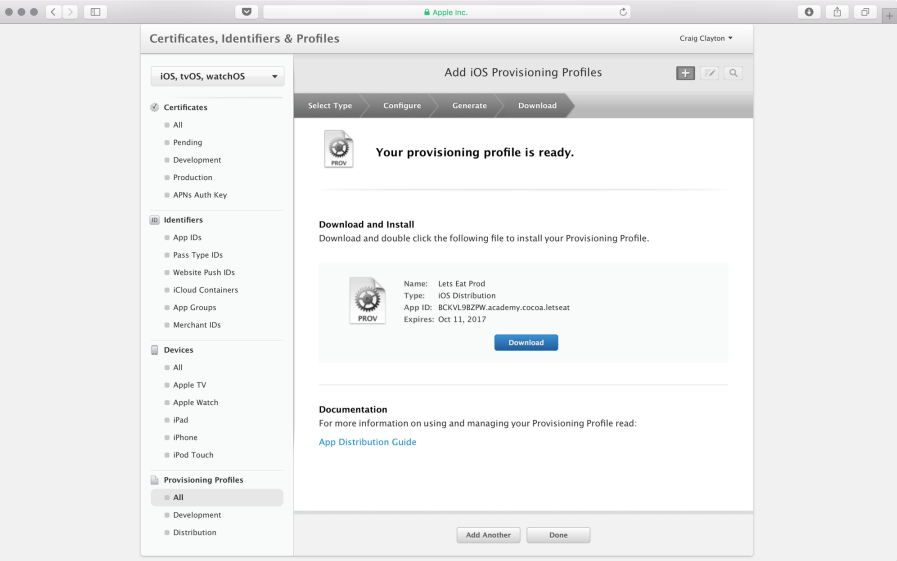
- Download the profile:
- Install the downloaded profile by double-clicking it.