


Creating a PAT
Before you can create self-hosted agents on your server or machine, you must create a PAT. To do this, follow these instructions:
- Go to the Settings menu under your personal icon and click on Personal access tokens:
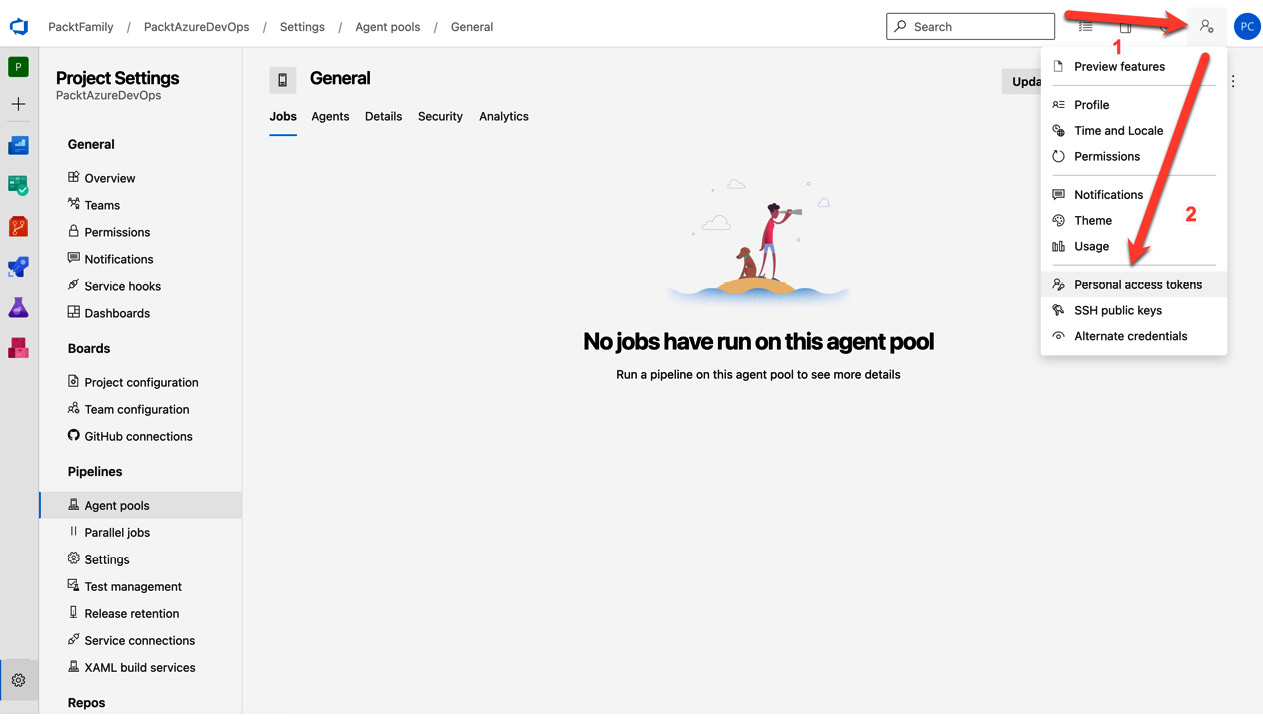
Figure 1.13 – Creating PATs
- Click on New Token:
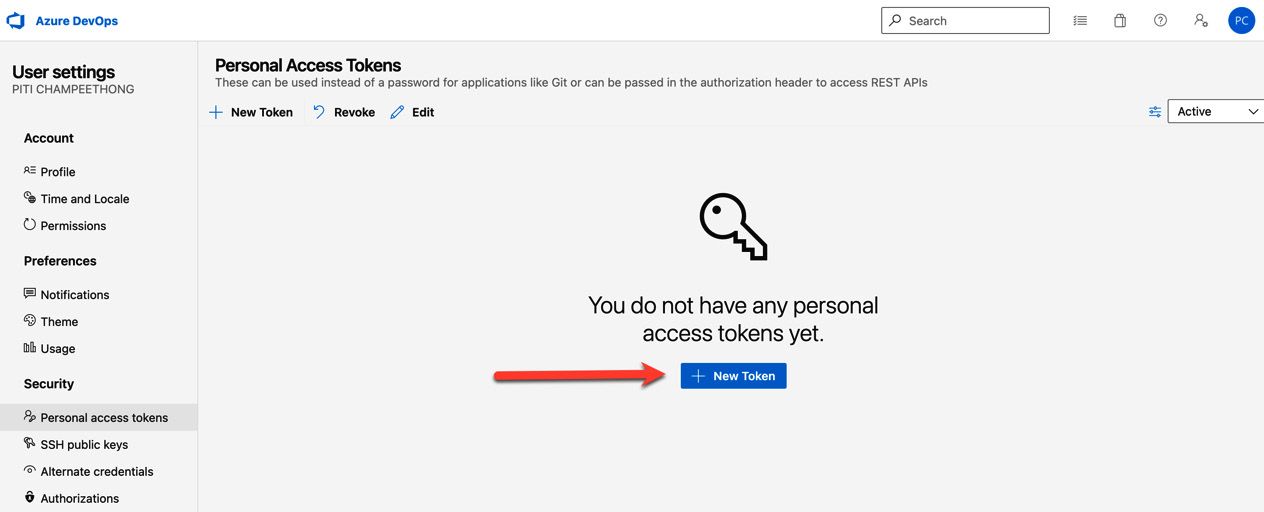
Figure 1.14 – New Token
- Enter the required information:
- Name: Enter the name you need
- Organization: Select an organization you will link to
- Expiration (UTC): There are four choices – 30 days, 60 days, 90 days, and custom-defined but under 2 years
- Scopes: Select Custom defined | Agents Pools with Read & manage | Auditing with Read Audit Log:
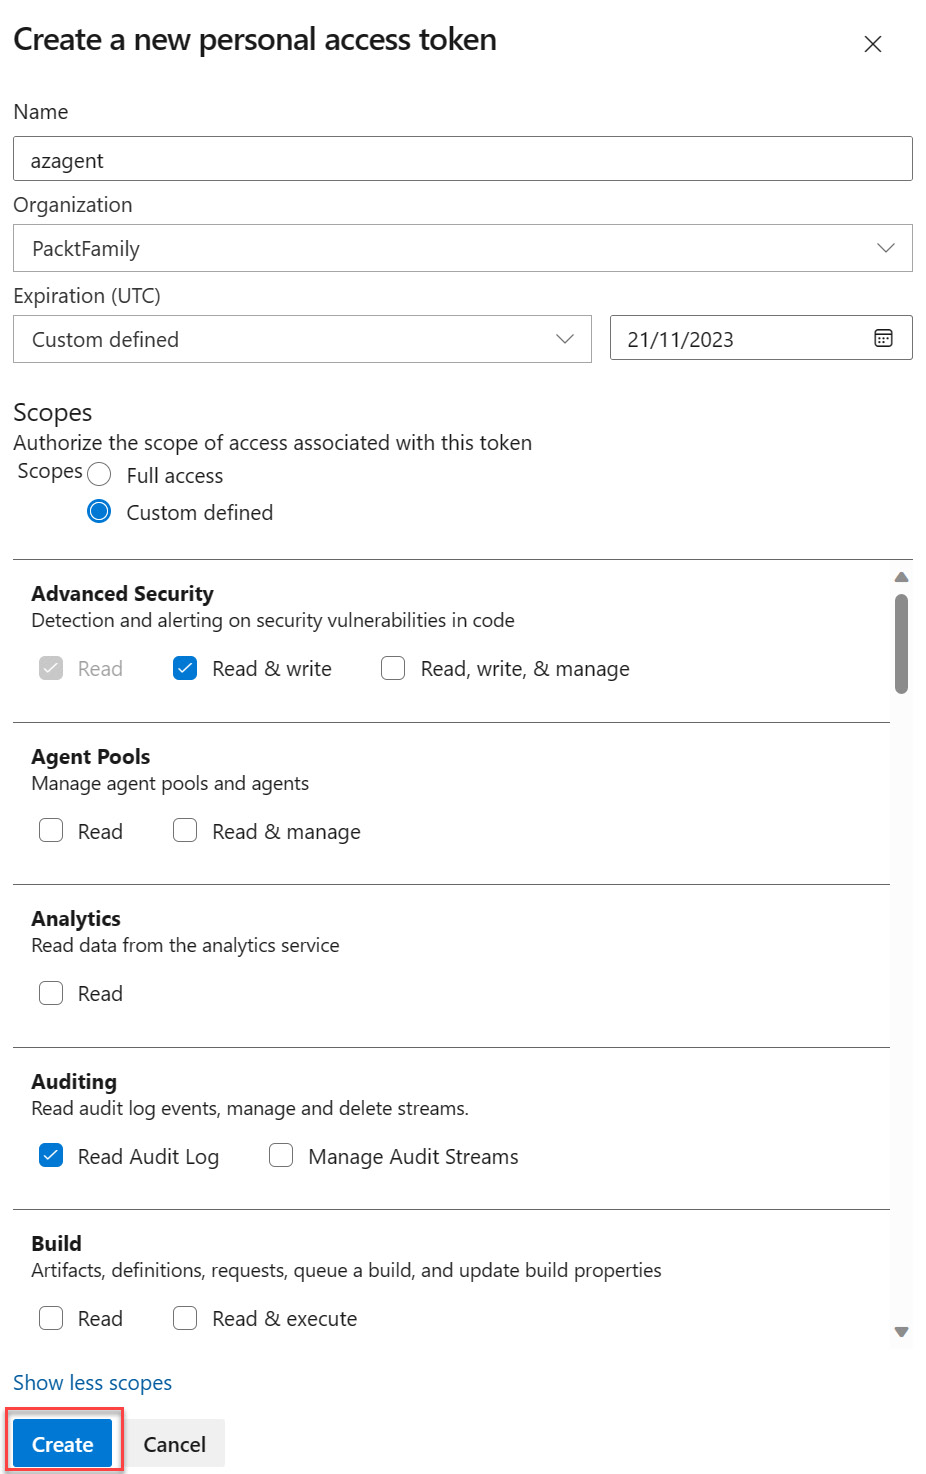
Figure 1.15 – Entering the required information
- Copy the PAT before clicking on the Close button as you won’t be able to see it again:
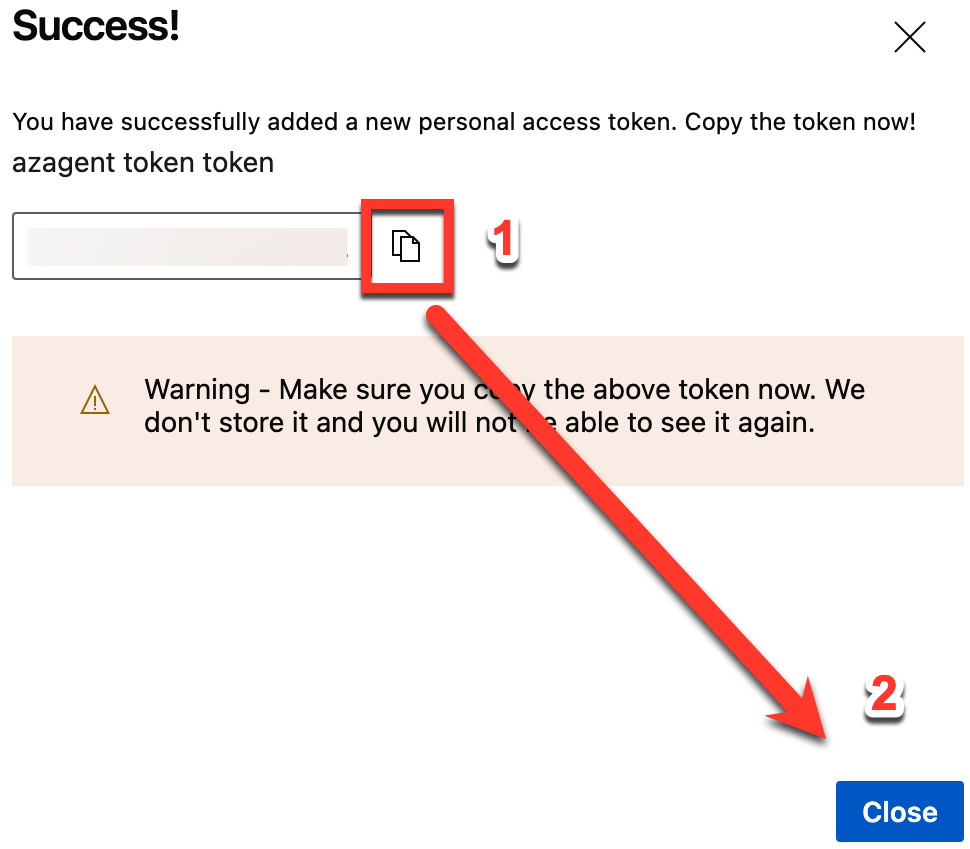
Figure 1.16 – Copying the PAT
Now, you are ready to set up a self-hosted agent.


