In this section, we're going to take a look at how to containerize and run our Java EE 8 microservice using Docker. We'll learn how to write a basic Docker file, and we'll also see how to build and run the Docker image using Payara Server full and Payara Server micro edition. Let's open our IDE again to the microservice project from the previous section; all that's missing here is Dockerfile, therefore let's create one.
Now the question is: what base image should we use? We have two basic options when using Payara: you can either use the server-full image or the Payara micro edition. Let's use the full version of Payara first. Dockerfile will be as follows:
FROM payara/server-full:5-SNAPSHOT

COPY target/hello-javaee8.war $DEPLOY_DIR
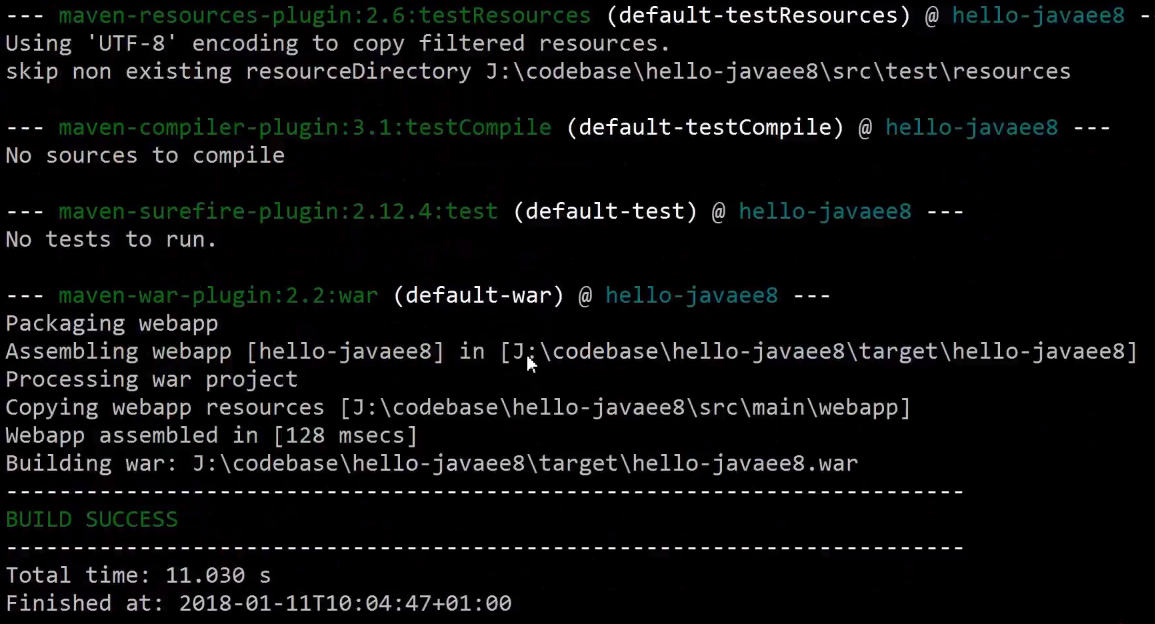
In the preceding Dockerfile, we mentioned that we're using payara/server-full. We need to use the correct version of it, in our case this is version 5-SNAPSHOT, and then copy the hello-javaee8.war file of our microservice into the correct location of the produced image. We need to issue a COPY command from target/hello-javaee8.war and then copy this into the deployment directory, that should be it, let's see whether is worked. We open a console, making sure that we're in the right directory. We check that everything is packaged nicely, and to do this we call mvn package just to make sure the WAR file is in the correct state. If it is, you'll see my things running while compiling, an absence of tests, and the WAR file is up to date:

We build Docker using -t, which specifies the tag we want to use, we do that by calling hello-javaee8 and we give it a version number, 1.0:
>docker build -t hello-javaee8:1.0 .
Using the following command, let's see whether our server starts up:
>docker run -it -p 8080:8080 hello-javaee8:1.0
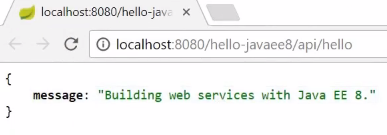
We mapped port 8080 from the container onto our Docker host. You'll see that the Payara GlassFish Server is starting up in the console—it should only take a couple of seconds—and in a second we should see that our application is deployed. To check that we can reach our web service hit the IP address as shown in the following screenshot. This is the IP address of my Docker host port 8080 and we can access our service, which was successful:

Now let's stop that and delete the contents of this Dockerfile. I want to show you how to use the Payara micro edition instead. First, we need to change FROM. To do this we use a different base tag for this image (payara/micro:5-SNAPSHOT), and then copy the hello-javaee8.war file into the proper location for this base image. Next we copy our WAR file in the target directory and we call it to our /opt/payara/deployments. This is the default deployments directory for the micro edition base container. The Dockerfile should look as follows:
FROM payara/micro:5-SNAPSHOT

COPY target/hello-javaee8.war /opt/payara/deployments
Switch back to the console and issue the Docker build command again:
>docker build -t hello-javaee8:1.0 .
Fire up the container again:
>docker run -it -p 8080:8080 hello-javaee8:1.0
You can see that the output in the console changes and we're using the Payara micro runtime this time. This takes a couple of seconds to spin up our web service, and in a few seconds it should be done. We can see that our REST Endpoints are available. Let's check again. We go to our management console and we can see that we have a running container. Try calling the web service from the browser, as shown in the following screenshot:

We can see that everything's working fine and we have a running Dockerized version of our web service.


