Understanding the Arrangement tool (the Playlist)
The Playlist tool is where we will create the arrangement for your production. Accordingly, FL Studio’s arrangement tool is essentially the function that enables you to combine all the various elements of your song into a unified framework. Organizing the pieces of a puzzle to create a complete image comes to mind. You can drag and drop your different patterns (such as your drums, bass line, melody, etc.) into a timeline that represents the duration of your song using the Playlist tool. From there, you can easily edit and arrange the various components of your song to produce a full track that flows smoothly from beginning to end. In other words, the Playlist tool is essential for transforming your unique musical ideas into a finished, polished piece of music. In Chapter 6, I will show you how we set up templates that the pros use to structure songs within the Playlist tool. For now, let’s dive into the basics of how it works.
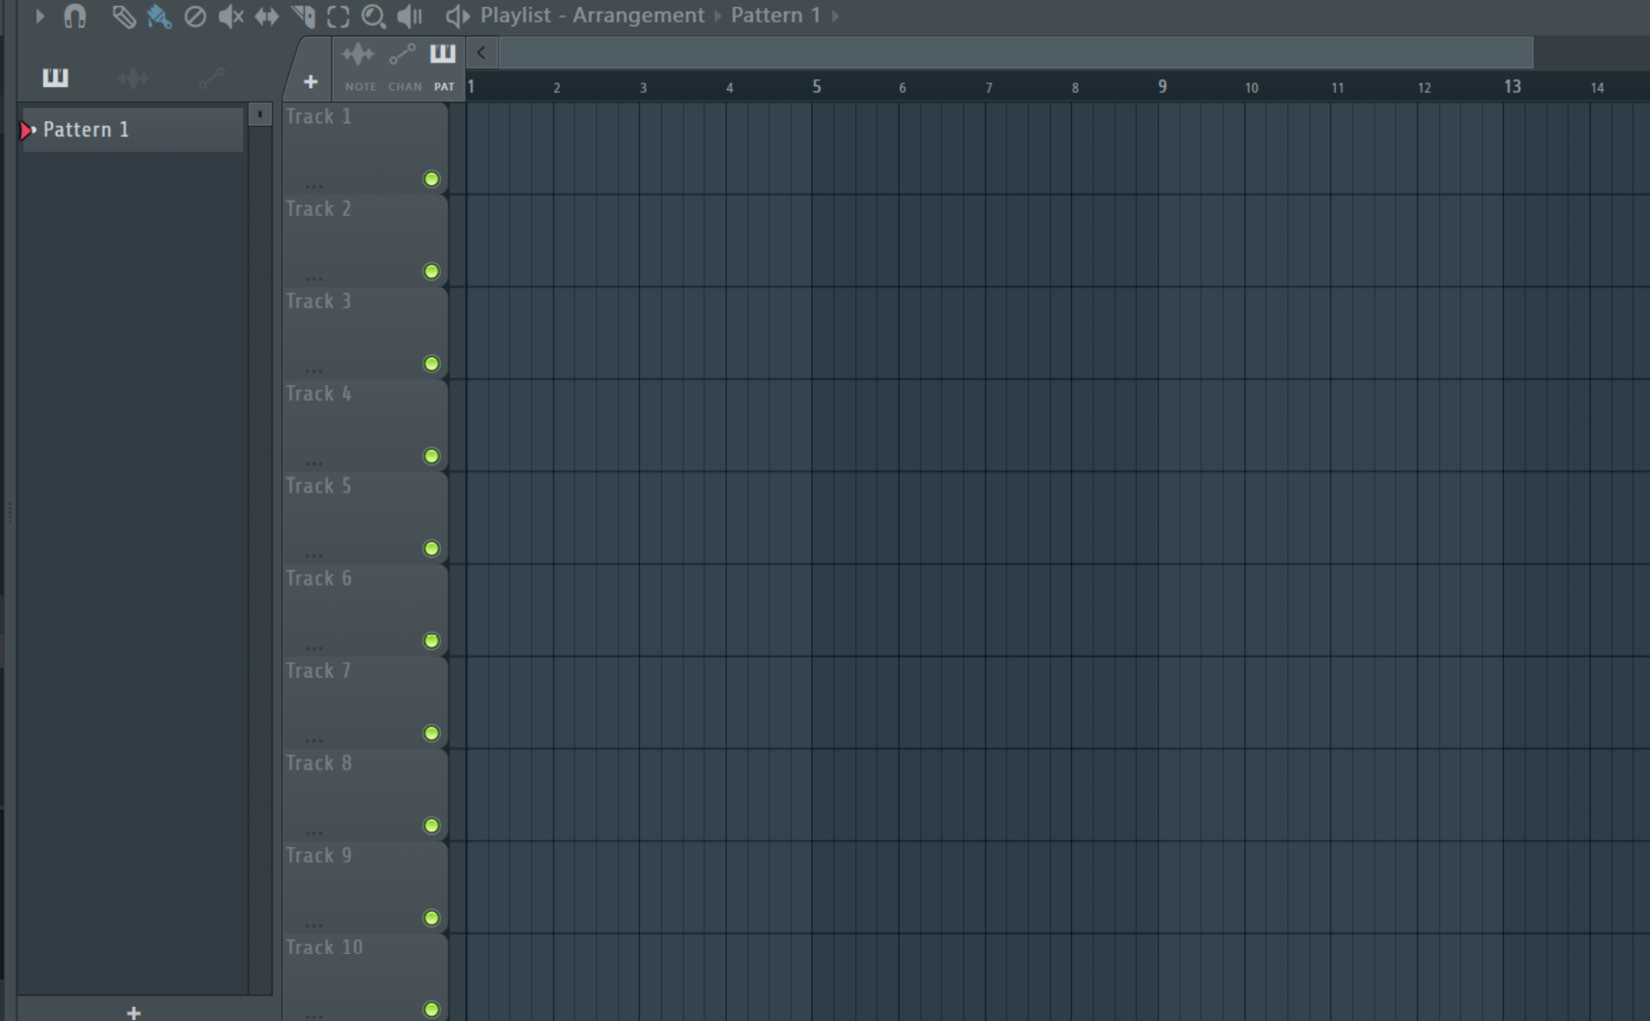
The Playlist tool is located on the right-hand side of the FL Studio window. The playlist tool shows a grid with the option to place different channel rack loops into a “track” segment.

Figure 1.14: Arrangement window
When you use the FL Studio Playlist tool, we typically create patterns for each element of your production, such as your drums, bass line, and melody. Once you have your patterns created, you simply drag and drop them into the Playlist tool window. From there, you can arrange the different patterns in the timeline, using the mouse to move them around and adjust their lengths as needed.
Within the Playlist tool, you can also add different automation clips to control things such as volume, panning, and effects, and use the Mixer window to adjust the levels of each individual element in your song. It may take a little practice to get the hang of it, but with a little bit of patience and experimentation, you should be able to create a fully arranged track that sounds great.
The reason we create templates for workflow optimization is to ease the burden of creating arrangements from scratch each time we start a new project in FL Studio. It can be complex, and a formula should be followed.
To get the most out of the FL Studio Playlist tool and maximize the workflow in it, it’s important to take some time to really plan out your song structure ahead of time; this is why, in Chapter 6, I will give you the exact templates to have your workflow maximized for the greatest return on time and input.
A great working template will help you to organize your ideas and create a cohesive flow that keeps your listener engaged. When you have the basic idea of your song structure, you can start experimenting with different patterns and sounds to find the ones that work best together.
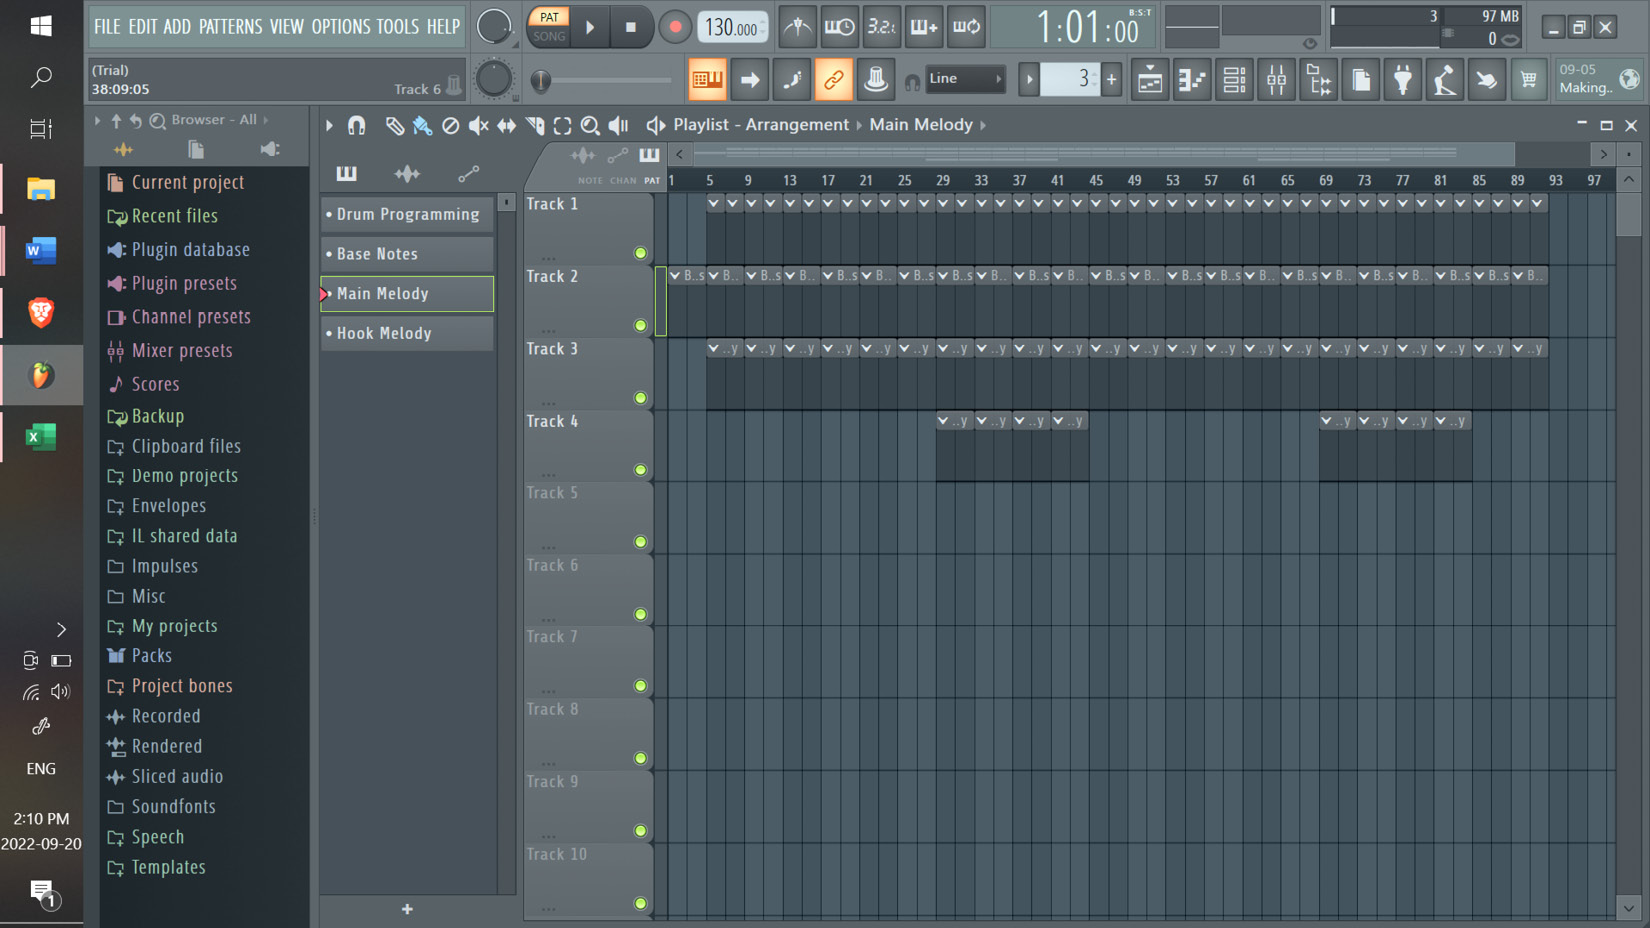
As an example, and as we will discuss in Chapter 6, the new formula is 4-bar intro – 12-bar verse – 8-bar hook – 12-bar verse – 8-bar hook. In Figure 1.15, this will appear as such in the Playlist tool.
In Chapter 6, we will create a modern pop/billboard formula arrangement template that is time-tested and works. As a quick example, let’s use this bar framework to input blank blocks into the playlist tool. The finished arrangement using this formula will appear as follows:

Figure 1.15: Playlist tool | full song arrangement
Creating working templates as saved project files will make it easy to start manufacturing records like clockwork. The key here is to establish workflow habits that allow you to focus primarily on being creative and filling each of the blocks in the playlist with catchy chords, hypnotic melodies, and funky bass lines.
Now, let’s talk about the FL Studio Mixer and its mixing plugins. These are the tools that you will use to get the most out of your sonic crafting; whether we are adding things such as reverb to create space, or delay to add rhythmic echoes, these tools are your bread and butter for crafting unique sound design with FL Studio’s key plugins.


