


Introducing the tools and toolbars in LayOut
We are now in LayOut! Take a few minutes to look over the interface (or workspace) and get a feel of your mouse. This was mentioned earlier in the chapter, but as a reminder, LayOut is a 2D program. You won’t be able to orbit three-dimensionally. The interface looks much like SketchUp’s, with the difference being the large document in the middle, rather than a modeling window:
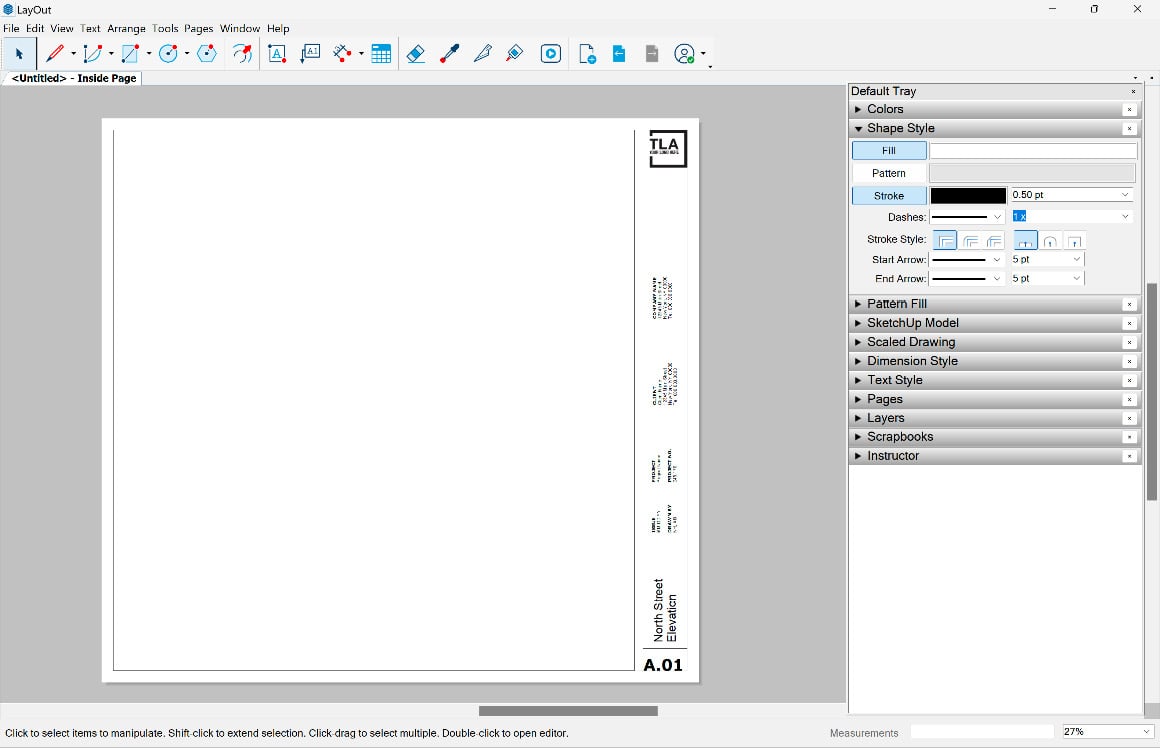
Figure 12.7: LayOut’s workspace
Figure 12.8 highlights several of LayOut’s primary workspace elements, helping to acquaint you with the software:
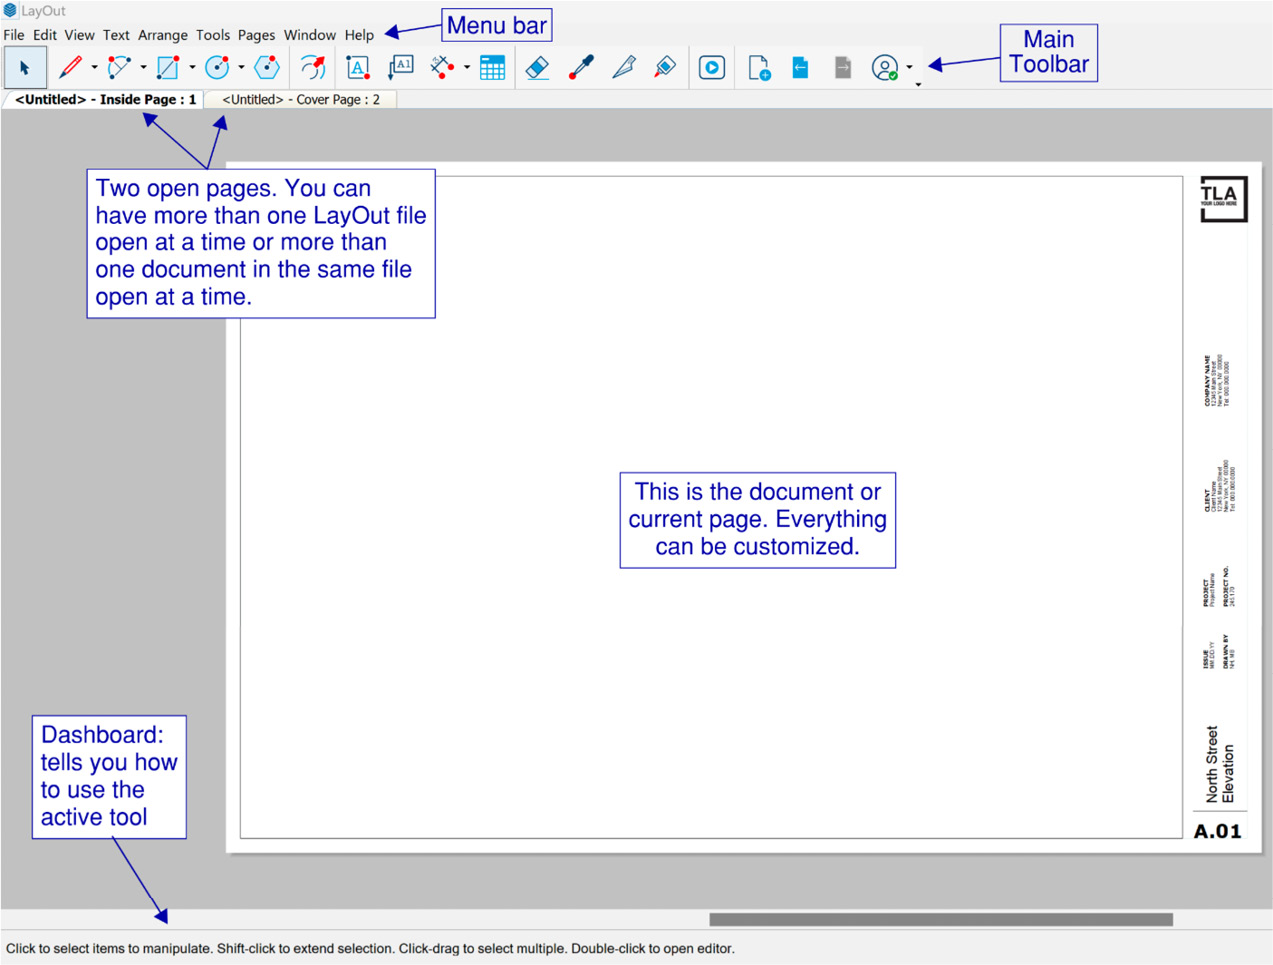
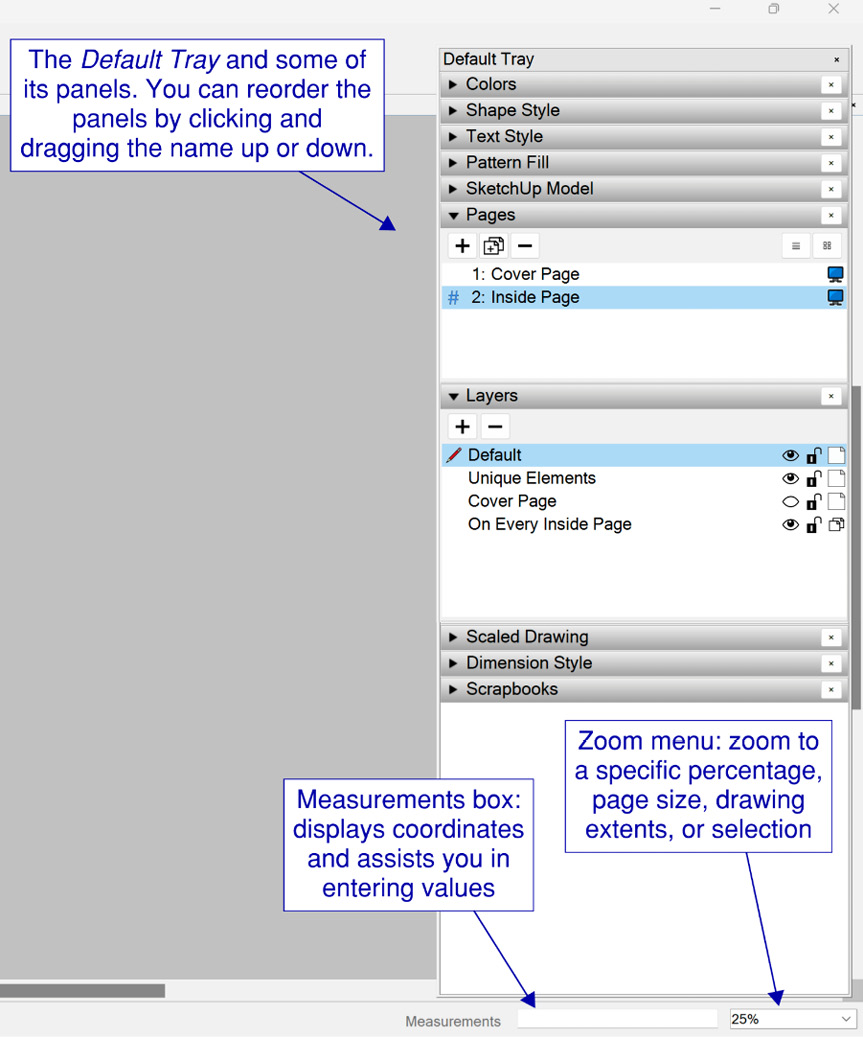
Figure 12.8: The left (top) and right (bottom) sides of LayOut’s workspace explained
Let’s move on to dissect each toolbar area in LayOut.
Main toolbar
The top of the interface has a format similar to SketchUp, with a menu bar and tool icons. Figure 12.9 explains the icons you see in the main...


