Integrating web app and API engine
Launch the broker, API engine, and web app. Once all of them are successfully launched, navigate to http://localhost:4200/. Log in with the credentials we have created. Once we have successfully logged in, we should see the following screen:
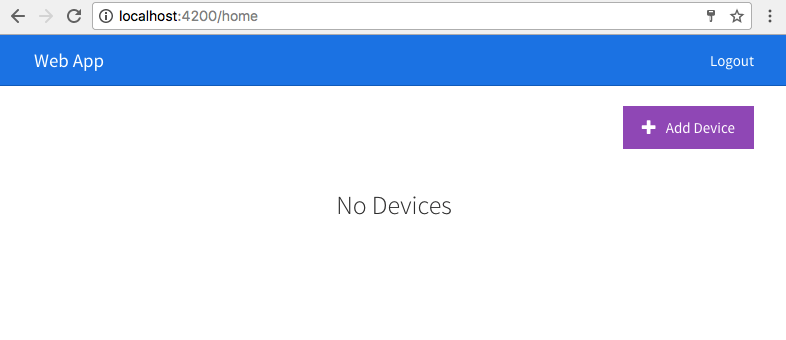
Which is true, as we do not have any devices in our account. Click on Add Device and we should see something as follows:
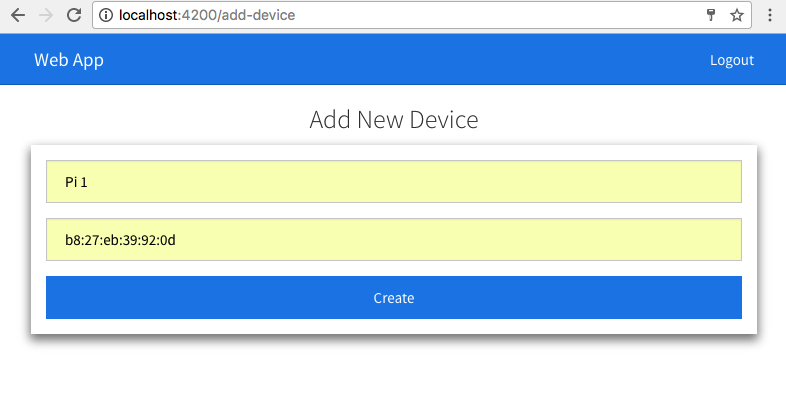
Add a new device by giving it a name. I named my device Pi 1 and added the mac address. We will use the mac address of the device as a unique way of identifying the device.
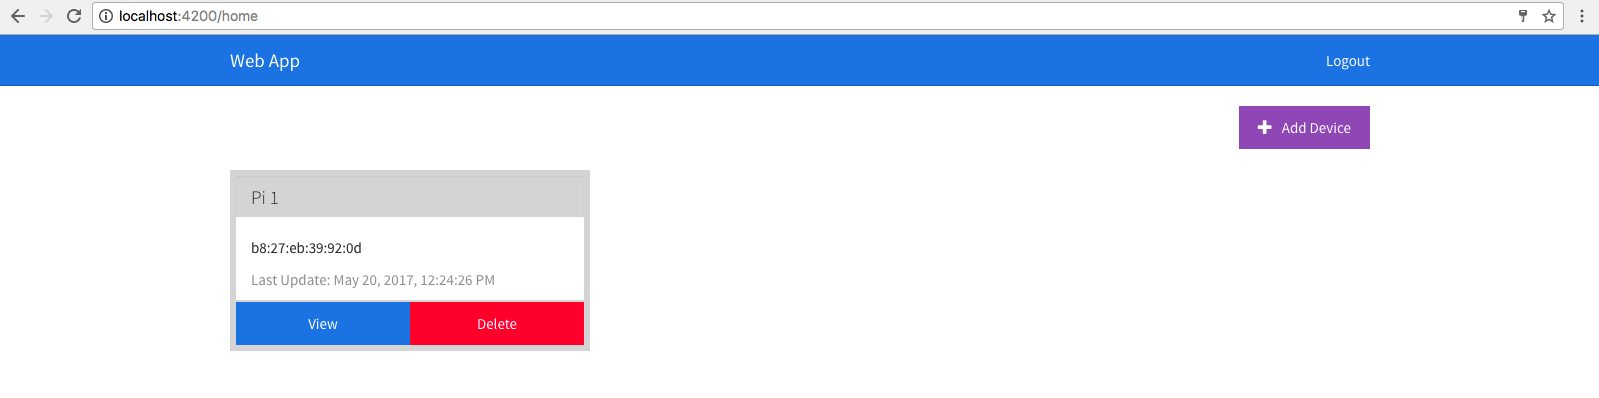
Click on Create and we should see a new device created, it will redirect us to the home page and display the newly created device, which can be seen in the following screenshot:
Now, when we click on the View button, we should see the following page:

In the examples across this book, we will keep updating this template and keep modifying it as we need to. For now, this is a dummy template represented by web-app/src/app/device/device...