Creating an Android Things project is very easy. Android Studio has included it as a form factor inside the default wizard for New Project.
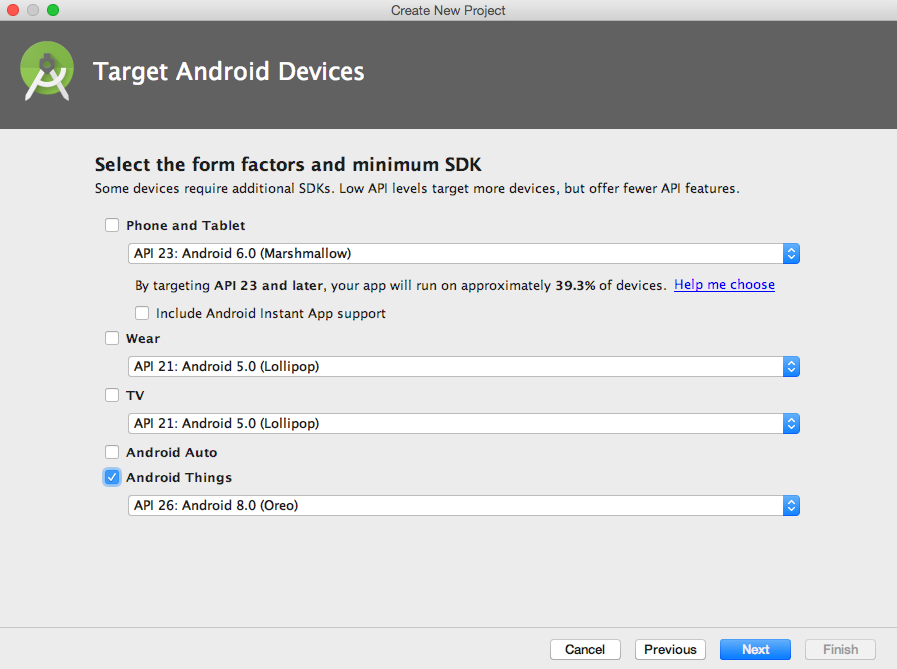
So, let's go ahead and create a project. When we are asked about the target devices, we unselect Phone and Tablet and select Android Things instead:

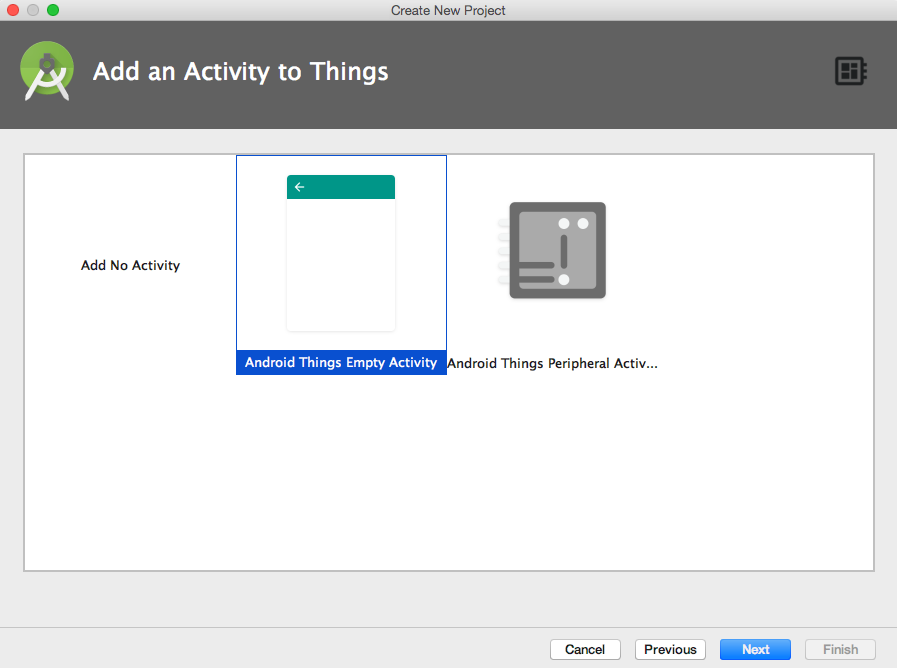
The next step is to choose whether we want to have an Activity added to our project and, if so, of which kind. Here we have the first important difference because we have the option of an Empty Activity as well as a Peripheral Activity:

The main difference between the two types of activities is that in the case of Peripheral Activity, the last step allows us to configure several peripherals that are included in the contrib-drivers package and will insert initialization code for such devices in the Activity as well as the dependencies in gradle.
Another small difference is that an Empty Activity will add an onCreate method, while a Peripheral Activity (even if we do not add any drivers) will add both onCreate and onDestroy.
For now, we will create a Peripheral Activity with no peripherals.
Don't forget to select Kotlin as programming language. We will be using Kotlin because it is more modern than Java and allows us to write code that is more expressive and easier to follow. Kotlin is also meant to be the future of Android development and it makes a lot of sense to use it in the newest Android-based platform.
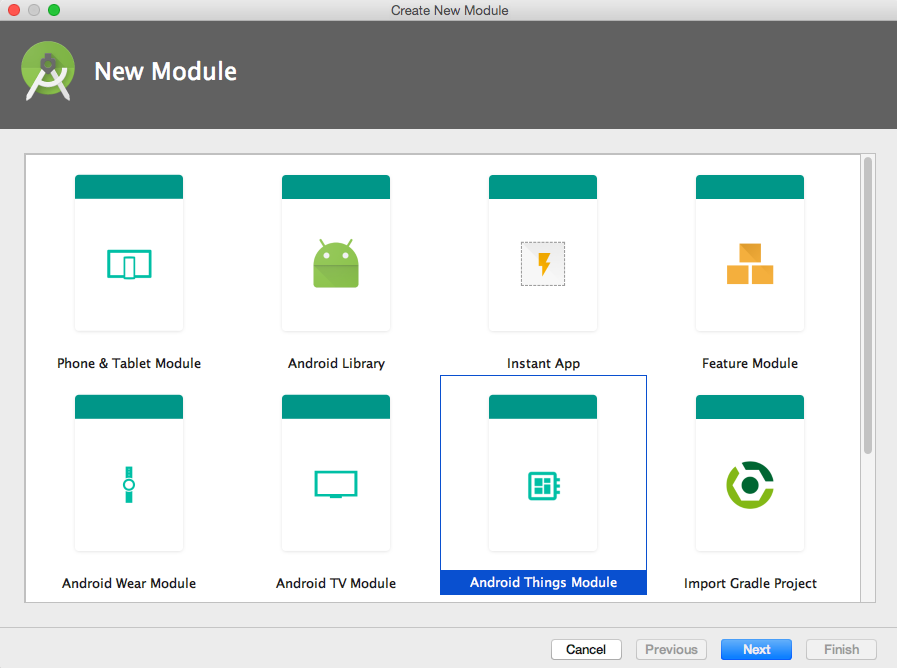
Android Studio also offers the possibility of creating an Android Things module to be added to an existing project. This is interesting when you are building an IoT device with a companion app. You can have a mobile module and an Android Things module, both inside the same project.

Android Things projects have a few particularities that distinguish them from the standard Android ones. Let’s take a look at the code that has been generated and explore the differences.


