
Let's create a sample Appium Java project in IntelliJ. This forms the foundation of all the code-related and Appium-related discussions we will have in the subsequent chapters. The following steps help you to achieve this:
- Launch IntelliJ and click on Create New Project on the welcome screen.
- On the New Project screen, select Gradle from the left pane. Project SDK should get populated with the Java version.
- Click on Next, enter the GroupId as com.test and ArtifactId as HelloAppium. The version will already be populated; click on Next.
- Check the Use auto-import option and ensure that Gradle JVM is populated. Click on Next. In case the Gradle JVM is not populated, please follow the below steps:
-
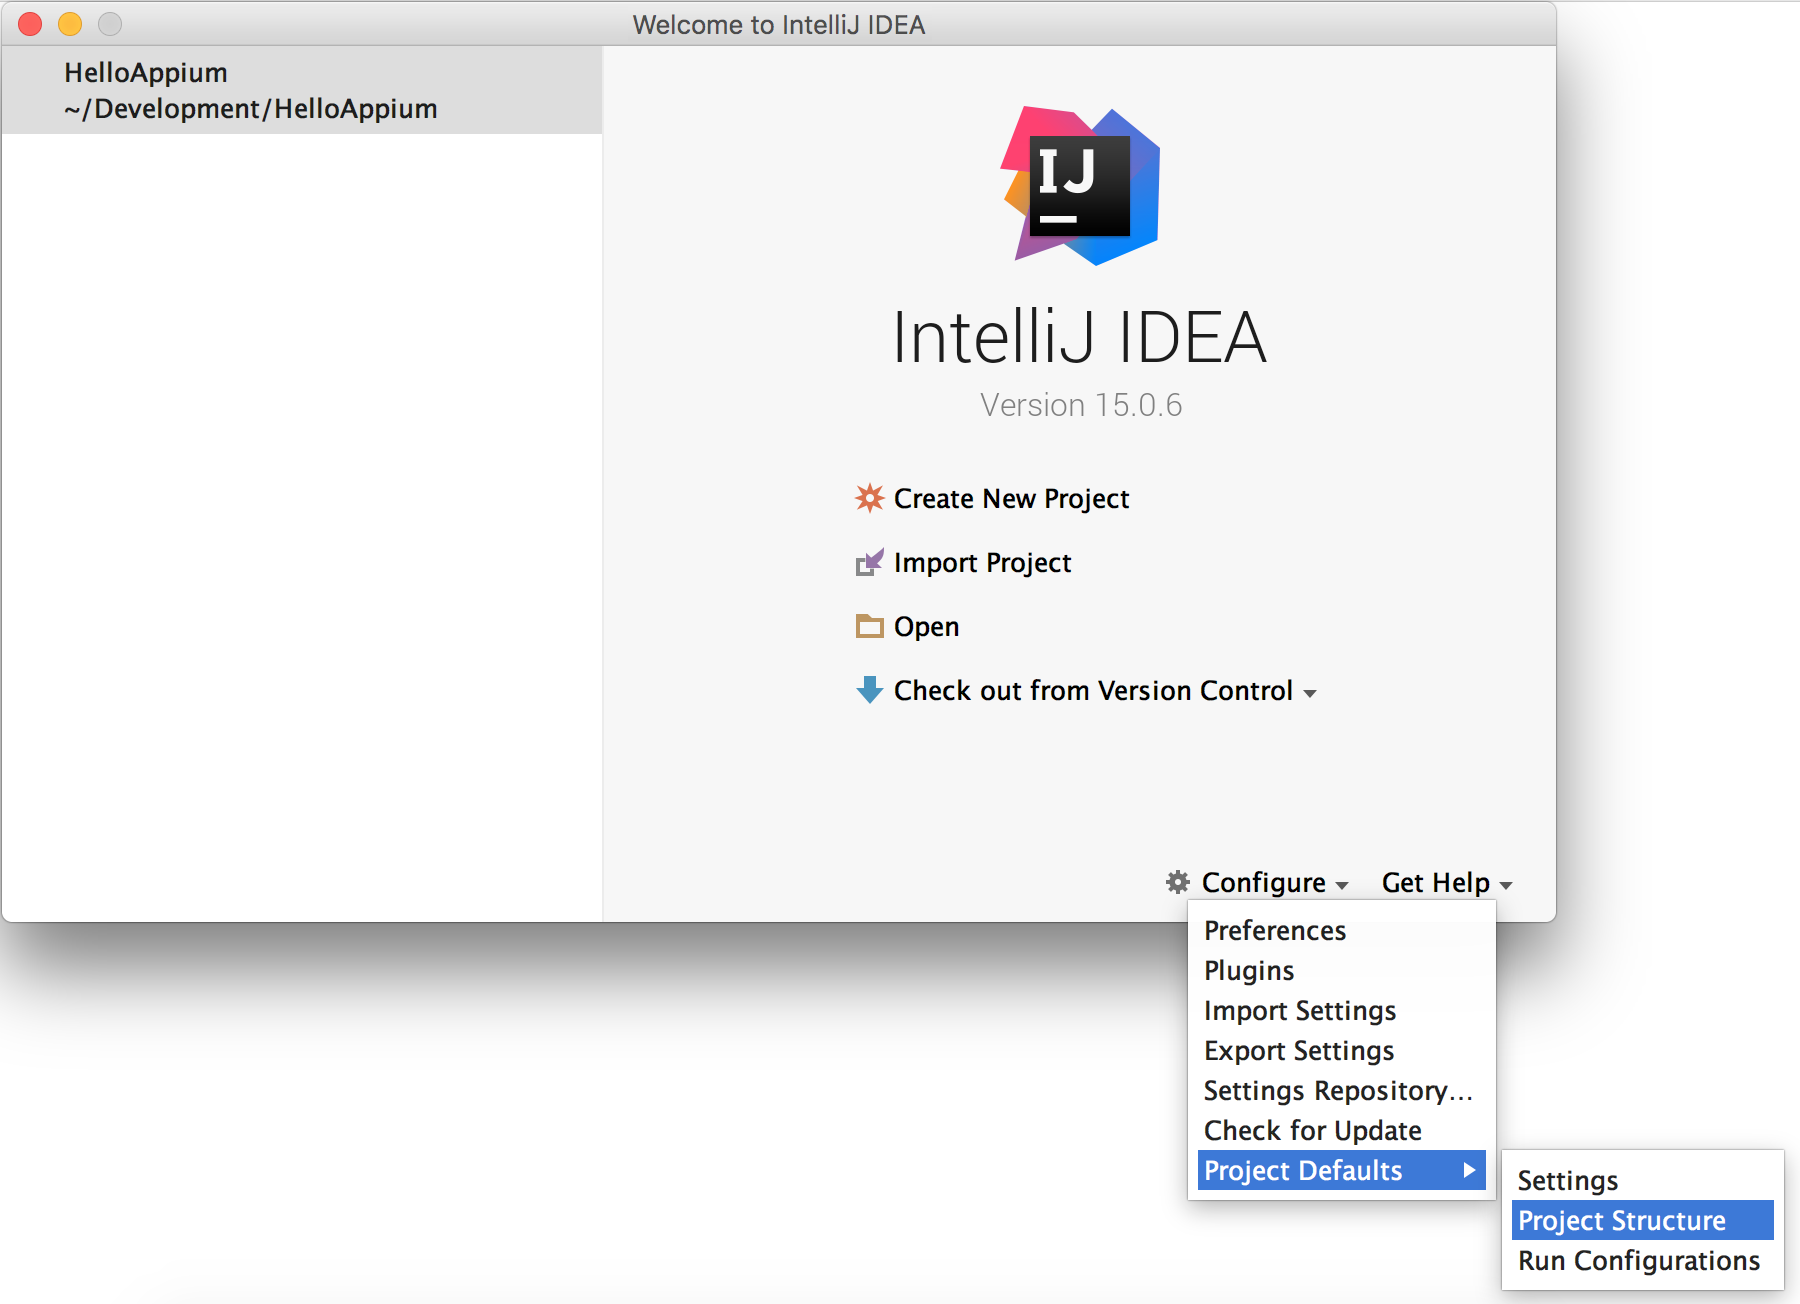
- Click on Configure > Project Defaults > Project Structure:
-
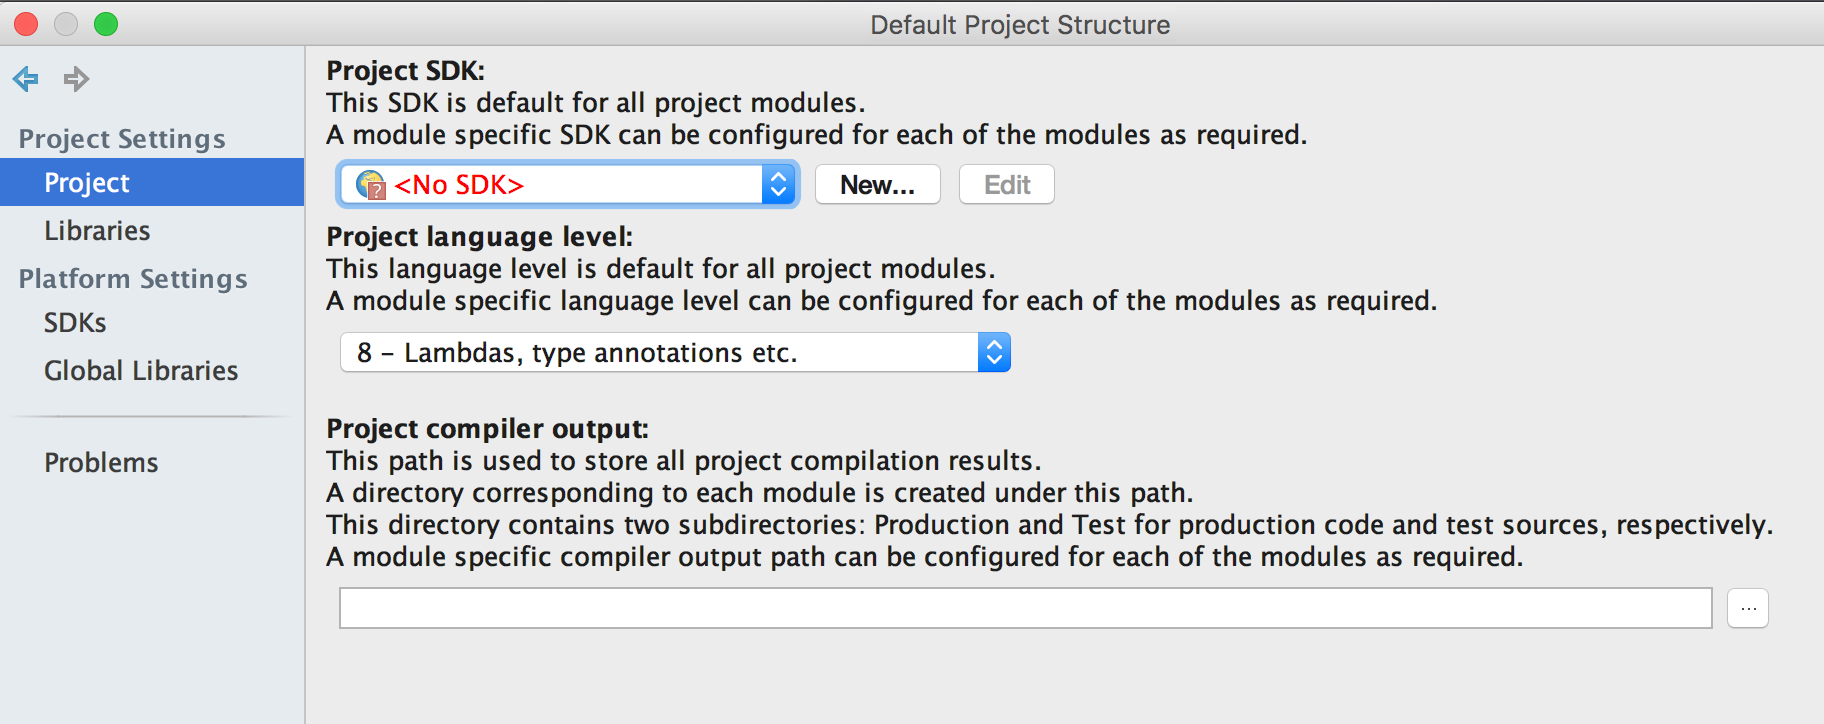
- Choose Project under Project Settings as shown below: