Now that you have covered all the basics of using Fluid Boxes in Captivate, you are ready to create responsive courses using Fluid Boxes. Like any new workflow, you might need to tweak your course design a bit in order that it lends itself well to the responsive layout. Don't shy away from reimagining how you would be presenting the content to your students.
To get some ideas on how to create responsive courses using Fluid Boxes, explore the example course included with Captivate 2019:
- Start Captivate 2019. If you already have the Captivate application open, close all the open projects so that you have the Welcome screen visible.
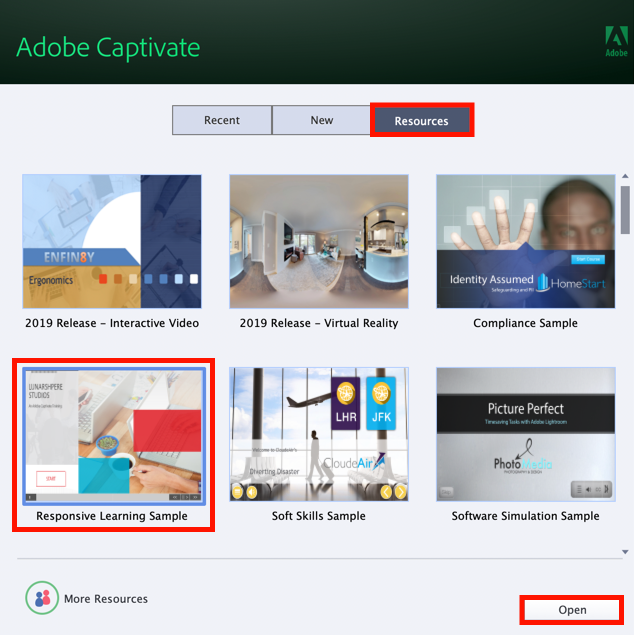
- On the Welcome screen, go to the Resources tab.
- Select the Responsive Learning Sample thumbnail and click Open:

- This opens the responsive sample course for you. Explore how the content is laid out on the slides and how different Fluid Box and object properties have been used to bring it all together.


