Lists
The second major component of your Trello board is your lists. Lists are how you organize sticky notes inside the board. While there are a million strategies for how you can use lists, they’re often used as stages of your workflow.
In many cases, it’s as simple as To Do, Doing, and Done.
It’s easy to change the names of lists and drag them around, so don’t worry too much about what you call them and whether the name will change.
To create your first list, click Add a list in the box under your board’s name. Type anything you want, but if you need inspiration, call this one Ideas. Press Enter to create your first list:

Figure 1.22 – Empty board before adding a list
Go ahead and create a few more. You’ll follow the same process – just type the name and press Enter in the box to the right of the list.
Add the To Do, Doing, and Done lists.
If you put them in the wrong order or want to move a list, drag a list to move it to a different spot.
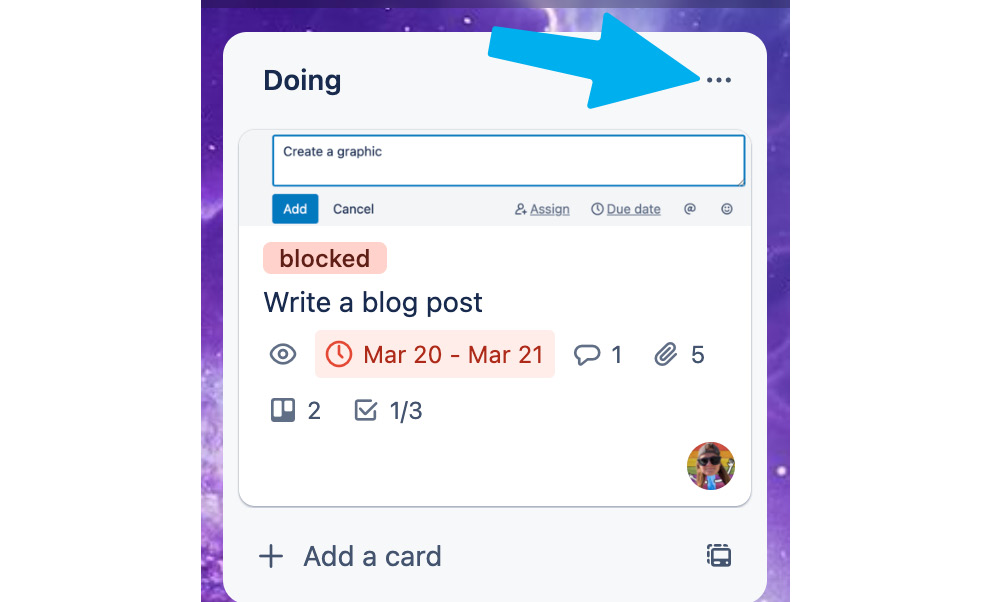
Just like boards have actions, lists have actions for managing groups of cards. Click the three-dot menu at the top right of a list to access the list menu:

Figure 1.23 – The three-dot menu to access list actions
Add a card
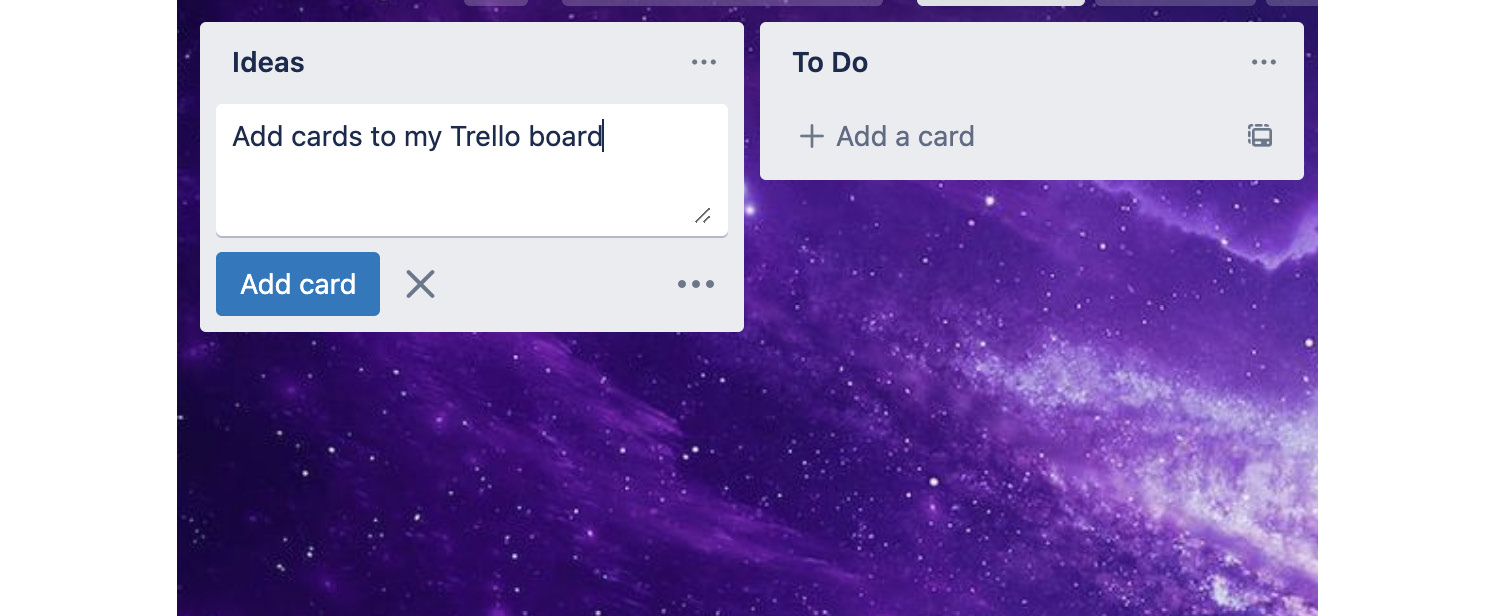
The first option is to add a card to a list. This isn’t the only way to add a card, but it’s available if you like it. Click Add a card to name a card, after which it will be added to your list. Go ahead and try it!

Figure 1.24 – Adding a card to a list
Make a card that says Add cards to my Trello board. Press Enter to save it. And voilà! It will appear on your list!
Copy
The next action in the list menu is to copy a list. This does just what it sounds like – it duplicates the list and adds it right next to the current list, including any cards in that list. Go ahead and try it out! Click Copy to see another list appear with the card you just created.
Move
Lists also have a Move option. You can drag a list to move it to another place within the board, or you can use this action to move it. You can even move the list to another board entirely! You might want to do this when you’re figuring out how to organize your board, or after you’ve completed a project.
Watch
You can also watch a list, similar to watching a board.
This sends notifications about anything that happens to any card in this list. It’s perfect if you’re managing a particular stage of a workflow.
For instance, if you’re in charge of reviewing content for your blog, you may want a notification about every card in the Review list:

Figure 1.25 – Available actions in a list
Select the Watch option for this To Do list so that you can get notifications whenever a new card is added to this list.
Sort by
You can use the Sort list action to sort cards in a list by certain attributes. Here, you can order cards by their name, date created, or by the due date (if you have cards with due dates in that list):

Figure 1.26 – List sorting menu
Actions for cards within a list
The following two options apply to all the cards in a list, but not the list itself. You can move all the cards to another list while leaving the list column in its current place. You might do this at the end of the week by moving all the cards in your Done This Week list to another Done list:

Figure 1.27 – Actions for cards within a list
The next action is to archive all the cards in the list while keeping the actual list itself. This is useful if you’re done with the cards in the list and want to clear them out but still plan to continue using that list.
Archive list
The last action in the List menu is to archive the list, which will archive the cards and the list itself. This is useful if you realize you no longer need the list. If you accidentally archive a list (or cards in a list), you can go to the board settings in the Archived items area and send the list back to the board.


