Creating a SpriteKit project in Xcode
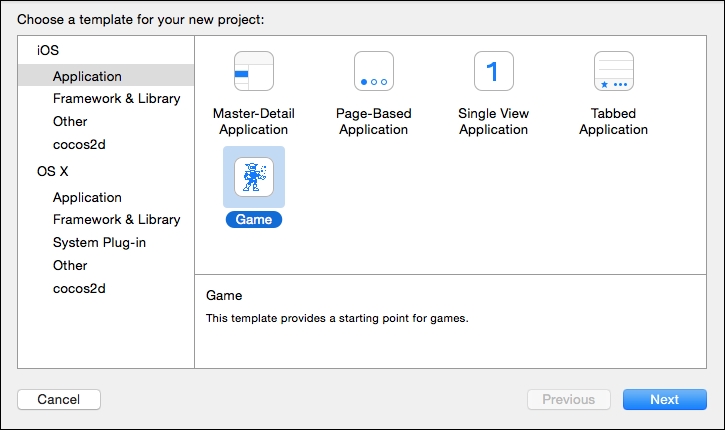
Let's begin straight away by opening up Xcode and clicking on File | New |Project. You will then be greeted by the New Project wizard, which will look like this:

For this project, we are—obviously—going to select iOS | Application | Single View Application and then click on Next.
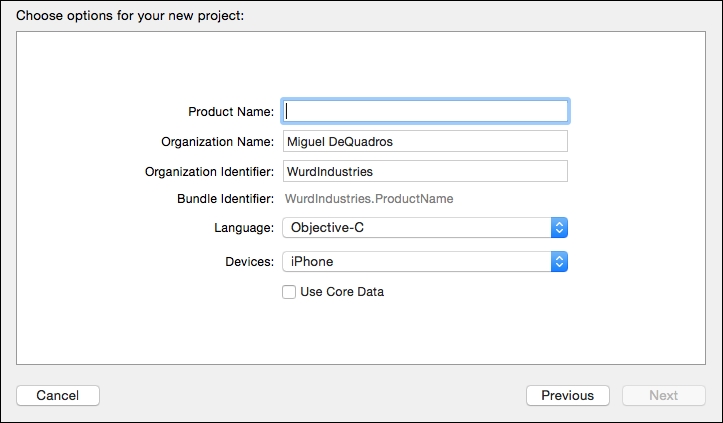
Once you do that, you will be required to fill in some details on the project, such as product name, organization name, and so on. See the following screenshot:

Fill in the required fields (if they aren't already populated) and then click Next. To begin, we are going to make some changes to the project. For instance, locate the LaunchScreen.xib file in the sidebar on the left and delete it by pressing Delete on your keyboard.
Note
The .xib and storyboard files are the interface files that you can use to create the interface of a view. In them you can create buttons, text labels, and other user interface elements.
You will see a popup asking if you want to remove the reference or move...


