
Imagine you are a network forensics expert who has been tasked with analyzing the PCAP file. As soon as you open the file in Wireshark, you are presented with the following:
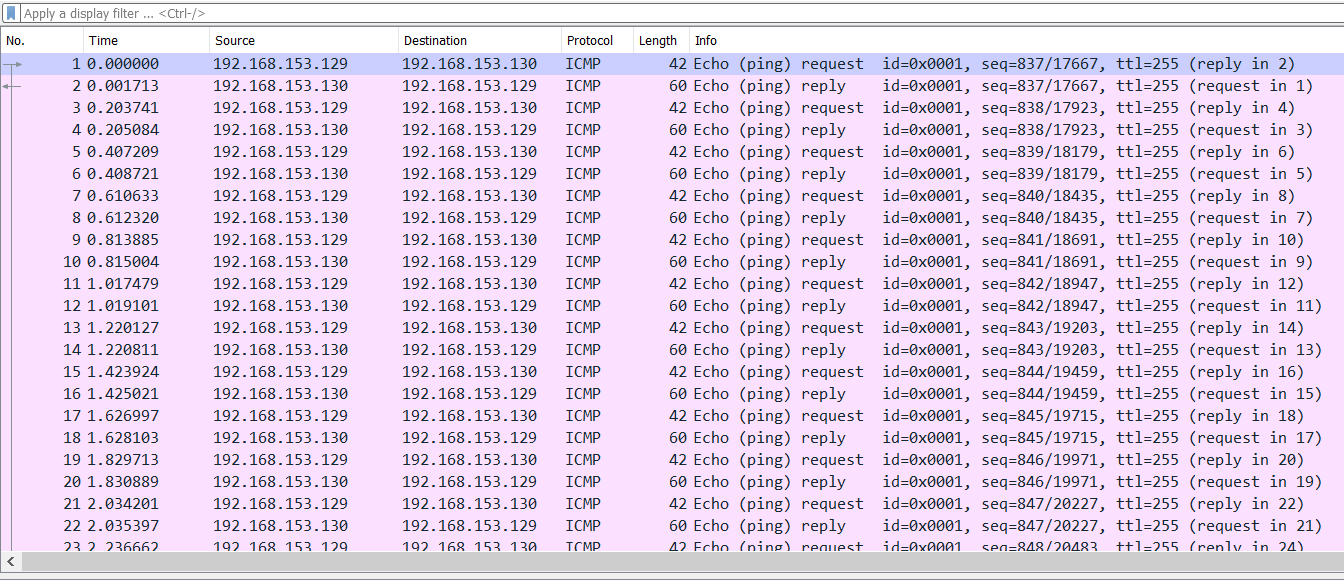
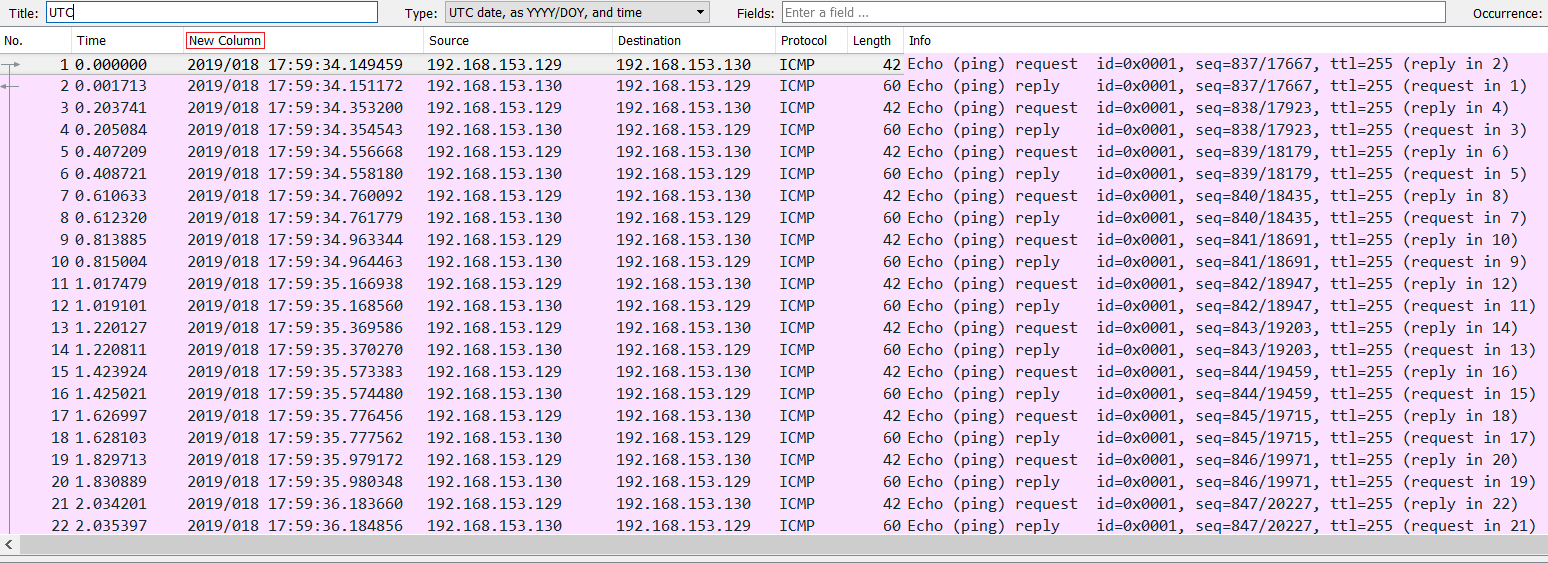
What we can see from the capture file is that it contains a ton of ICMP packets traveling to and from 192.168.153.129 and 192.168.153.130. We quickly added a new column by right-clicking the column header in Wireshark and choosing Column Preferences and adding a new column by clicking the + button and choosing its type as UTC for the UTC time, as shown in the following screenshot:
Next, we go to the Statistics tab and choose Capture File Properties:
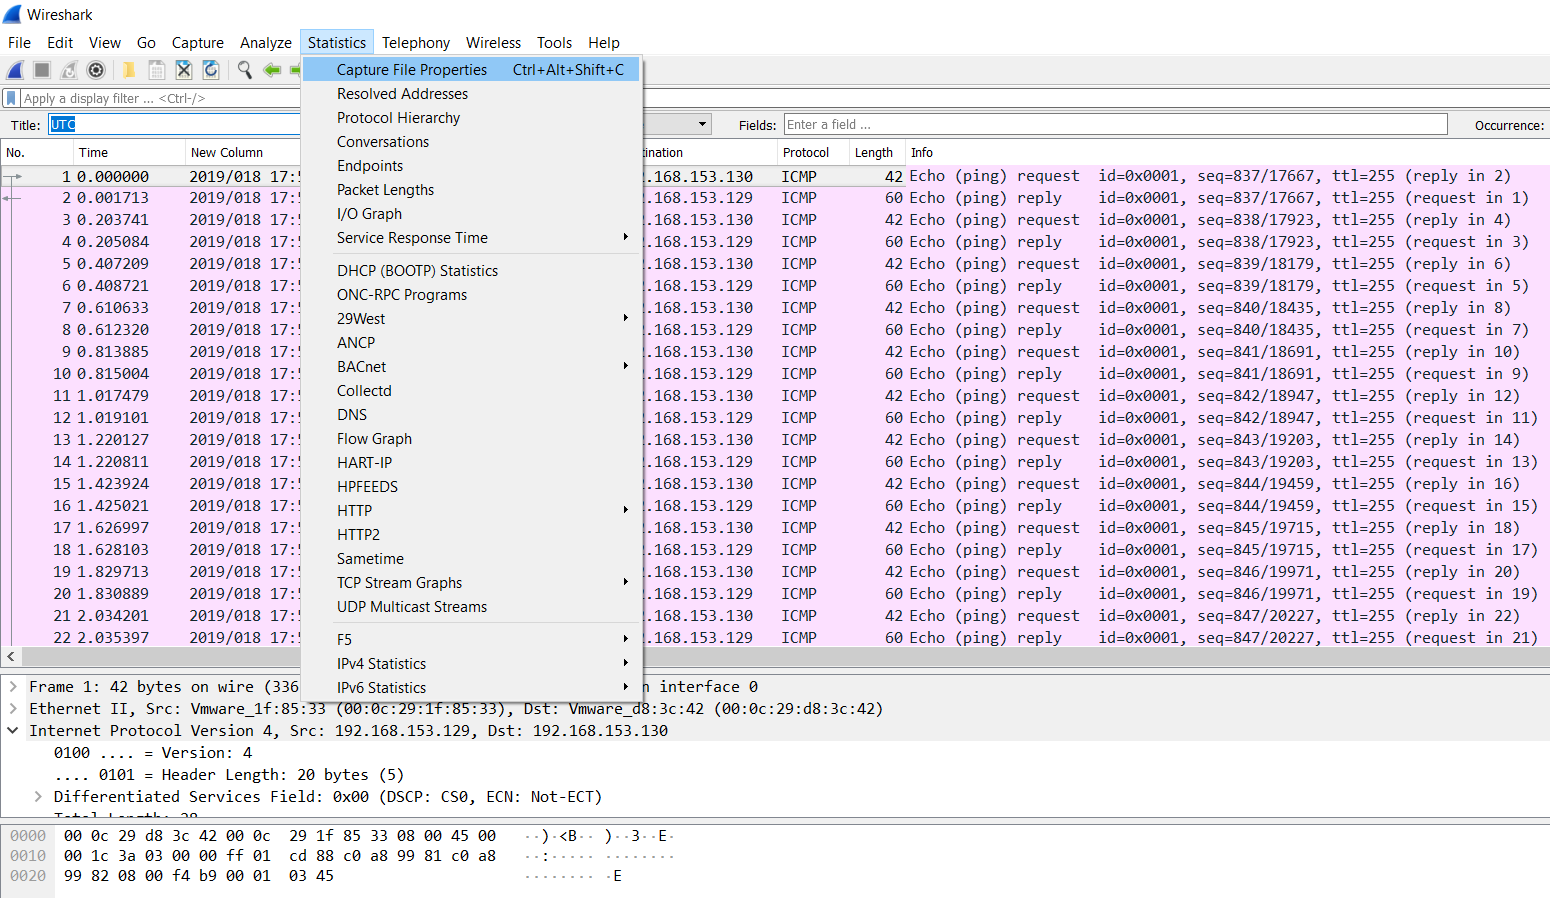
The preceding option will populate the following window:
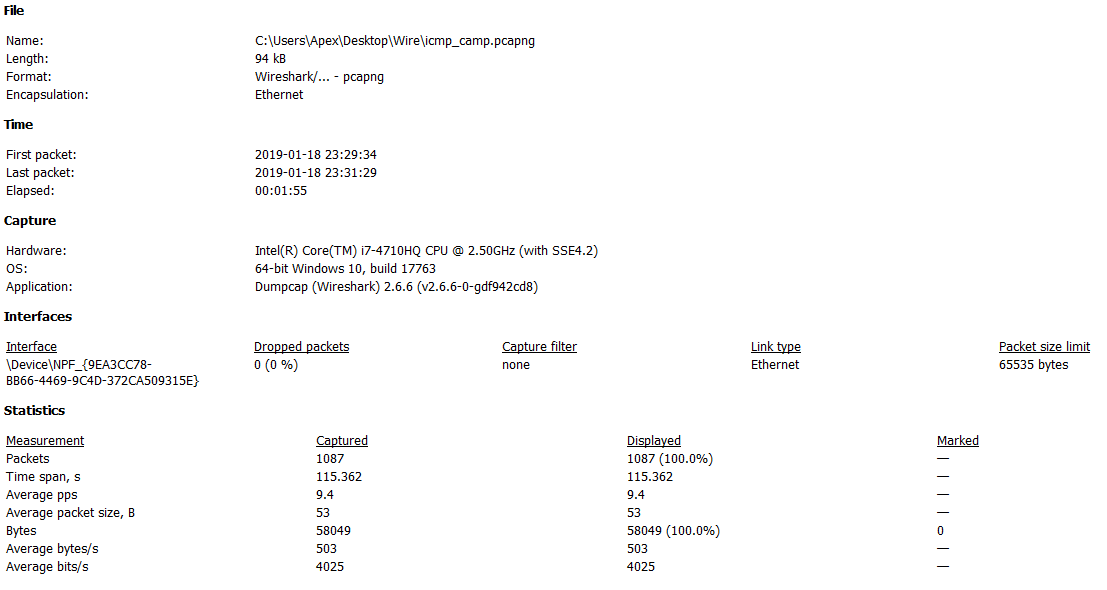
We can see a good amount of detail related to the capture file, such as the date and time of the first packet, last packet, duration, average...