Search icon CANCEL
Arrow left icon
Explore Products
Best Sellers
New Releases
Books
Videos
Audiobooks
Learning Hub
Conferences
Free Learning
Arrow right icon
Arrow up icon
GO TO TOP
Hands-On Business Intelligence with Qlik Sense

You're reading from   Hands-On Business Intelligence with Qlik Sense Implement self-service data analytics with insights and guidance from Qlik Sense experts

Arrow left icon
Product type Paperback
Published in Feb 2019
Publisher Packt
ISBN-13 9781789800944
Length 442 pages
Edition 1st Edition
Languages
Arrow right icon
Authors (4):
Arrow left icon
Kaushik Solanki Kaushik Solanki
Author Profile Icon Kaushik Solanki
Kaushik Solanki
Clever Anjos Clever Anjos
Author Profile Icon Clever Anjos
Clever Anjos
Jerry DiMaso Jerry DiMaso
Author Profile Icon Jerry DiMaso
Jerry DiMaso
Pablo Labbe Pablo Labbe
Author Profile Icon Pablo Labbe
Pablo Labbe
Arrow right icon
View More author details
Toc

Table of Contents (18) Chapters Close

Preface 1. Section 1: Qlik Sense and Business Intelligence FREE CHAPTER
2. Getting Started with Qlik Sense 3. Section 2: Data Loading and Modeling
4. Loading Data in Qlik Sense 5. Implementing Data Modeling Techniques 6. Section 3: Building an Analytical Application
7. Working with Application Structure 8. Creating a Sales Analysis App Using Qlik Sense 9. Interacting with Advanced Expressions 10. Creating Data Stories 11. Section 4: Additional Features
12. Engaging On-Demand App Generation 13. Creating a Native Map Using GeoAnalytics 14. Working with Self-Service Analytics 15. Data Forecasting Using Advanced Analytics 16. Deploying Qlik Sense Apps for Mobile/Tablets 17. Other Books You May Enjoy

Creating stories

Using the snapshots we took previously, let's create our first story by going through the following steps:

  1. From the app overview, or sheet view, click the small Stories icon that lies at the top of the screen. This icon looks as follows:
  1. Click on the Create new story button, as shown in the following screenshot:
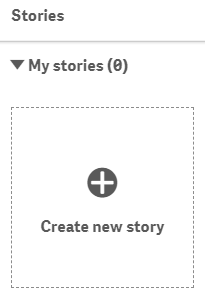
  1. A story named My new story is created. We can rename it, add a description and a thumbnail image, or even delete the story using the form shown in the following screenshot:
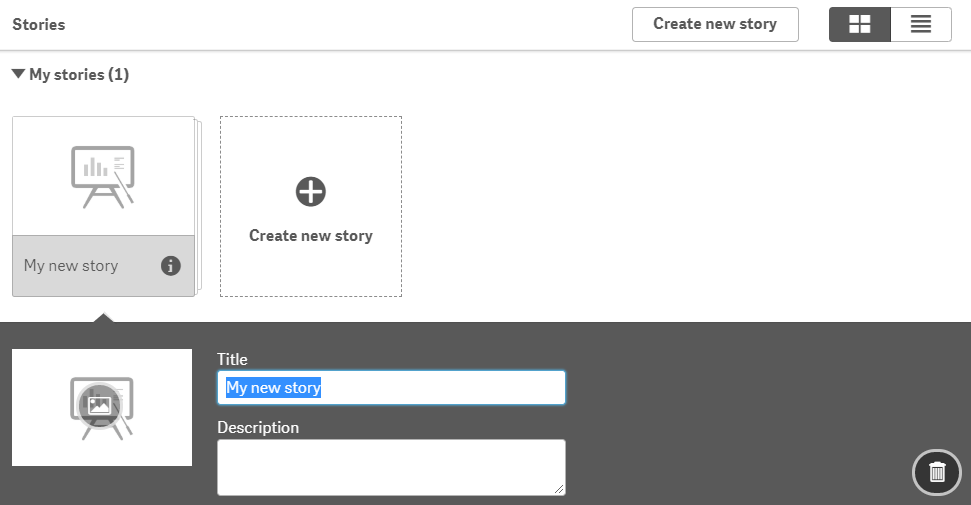
  1. This brings us to the following screen, which allows us to manage our story:
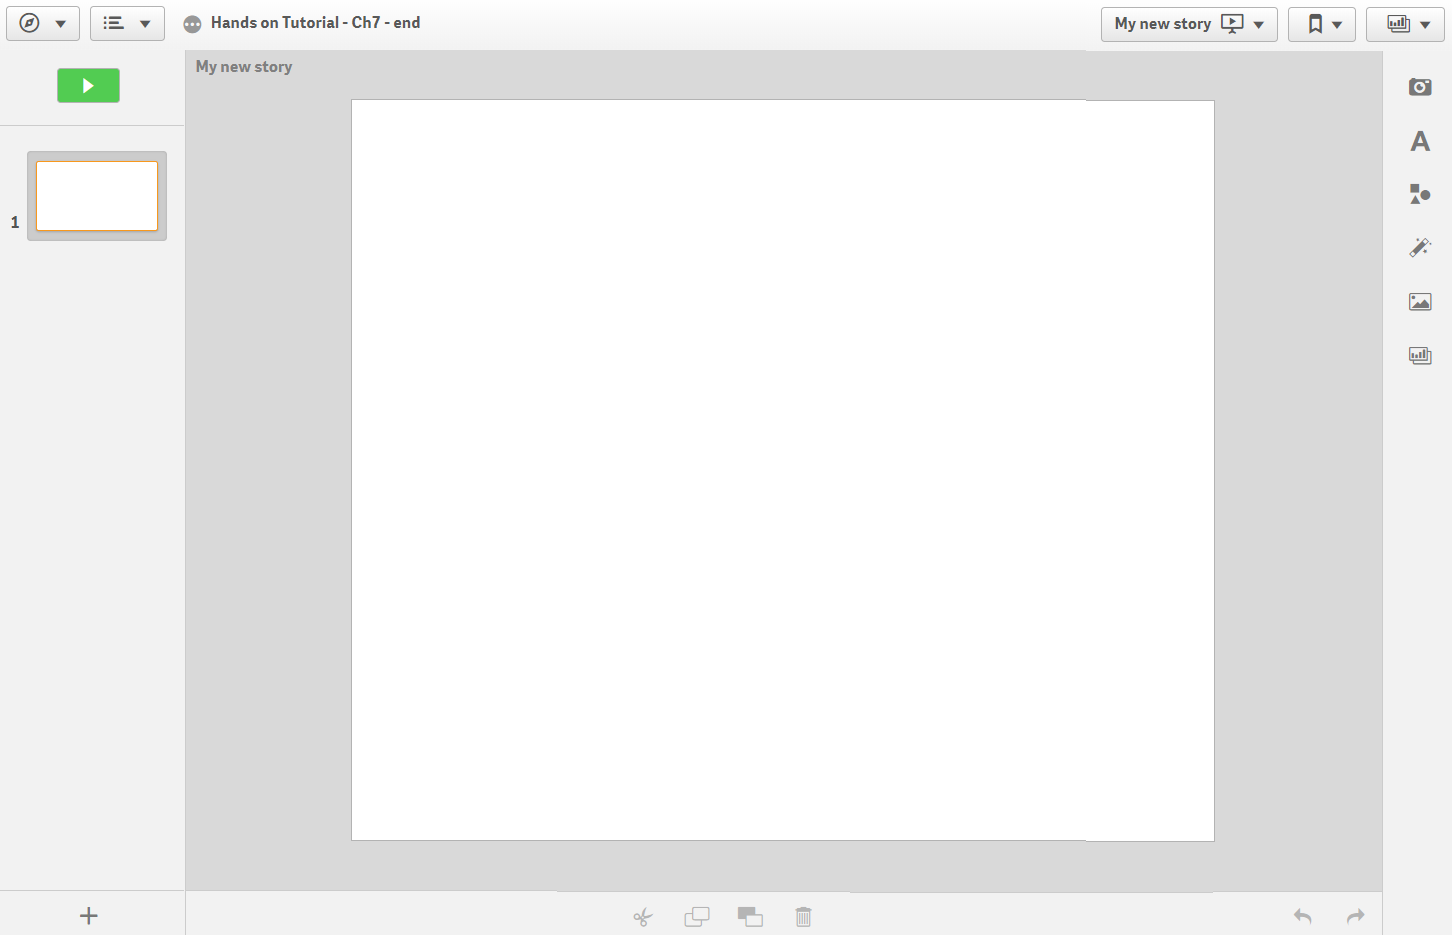
As you can see, we have four major areas:

  • The left area: Here, we can see a preview of all our slides, as shown in the following screenshot. We can either rearrange the slides, add more slides, or delete the existing ones:
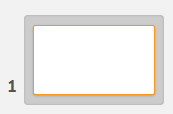
  • The right area: Here, we can access the following:
    • Snapshot library...
lock icon The rest of the chapter is locked
Register for a free Packt account to unlock a world of extra content!
A free Packt account unlocks extra newsletters, articles, discounted offers, and much more. Start advancing your knowledge today.
Unlock this book and the full library FREE for 7 days
Get unlimited access to 7000+ expert-authored eBooks and videos courses covering every tech area you can think of
Renews at $19.99/month. Cancel anytime