Search icon CANCEL
Subscription
0
Cart icon
Your Cart (0 item)
Close icon
You have no products in your basket yet
Arrow left icon
Explore Products
Best Sellers
New Releases
Books
Videos
Audiobooks
Learning Hub
Newsletter Hub
Free Learning
Arrow right icon
timer SALE ENDS IN
0 Days
:
00 Hours
:
00 Minutes
:
00 Seconds
Arrow up icon
GO TO TOP
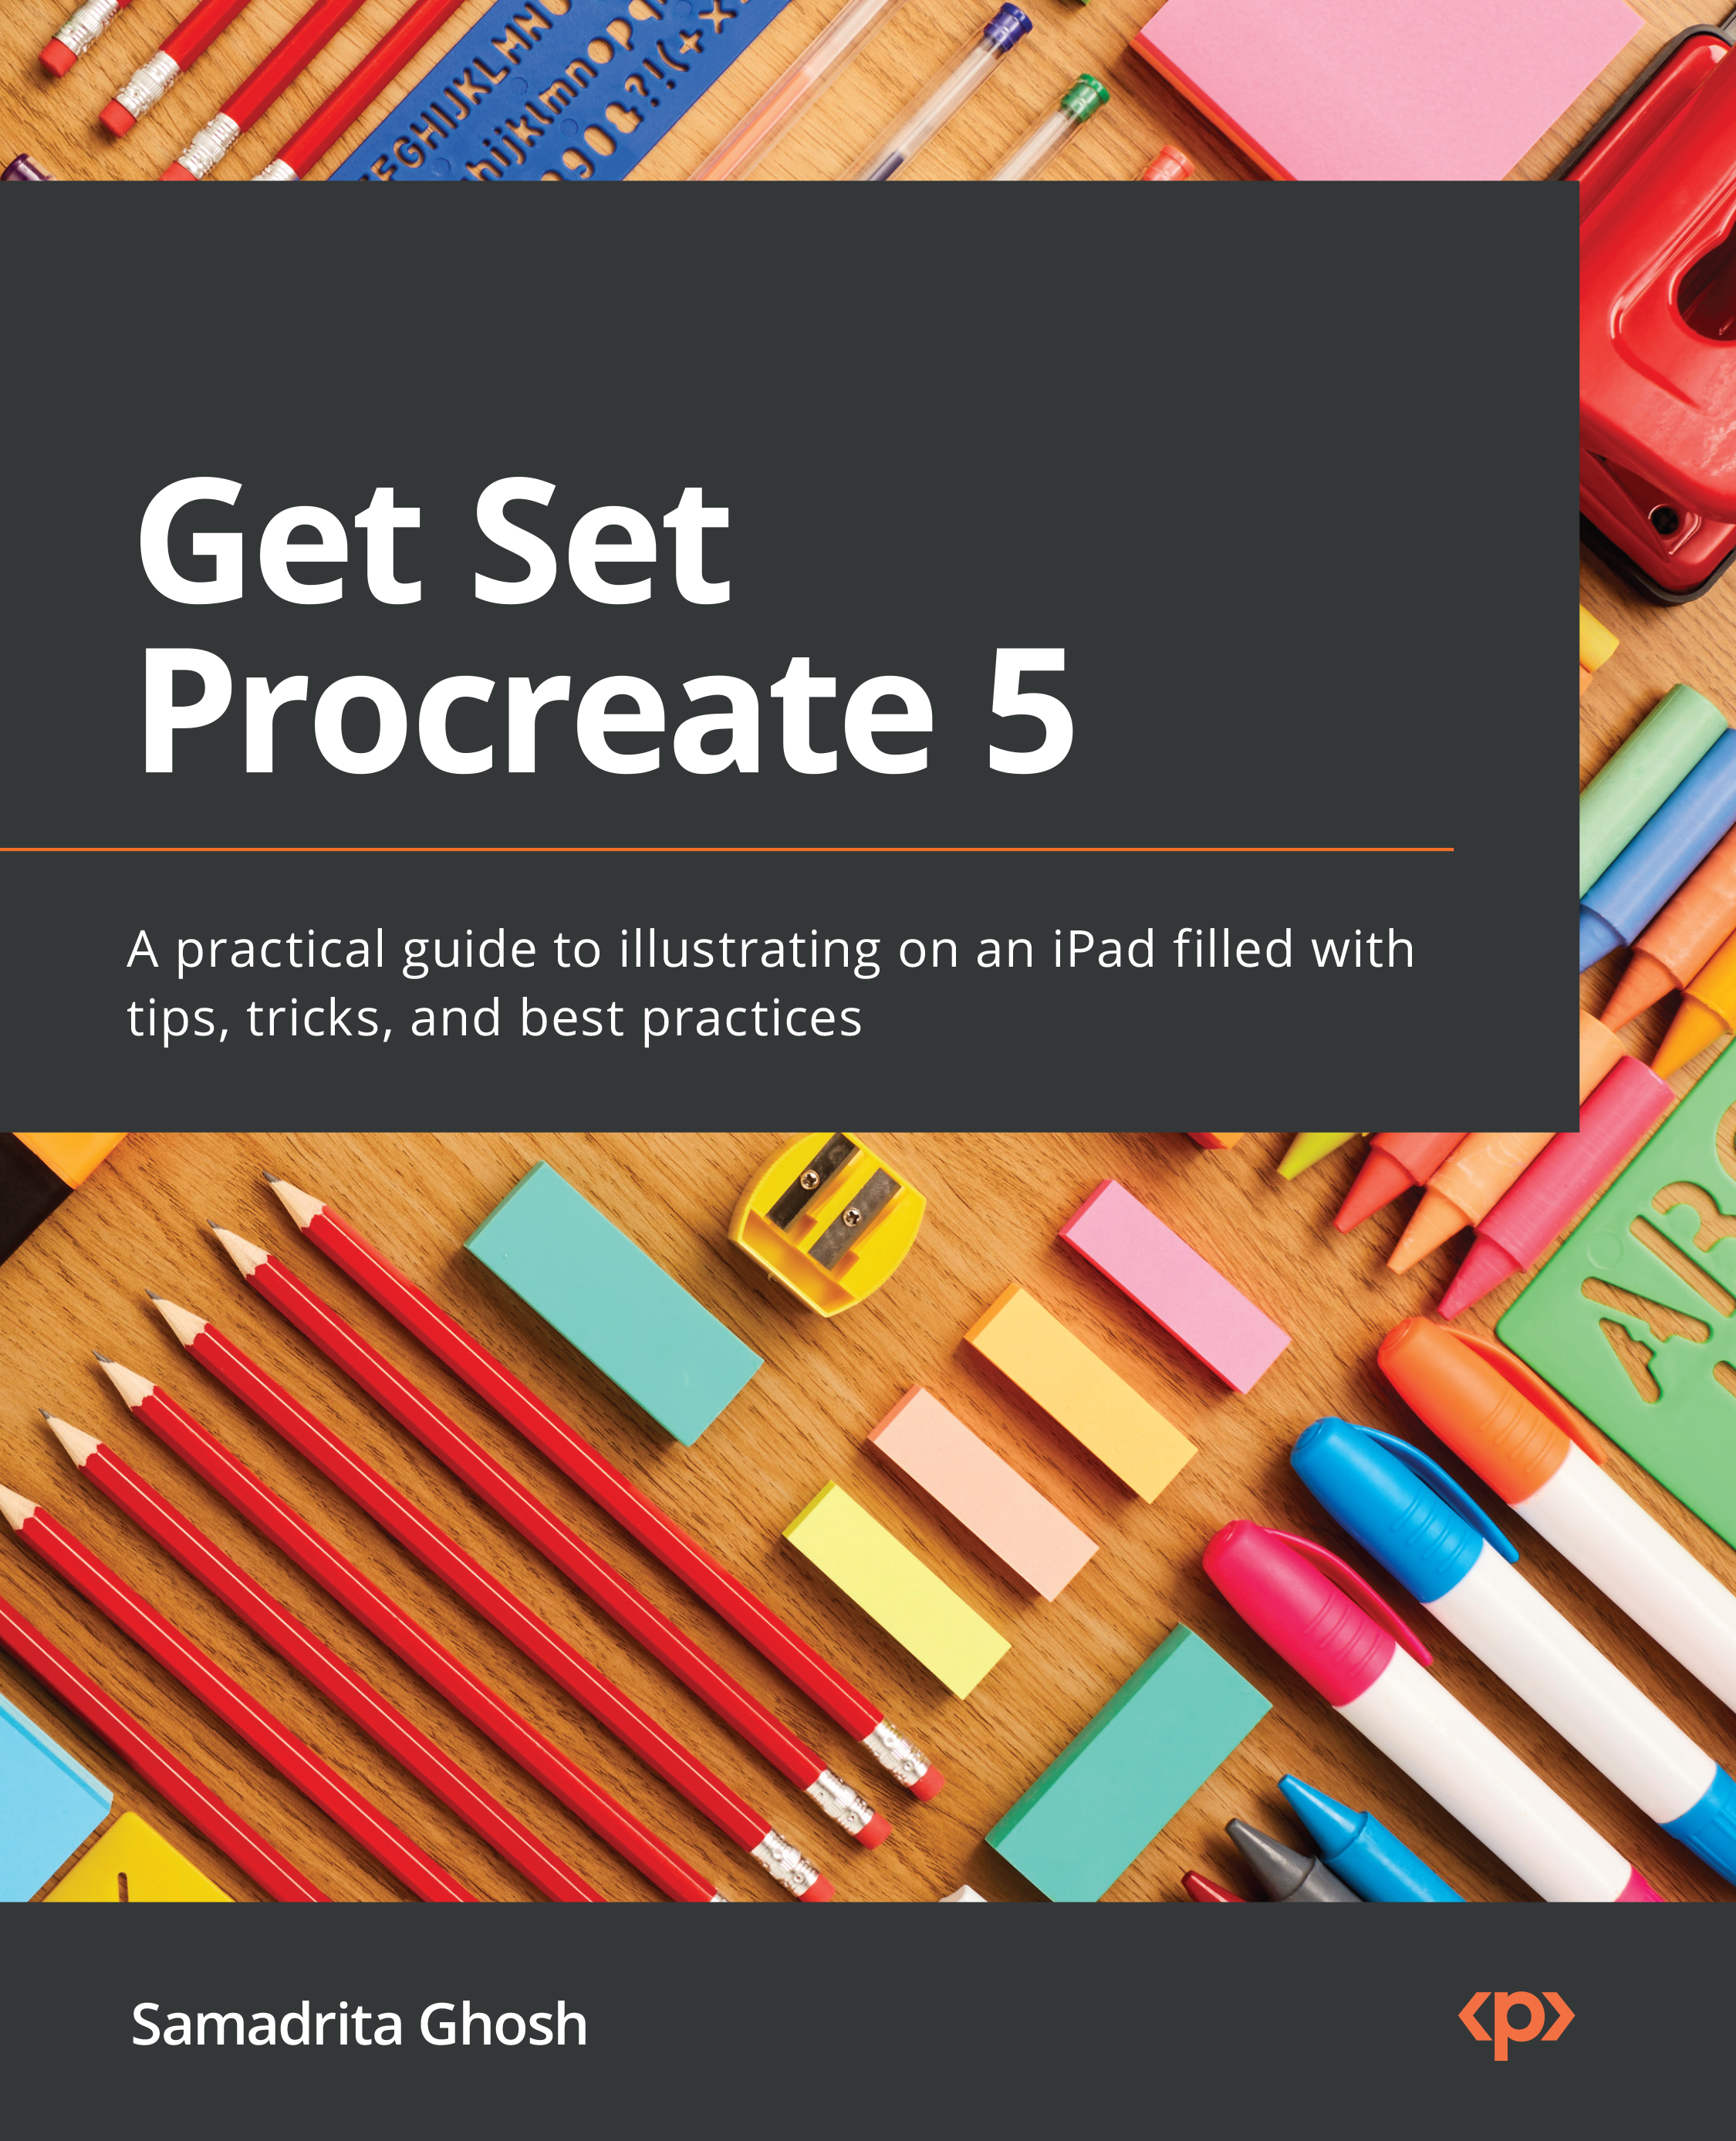
Get Set Procreate 5

You're reading from   Get Set Procreate 5 A practical guide to illustrating on an iPad filled with tips, tricks, and best practices

Arrow left icon
Product type Paperback
Published in Sep 2022
Publisher Packt
ISBN-13 9781800563001
Length 592 pages
Edition 1st Edition
Concepts
Arrow right icon
Author (1):
Arrow left icon
Samadrita Ghosh Samadrita Ghosh
Author Profile Icon Samadrita Ghosh
Samadrita Ghosh
Arrow right icon
View More author details
Toc

Table of Contents (22) Chapters Close

Preface 1. Part 1: UI Overview
2. Chapter 1: The Gallery – Organizing Your Files FREE CHAPTER 3. Chapter 2: Getting Started – Setting Up a Canvas 4. Chapter 3: Understanding Your Workspace 5. Chapter 4: Using the Actions Menu 6. Chapter 5: Selecting and Transforming 7. Part 2: Utility and an In-Depth Discussion of Utility and Features
8. Chapter 6: Using Gestures and Shortcuts 9. Chapter 7: Organizing Your Layers 10. Chapter 8: Painting Tools and the Brush Library – Using and Organizing Brushes 11. Chapter 9: Brush Studio Settings – Editing and Combining Brushes 12. Chapter 10: Using Colour Tools 13. Chapter 11: Adjustments – Applying Image Effects 14. Chapter 12: Using Assisted Drawing Tools 15. Chapter 13: Using Animation Assist for 2D Animation 16. Chapter 14: Sketchbooking with Page Assist 17. Chapter 15: Painting on 3D Models 18. Part 3: Illustration Tips
19. Chapter 16: Rendering Objects Using Blend Modes 20. Index 21. Other Books You May Enjoy

Summary

The Adjustments menu offers a wide range of image editing tools that give an edge to your artwork. In this chapter, we looked at this menu in detail. We started with colour adjustments that make modifications to the existing colours of the image to change its overall appearance. We learned about the three types of blur effects that help add a hint of camera-like realism to your art. Next, the chapter covered image effects that aesthetically enhance an image with filters such as Noise, Chromatic Aberration, Halftone, and many more.

The chapter also discussed the Liquify tool, which provides several different ways to warp and distort a picture to achieve interesting effects. Lastly, we learned about the Clone tool, which allows you to paint over one part of the image with another part.

Once you are comfortable with using this menu, you will have an extremely powerful set of tools at your disposal, which can have an interesting visual influence on your art.

In the next...

lock icon The rest of the chapter is locked
Register for a free Packt account to unlock a world of extra content!
A free Packt account unlocks extra newsletters, articles, discounted offers, and much more. Start advancing your knowledge today.
Unlock this book and the full library FREE for 7 days
Get unlimited access to 7000+ expert-authored eBooks and videos courses covering every tech area you can think of
Renews at $19.99/month. Cancel anytime