Jupyter Notebooks have become the favorite tool for data scientists, as they are flexible and combine code, computational output/multimedia, as well as comments. It is free, open source, and provides computational capabilities and interactive web-based notebooks. Anaconda distributions make the installation process easy if you want to install Jupyter Notebook on your local machine. The official Anaconda documents to install Jupyter Notebooks and Python is easy to follow and intuitive, so feel free to follow the instructions if you would like to work on your local machine.
However, we will use Google Colab, which is a free Jupyter Notebook environment that requires no installation or setup and runs entirely in the cloud, just like using Google Docs or Google Sheets. Google Colab enables you to write code, run the code, and share it. You just need to have a working Gmail to save and access Google Colab Jupyter Notebooks. In heavy computational tasks, such as machine learning or deep learning with big data, Google Colab allows you to use its Graphics Processing Unit (GPU) or Tensor Processing Unit (TPU) for free.
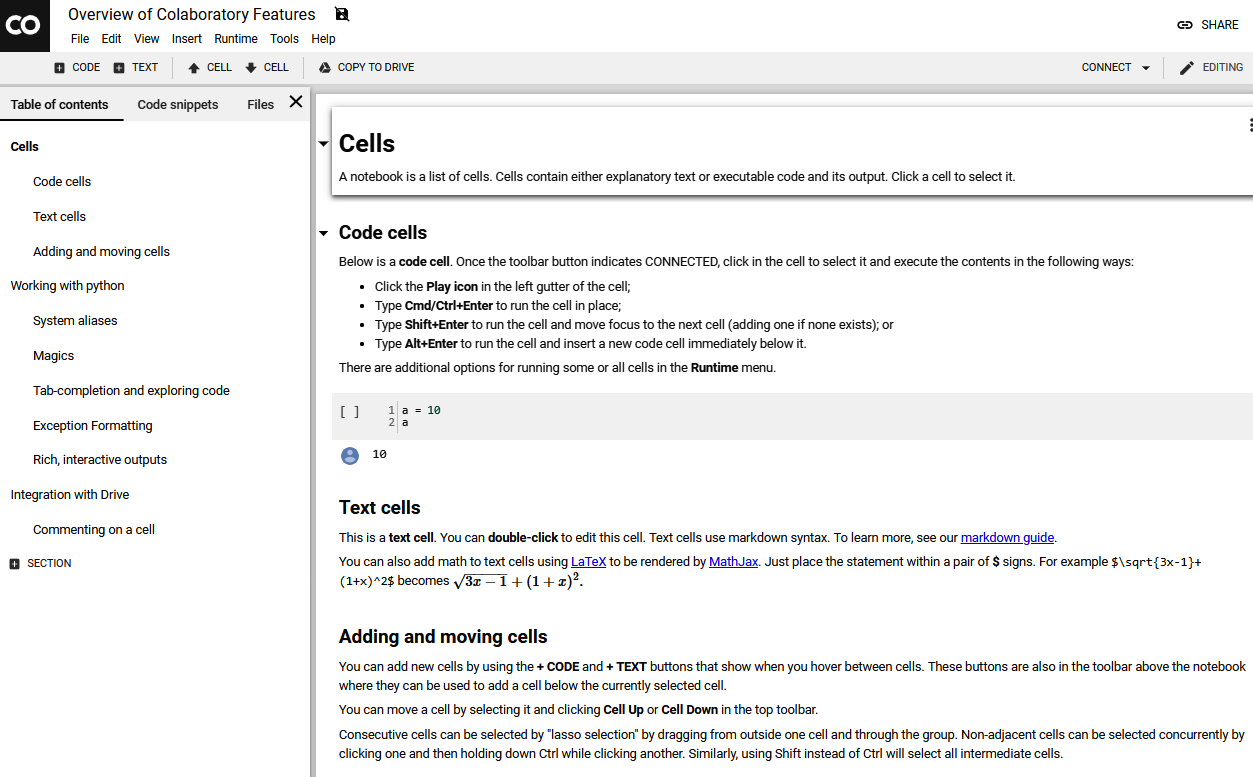
Google Colab interface is shown as follows. In the upper part, you have the main menu. The right part is where we can write our code and comments:

You can open Google Colab from this URL: https://colab.research.google.com. There are two main types of cells: code and text. With a code cell, you can write your code and execute it, while a text cell allows you to write down your text with a markdown. Here, you can have different text types, including several heading levels as well as a bulleted and a numbered list. To execute a cell, you can either use a Ctrl + Enter shortcut or press the Run button (small triangle) next to the cell.
We will learn Google by using it as our coding platform for this book. If you are new to Jupyter Notebooks or Google Colab, here is a useful guide to get started: https://colab.research.google.com/notebooks/welcome.ipynb#scrollTo=GJBs_flRovLc.


