This section is for macOS and Linux users. If you are on Windows, I have written a separate section for you.
The first thing we'll do is to download and set up MongoDB, as this will be the database we will use. We'll be using a third-party service to host our database when we eventually deploy it to Heroku, but on our local machine we'll need to download MongoDB so that we can start up a database server. This will let us connect to it via our Node applications to read and write data.
In order to grab the database, we'll head over to mongodb.com. Then we can go to the Download page and download the appropriate version.
On this page, scroll down and select Community Server; this is the one we'll be using. Also, there are options for different operating systems, whether it's Windows, Linux, macOS, or Solaris. I'm on macOS, so I'll use this download:
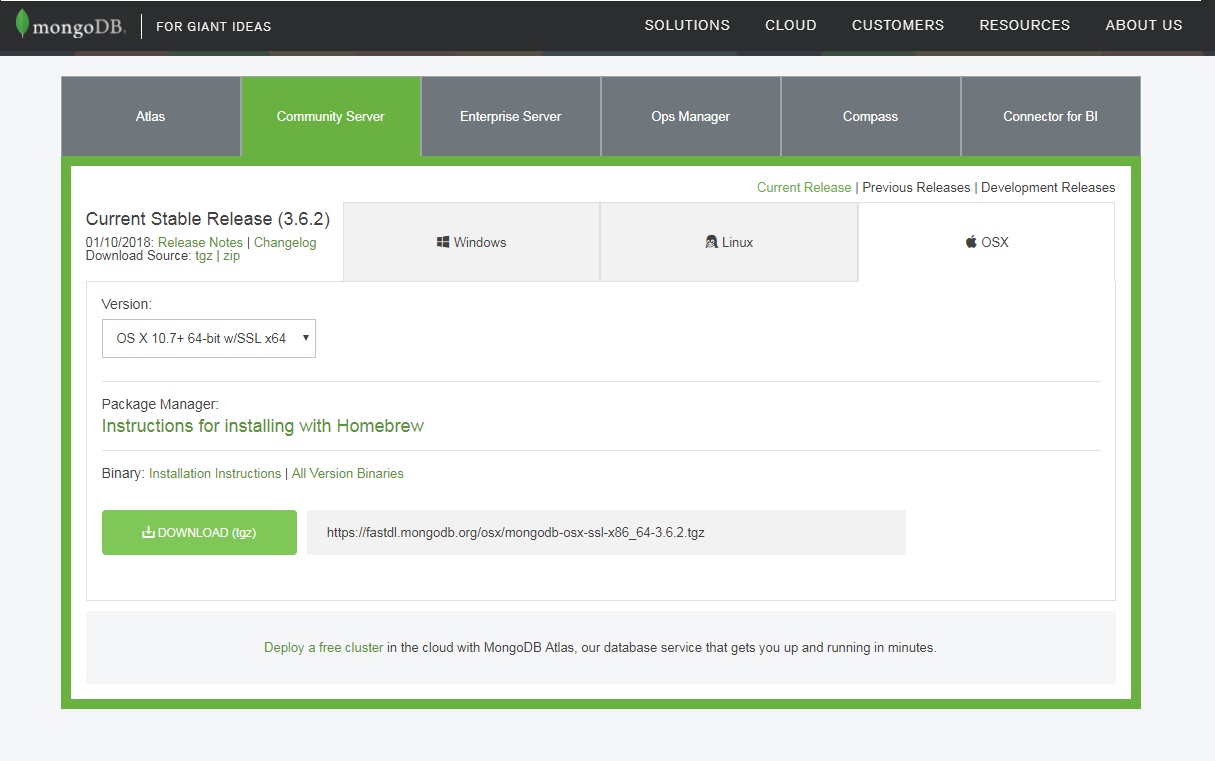
If you're on Linux, click on Linux; then go to the Version drop down and select the appropriate version. For example, if you're on Ubuntu 14.04, you can download the correct one from the Linux tab. Then, you can simply click on the Download button and follow along.
Next you can open it up. We'll just extract the directory, creating a brand new folder in the Downloads folder. If you're on Linux, you might need to manually extract the contents of that archive into the Downloads folder.
Now this folder contains a bin folder, and in there we have all of the executables that we need in order to do things such as connecting to the database and starting a database server:
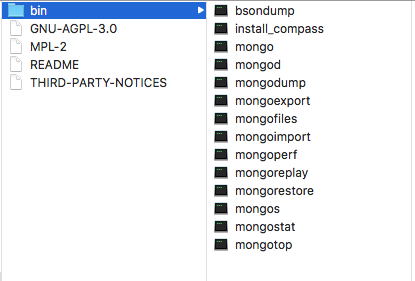
Before we go ahead and run any of them. We'll rename this directory to mongo and then move it into the user directory. You can see that now in the user directory, I have the mongo folder. We'll also create a brand new directory alongside of mongo called mongo-data, and this will store the actual data inside of the database:
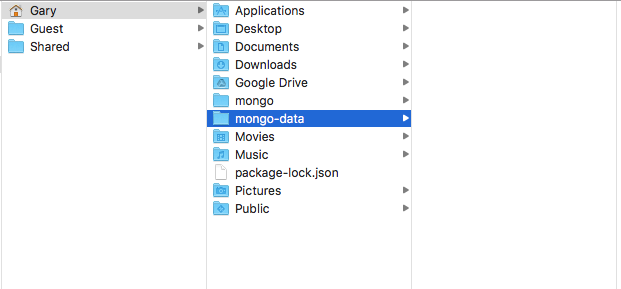
So when we insert a new record into the Todos table, for example, that will live in the mongo-data folder. Once you have the mongo folder moved into the user directory and you have the new mongo-data folder, you are ready to actually run the database server from Terminal. I'll go into Terminal and navigate into that brand new mongo folder that is in the user directory, where I currently am, so I can cd into mongo, then I'll cd into the bin directory by tacking it on right there:
cd mongo/bin
From here, we have a bunch of executables that we can run:

We have things such as bisondump and mongodump. In this section, we'll focus on: mongod, which will start up the database server, and mongo, which will let us connect to the server and run some commands. Just like when we type node we can run some JavaScript commands right in Terminal, when we type mongo, we'll be able to run some Mongo commands to insert, fetch, or do anything we like with the data.
First up though, let's start up the database server. I'll use ./ to run a file in the current directory. The file we'll run is called mongod; also, we do need to provide one argument: the dbpath argument. The dbpath argument will get set equal to the path of the directory we just created, the mongo-data directory. I'll use ~ (the tilde) to navigate to the user directory, and then to /mongo-data, as shown here:
./mongod --dbpath ~/mongo-data
Running this command will start up the server. This will create an active connection, which we can connect to for manipulating our data. The last line that you see when you run the command should be, waiting for connections on port 27017:

If you see this, it means that your server is up and running.
Next up, let's open a new tab, which starts in the exact same directory, and this time around, instead of running mongod, we'll run the mongo file:
./mongo
When we run mongo, we open up a console. It connects to the database server we just started, and from here, we can start running some commands. These commands are just to test that things are working as expected. We'll be going over all of this in detail later in this section. For now though, we can access db.Todos, and then we'll call .insert to create a brand new Todo record. I'll call it like a function:
db.Todos.insert({})
Next, inside of insert, we'll pass in our document. This will be the MongoDB document we want to create. For now, we'll keep things really simple. On our object, we'll specify one attribute, text, setting it equal to a string. Inside of quotes, type anything you want to do. I'll say Film new node course:
db.Todos.insert({text: 'Film new node course'})
With your command looking just like this, you can press enter, and you should get back a WriteResult object with an nInserted property, which is short for the number inserted: a value set to 1. This means that one new record was created, and that is fantastic!

Now that we've inserted a record, let's fetch the record just to make sure that everything worked as expected.
Instead of calling insert, we'll call find without any arguments. We want to return every single item in the Todos collection:
db.Todos.find()
When I run this, what do we get? We get one object-looking thing back:

We have our text attribute set to the text that we provided, and we have an _id property. This is the unique identifier for each record, which we'll talk about later. As long as you're seeing the text property coming back to what you set, you are good to go.
We can shut down the mongo command. However, we will still leave the mongod command running because there's one more thing I want to install. It's called Robomongo, and it's a graphic user interface for managing your Mongo database. This will be really useful as you start playing around with Mongo. You'll be able to view the exact data saved in the database; you can manipulate it and do all sorts of stuff.
Over in Finder, we have our mongo-data directory, and you can see that there is a ton of stuff in here. This means that our data was successfully saved. All of the data is in this mongo-data directory. To download and install Robomongo, which is available for Linux, Windows and macOS, we'll head over to robomongo.org and grab the installer for our operating system:
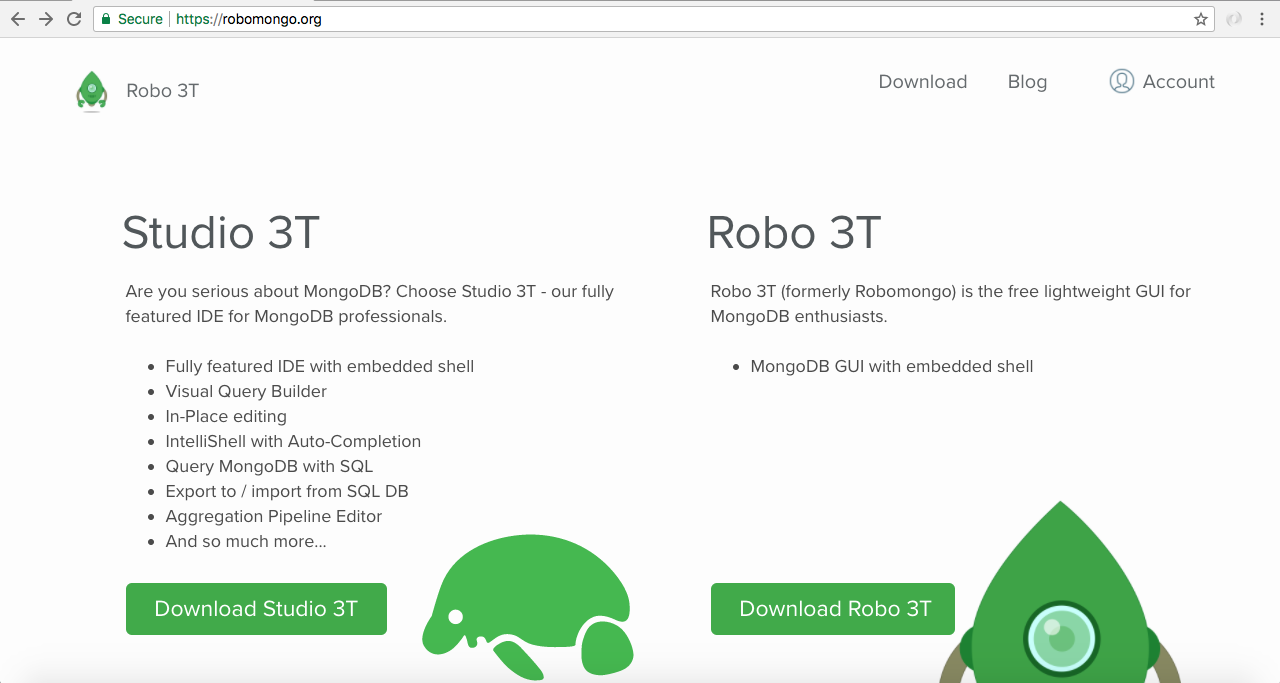
We can click on Download Robo 3T and download the most recent version; it should automatically detect your OS. Download the installer for either Linux or macOS. The one for macOS is really simple. It's one of those installers where you take the icon and drag it into the Applications folder. For Linux, you'll need to extract the archive and run the program in the bin directory. This will start up Robomongo on your Linux distribution.
Since I'm using macOS, I'll just quickly drag the icon over to Applications, and then we can play around with the program itself. Next, I'll open it up inside the Finder. When you first open up Robomongo, you might get a warning like the following on macOS, since it's a program that we downloaded and it's not from an identified macOS developer:
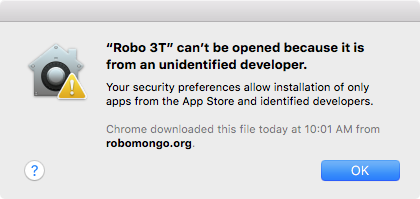
This is fine; most programs you download from the web will not be official since they did not come from the App Store. You can right-click on the downloaded package, select Open, and then click on Open again to run that program. When you first open it, you'll see some screens like the following:
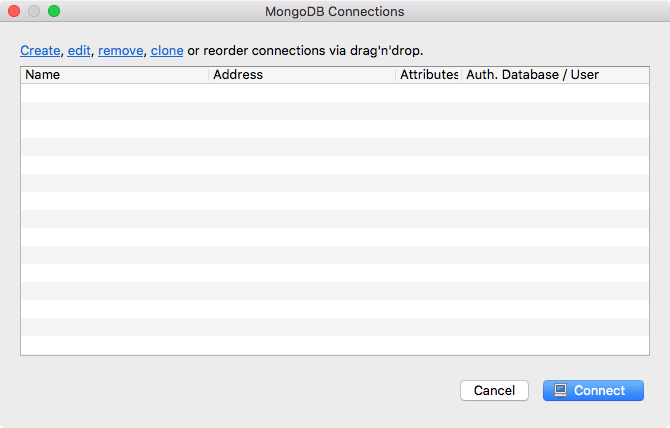
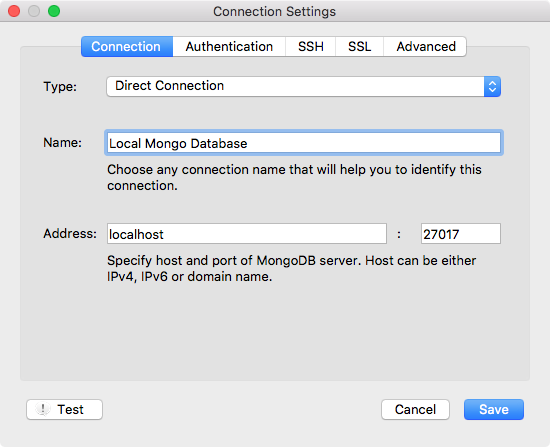
We have a little screen in the background and a list of connections; currently that list is empty. What we need to do is to create a connection for our local MongoDB database so that we can connect to it and manipulate that data. We have Create. I'll click on this, and the only thing we'll need to update is Name. I'll give it a more descriptive name, such as Local Mongo Database. I'll set Address to localhost and the 27017 port is correct; there's no need to change these. So, I'll click on Save:
Next, I'll double-click on the database to connect to it. Inside the tiny window, we have our database. We are connected to it; we can do all sorts of things to manage it.
We can open up the test database, and in there, we should see one Collections folder. If we expand this folder, we have our Todos collection, and from there, we can right-click on the collection. Next, click on View Documents, and we should get our one Todo item, the one that we created over inside the Mongo console:
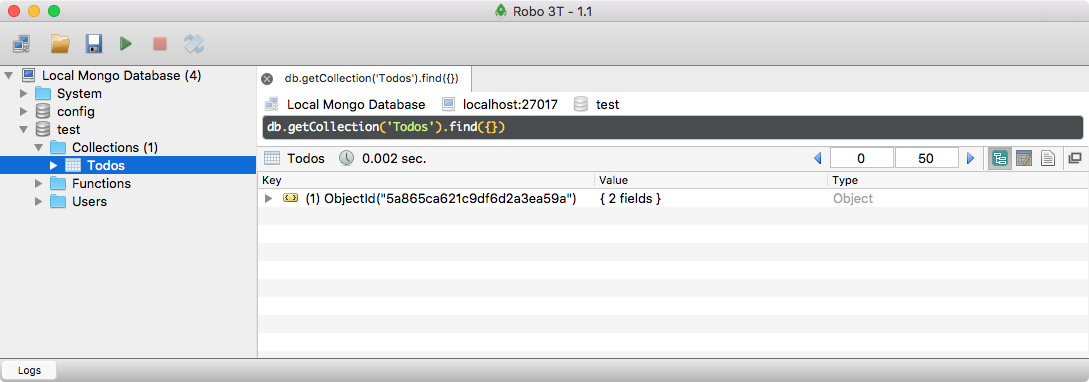
I can expand it to view the text property. Film new node course shows up:
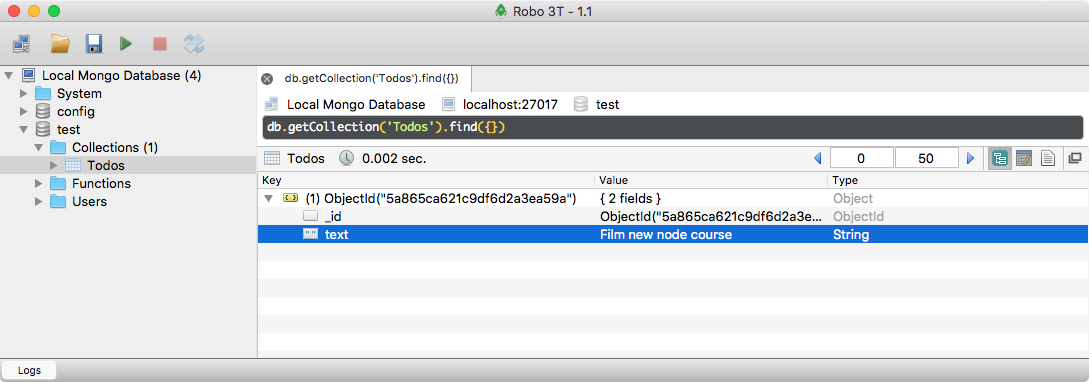
If you're seeing this, then you are done.
The next section is for Windows users.


