


Creating a new cutting tool
Fusion 360 comes with quite a limited range of laser tools – actually, there is only one at our disposal. As you may guess, such a limited library spells trouble for us since, this time, there aren’t plugins or libraries to use; the fastest way is to duplicate the existing tool and change it to our requirements.
To duplicate a tool inside the library, we can simply right-click on it, copy the tool using the Copy tool option, and then paste it inside the local library:
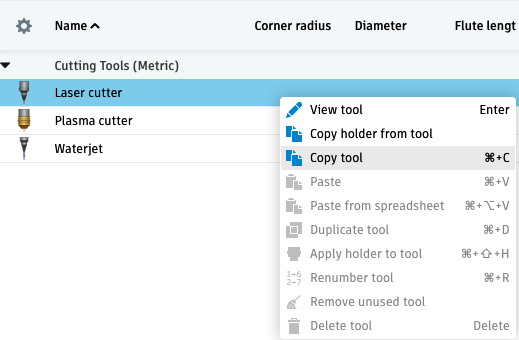
Figure 13.5: Copy tools
My suggestion is to rename the tool with a name that precisely describes the tool’s intended use; in our example, I will rename it: Fiber 4KW Steel 3mm O2.
In order to edit the copied tool, we simply right-click on it and select Edit tool:
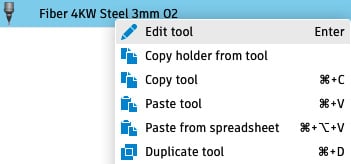
Figure 13.6: Edit tool
When editing the tool, we will focus on two tabs: the Cutter and Cutting data tabs.
The Cutter tab
First, let’...


