Exercise 5: Implementing and Observing Application Logging
In the 02-appsettings-logging app you just deployed, some code already existed that creates log entries. In this exercise, you will see this in action in App Service:
- From the
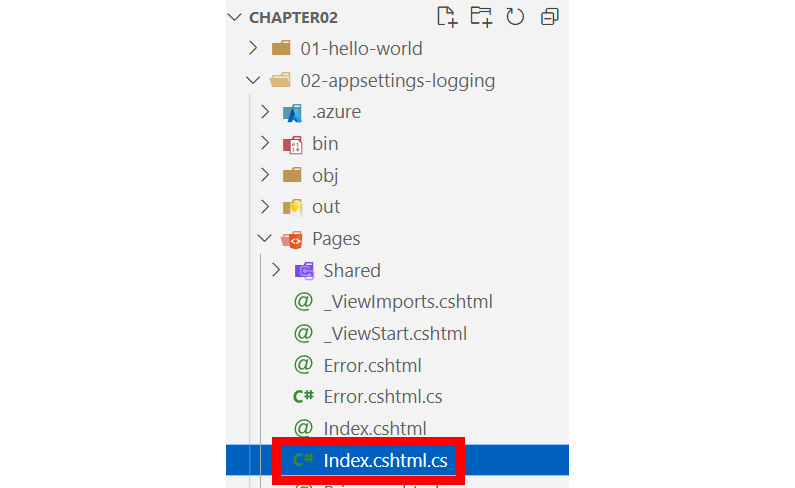
02-appsettings-loggingfolder, open thePages\Index.cshtml.csfile:

Figure 2.18: The Index.cshtml.cs file within VS Code
Within that file, you’ll see the following basic code that simply writes an information log message:
_logger.LogInformation("Hello, Packt! I'm logging for the AZ-204!");
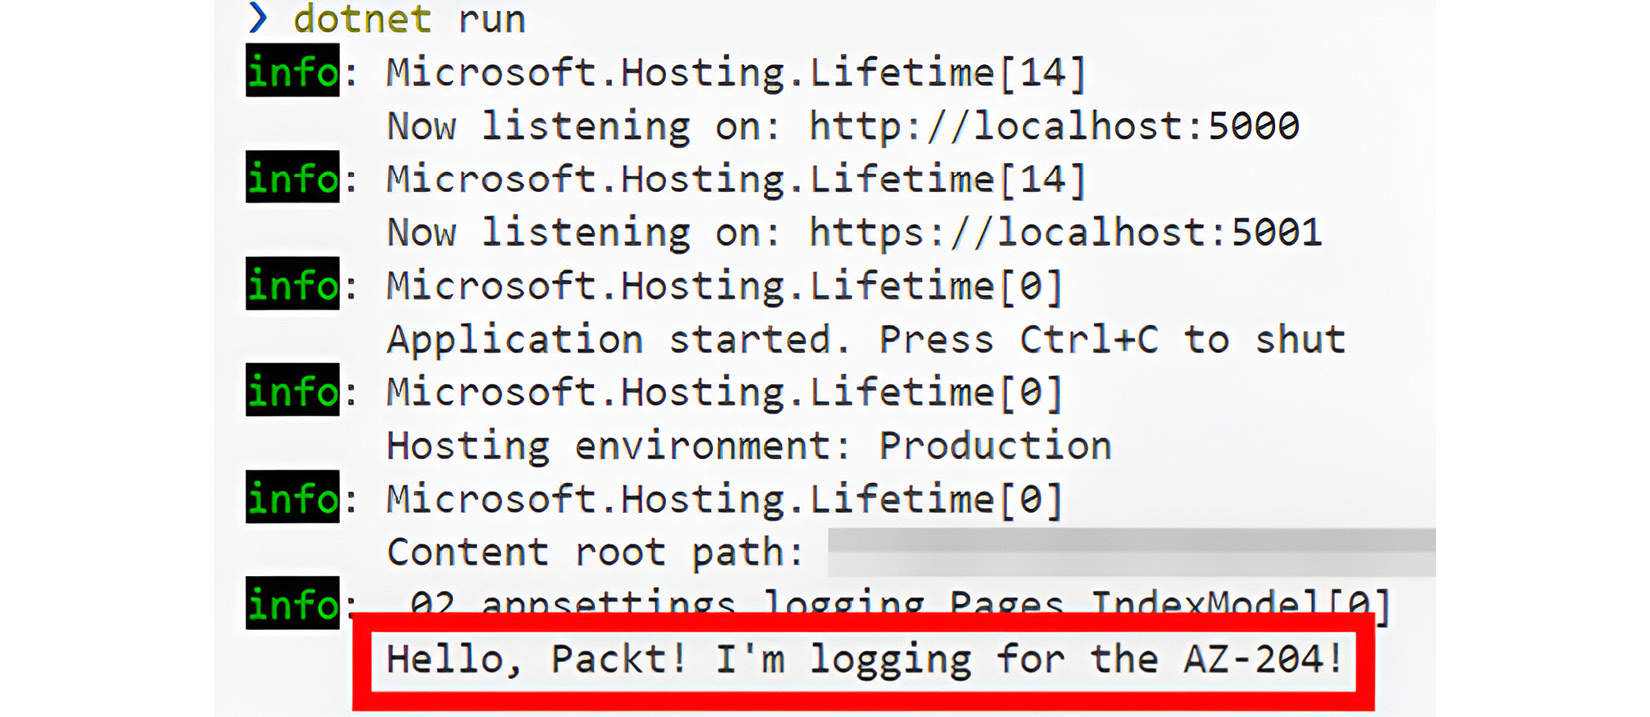
- Run the app again locally with the following command, then browse to the app, and you’ll see the log entry in the terminal window:
dotnet run

Figure 2.19: Terminal output showing information logging from the web app
Now that we’ve confirmed this works locally, we’ll head to the Azure portal because it’s the easiest way to show options that are different between Linux and Windows apps.
- Within the Azure portal, open App Service and click on the App Service logs blade.
- Turn Application logging on by setting the toggle to File System and clicking Save.
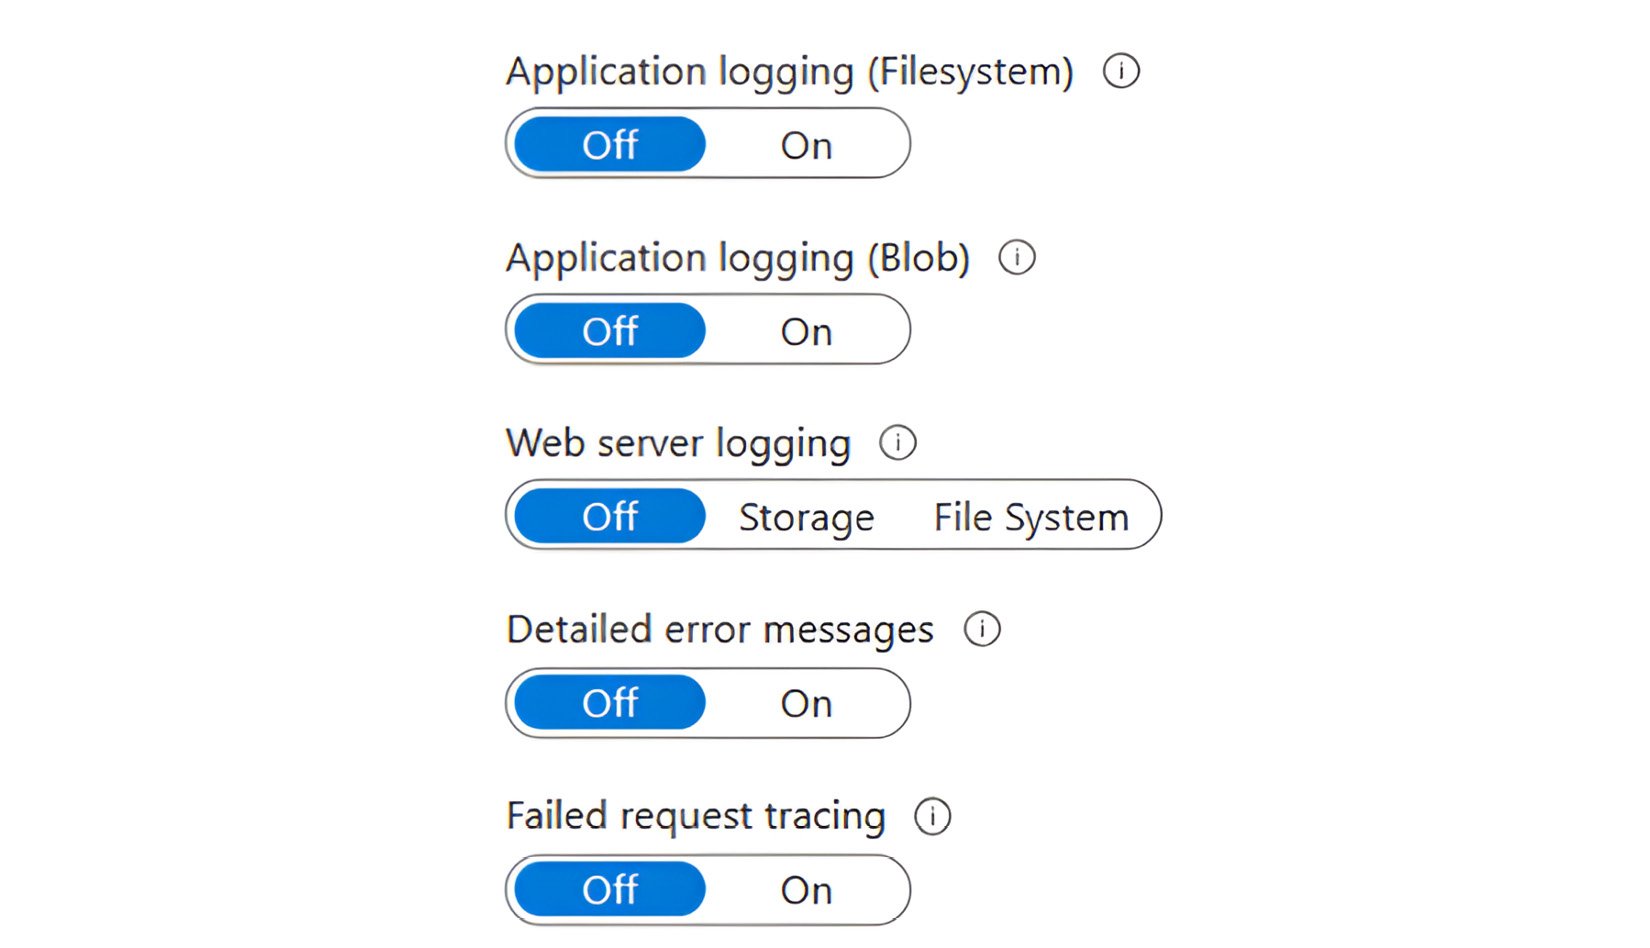
To illustrate the differences between Linux and Windows apps, this is what you’d see if you went to the same location from a Windows app:

Figure 2.20: App Service logging options for a Windows App Service
- Still within the Azure portal, open the Log stream blade. Then, in another browser tab, navigate to the URL of the App Service. You should see the new application log showing something similar to the following:
023-06-29T19:44:01.262767018Z info: _02_appsettings_logging.Pages.IndexModel[0]
2023-06-29T19:44:01.262834918Z Hello, Packt! I'm logging for the AZ-204!
Now that we have a good understanding of some key concepts of App Service and have run through some detailed topics and enabled logging, we’ll look at a topic that was very briefly touched on in Chapter 1, Azure and Cloud Fundamentals: scaling.


