Go through the following steps to configure an IP address on a Windows system:
- Open the Control Panel and click on the Network and Sharing Center icon:
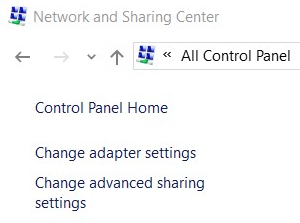
- Click on Change adapter settings:
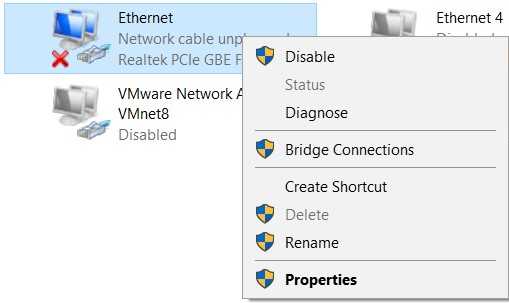
- Right-click on the network adapter that you would like to configure the IP address settings for and select the Properties option:
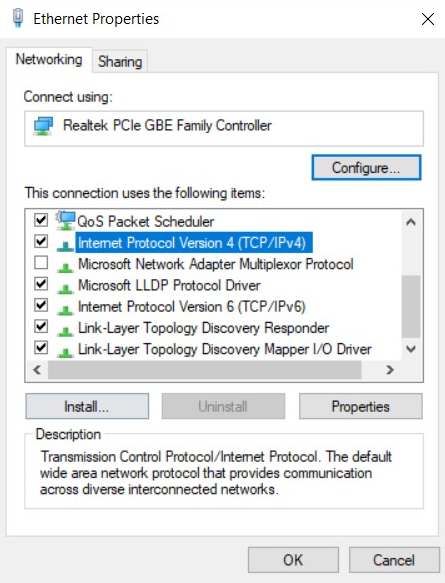
- Select Internet Protocol Version 4 (TCP/IPv4) and click on Properties as shown in the following screenshot:
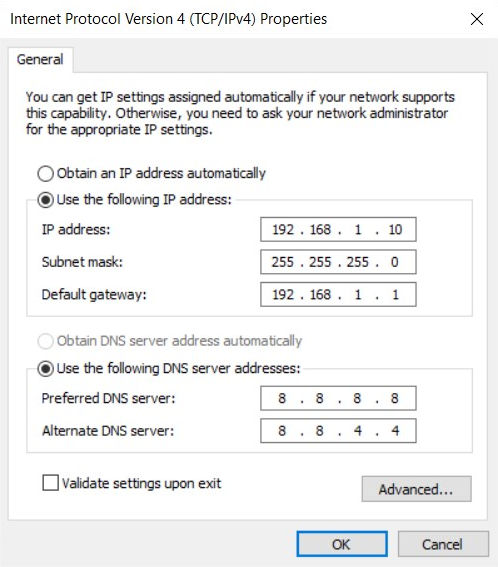
The following window will allow you to choose whether this network adapter automatically receives both an IP address and DNS server setting. Alternatively, you can manually configure the addressing information:
However, if you want to configure IPv6 addressing information, simply click on Internet Protocol Version 6 (TCP/IPv6) and click on Properties: